Trekking poles divide trail opinion cleanly. Some hikers will not leave the parking lot without them. Others view poles as extra clutter that catches every branch and telegraphs “tourist” on flat forest paths. Both camps can be right on different days. Poles are tools for specific biomechanics and terrain, not mandatory appendages for every mile marker.
This guide explains when poles earn their weight on day hikes: long descents, loose surfaces, stream crossings, heavy packs, and recovery days. It also covers when to skip them, how to adjust length, and what features actually matter versus what shops upsell. For packing context on longer days where poles shine, see packing for a 10-mile day hike. For the day after big vertical, pair pole choices with ideas from recovery after a big hiking day.
What poles actually do on your body
Each pole contact shares load between legs and upper body. On climbs, they can help rhythm and balance on steep steps, though they also increase heart rate slightly if you push hard with arms. On descents, they reduce eccentric loading on knees and quads by transferring some impact through shoulders and wrists. On flat terrain, benefits are subtler: rhythm for some, negligible for others.
Poles also widen your stability base. Crossing logs, hopping rocks, or side-hilling on loose dirt feels less dramatic with two extra touchpoints. In wind on exposed ridges, planted poles calm micro-wobbles. None of this replaces footwork or fitness; poles augment it.
The cost is hand fatigue, strap adjustment learning curve, and the mental overhead of stowing poles for scrambles or photos. If those costs exceed knee relief on your typical trail profile, skipping poles is rational lightweight hiking, not laziness.
When trekking poles help most
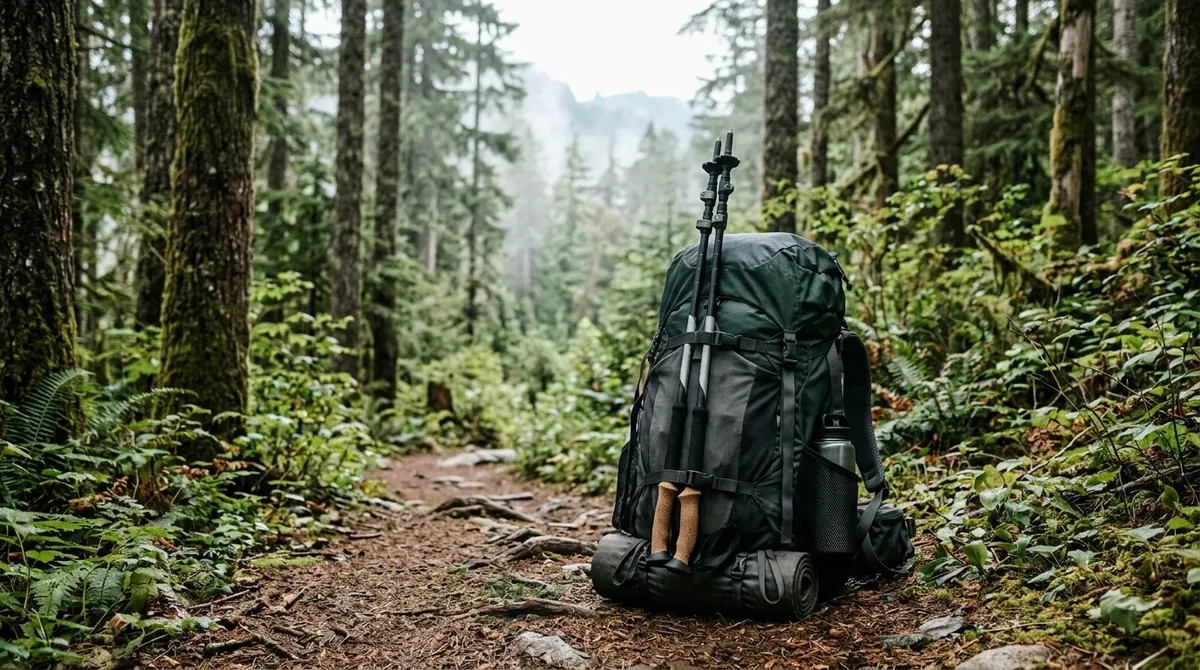
Long downhills. Mileage descending beats up knees faster than identical ascent for many hikers. If your regular routes drop a thousand feet or more continuously, poles often feel like a gift by the last switchbacks. This is especially true on hard-packed or rocky tread where each step jars.
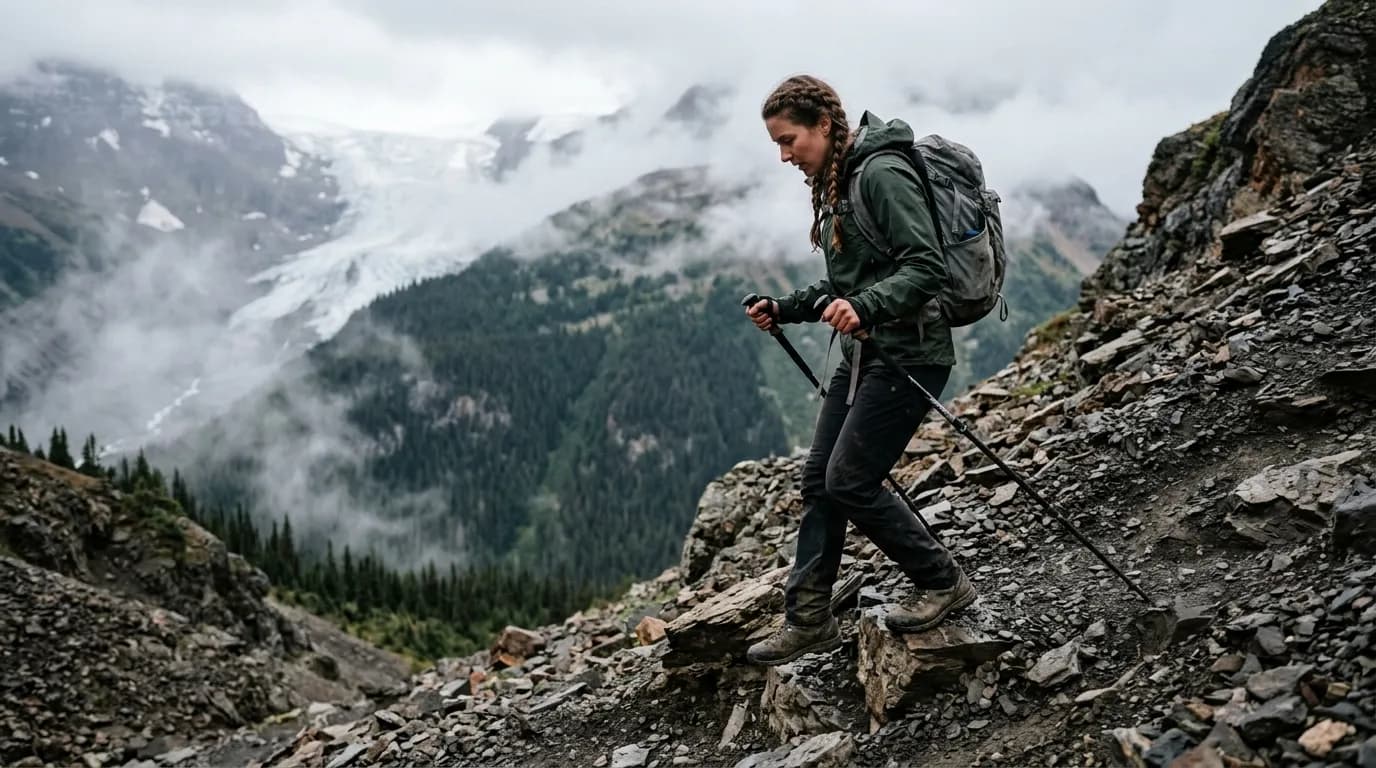
Loose or slick surfaces. Scree, gravel, wet roots, and mud reward extra points of contact. Poles probe depth before you commit full weight. They cannot prevent all slips, but they reduce the frequency of dramatic saves.
Stream crossings. Shallow fords and rock hops go smoother with poles upstream as braces. Learn to angle them properly and accept that grips get wet. Some hikers detach baskets for deep water to avoid drag.
Heavy packs or shared load. When your daypack crosses into “family mule” territory—extra water, kid layers, camera kit—poles redistribute stress. Same for hikers carrying prior knee or ankle issues who still want mileage under doctor-adjacent personal limits. This is not medical advice; it is common trail experience.
Multi-hour days. On ten-mile loops with substantial vertical, fatigue arrives in the calves and stabilizers long before you notice on a three-mile stroll. Poles extend comfortable range for hikers who otherwise shorten descents to protect joints. Planning those long days? Start with packing for a 10-mile day hike so pole weight fits a coherent kit.
When to leave poles at home
Short flat local loops. If elevation gain is minimal and distance under three miles, poles may only occupy hands that could swing naturally. You also skip the annoyance of storing them for every snack photo.
Scrambly routes requiring hands. Class 2 and above sections where you need both hands on rock often turn poles into awkward batons strapped to pack. Some packs carry poles well; many hikers still find frequent stow-and-deploy cycles tedious on mixed terrain.
Dense brush and narrow social trails. Poles snag vegetation and poke neighbors on crowded paths. Etiquette on tight singletrack favors collapsed poles or none at all.
When you have not learned adjustment. Wrong length poles encourage poor posture: hunched shoulders on climbs, overstretched wrists on descents. Practice on easy terrain before committing on a big day.
Ultralight fast hikes where every ounce matters. Skilled minimalists on smooth tread sometimes choose lighter shoes and stronger legs instead. That trade is personal, not moral.
Features that matter for day hiking
Adjustable length. Fixed-length poles work if you know your number and use one terrain type. Most day hikers benefit from adjustability for uphill shorten, downhill lengthen conventions.
Locks that hold. Flip locks and twist locks both work when maintained. Test locks under load before trusting on steep descents. Worn twist locks slip silently until they slip loudly.
Comfortable straps. Straps should support pulling without cutting circulation. Many hikers use straps on long climbs and free-hand on technical sections. Learn the “up through the loop” technique so straps transfer load without gripping death-clutch.
Baskets. Small trekking baskets help on soft ground; remove or shrink for rock and snow depending on conditions. Mud baskets exist; most day hikers in temperate forests use moderate defaults.
Tip material. Carbide tips bite rock; rubber tip covers protect sensitive surfaces and reduce clatter on pavement approaches. Swap covers at trailheads when required by local rules.
Weight and collapse length. Lighter poles cost more. For day use, midweight aluminum often survives abuse better than the featheriest carbon on rocky trails. Collapsed length should fit your pack attachment system or internal stow plan.
How to set pole length
A starting rule on flat ground: elbow at ninety degrees when tip touches floor. Shorten slightly for sustained uphill to avoid reaching; lengthen slightly for downhill to keep hands ahead without hunching. Fine-tune by feel over a few hikes, not by obsessive centimeter charts alone.
On sidehills, some hikers shorten the uphill-side pole and lengthen the downhill-side pole to level shoulders. Experiment on gentle grades before alpine traverses. Consistency beats perfect theory if your wrists stay neutral.
If shoulders ache, check whether you are pushing too hard with arms. Poles assist; they should not replace leg drive on climbs except when stabilizing on steps.
Technique notes for common trail moments
Ascent: Alternate pole-plant with natural stride or double-plant on steep steps for balance. Plant slightly ahead, not wildly crossed in front of feet.
Descent: Plant poles ahead to brake gently; avoid jamming wrists with straight locked elbows. Let joints stay slightly soft.
Mud and roots: Test before committing; poles sink in deep mud and can twist wrists if you trust them like rebar.
Rest stops: Lean poles together tripod-style for a quick break without sitting, or stow them to encourage actual stretching. Poles are not a substitute for the recovery habits in recovery after a big hiking day, but they reduce the damage that recovery must fix.
Poles and pack integration
Most daypacks offer external loops or bungee for collapsed poles. Learn your pack’s attachment so you are not fumbling at streamside. Internal carry protects tips from snagging but slows access. Match method to how often you deploy.
When poles live on the pack exterior, check they will not swing into neighbors on narrow trail or unbalance you on scrambles. Tighten compression straps. A dangling pole is a hook waiting for brush.
Buying once versus renting to learn
If unsure, borrow or rent poles for two long descents before purchasing. Notice knee feel that evening and next morning. Some hikers discover they only want poles for monthly big days, not weekly short loops—renting or keeping one shared pair in the car covers that pattern.
When buying, prioritize fit and lock reliability over color. Carbon versus aluminum debates matter less than whether the pole survives being accidentally stepped on in a trailhead parking lot.
Poles on specific day-hike terrain
On forest service roads converted to trails, poles can feel pointless until the road pitches down for two miles of washed-out gravel. On engineered switchbacks with steps, poles help older knees without turning the hike into an arm workout. On talus fields, poles probe gaps but cannot replace careful foot placement—many hikers stow them entirely for short boulder hops to keep hands free.
Desert day hikes introduce different pole math: sun exposure and sand slope descents may warrant poles for balance while water weight stays high in the pack. Alpine day hikes may add snow patches where baskets help but ice still demands traction beyond poles. Match pole choice to the limiting factor of the day, not to the prettiest gear photo online.
Wrists, grip strength, and realistic expectations
Some hikers quit poles because forearms burn by mile eight. Often length is wrong; sometimes they white-knuckle instead of letting straps carry load on climbs. Adjust, practice, then judge. Others love poles on descent but remove them on flat cruise sections to rest hands. That rhythm is valid lightweight use—poles as situational tools, not permanent extensions.
If you have prior wrist issues, consult your own health context before committing to long descents with poles. This is educational gear talk, not medical advice. Many hikers simply reduce grip intensity and take shorter pole plants on jarring terrain.
Storage, travel, and trailhead habits
Collapse poles before entering shuttles or crowded visitor centers; tips at backpack height poke strangers and door frames. In the car trunk, store poles where they will not get stepped on. At home, loosen locks slightly after wet hikes so corrosion does not freeze adjustments. A ten-second wipe-down after muddy days extends lock life noticeably.
Mark your poles subtly if hiking in groups where gear gets mixed at breaks. Nothing fancy—tape or a small tag—just enough to avoid the slow trailhead argument about whose flip lock is whose.
Etiquette on shared trails
On narrow singletrack, collapse poles or hold them vertically close to your body when passing others. Tip-first forward waving is how eye-level surprises happen. When resting on a crowded overlook, lay poles flat beside you, not leaning against railings where wind catches them. Small courtesy keeps poles from becoming the thing strangers remember about your group.
Some land managers require rubber tips on paved approach trails. Keep covers in a side pocket rather than deciding at the sign that you will “just be careful.” Fines and scowls both waste a good hiking day.
If you borrow poles for a trial hike, note the brand’s lock type you liked. When you buy later, you will already know whether flip or twist locks match your gloved hands in cold mornings. Ten minutes of notes saves one wrong purchase and one return shipment.
Common mistakes
- Fixed length wrong for both climb and descent on the same hike.
- Death-gripping without using straps properly.
- Planting poles between feet instead of beside stride.
- Keeping metal tips on sensitive rock or pavement where rubber covers are required.
- Letting twist locks wear silently until failure on a steep grade.
- Carrying poles but never stowing them on scrambles, then wondering why balance feels worse.
- Assuming poles fix unfit shoes or overloaded packs.
Starter plan: a two-hike trial
Hike one: local rolling trail, three to four miles, no poles. Note knee and quad feel next day. Hike two: similar distance with poles on a route with at least eight hundred feet descent. Compare sensations honestly, not aspirationally.
If hike two wins clearly, add poles to long-day kit only. If results tie, keep poles optional for wet or loose days. If hike two feels worse due to hand fatigue, revisit length and strap technique before discarding poles entirely.
FAQ
Do trekking poles really save knees?
Many hikers report reduced knee soreness on long descents when using poles with reasonable technique. Results vary by anatomy, pace, and footwear. Poles are one variable among many, not a guaranteed cure.
One pole or two?
Two poles balance load symmetrically. One pole helps some hikers on mild terrain or when one hand must stay free, but asymmetry can tweak shoulders over long miles. Try both on familiar trails.
Are carbon poles worth it for day hikes?
Carbon saves weight and costs durability on rocky abuse. Frequent day hikers on rough rock often prefer aluminum; weight-conscious hikers on smoother trails may love carbon.
Can I use ski poles for hiking?
Sometimes, if length adjusts appropriately and baskets suit dirt not snow. Dedicated trekking grips and locking mechanisms usually feel better for mixed hiking days.
Should beginners start with poles?
Beginners on easy flat trails can learn footwork without poles. Beginners facing long descents or balance anxiety may benefit early. Let terrain and comfort drive the choice.
Related reading
Load the pack wisely for mileage that justifies poles with packing for a 10-mile day hike, and treat your legs kindly afterward using recovery after a big hiking day. Poles are optional gear with optional benefits—use them on the days that earn them.
Educational outdoor guidance only. Adjust equipment choices to your health, terrain, and experience.