A blister on mile three turns a good day hike into a limping countdown. Feet are not a side detail—they are the engine and the suspension. Daily Peaks treats blister prevention on day hikes as a repeatable system: footwear that fits, socks that wick, break-in honesty, hot-spot response, and pack habits that keep tape where you need it before pain argues for a turnaround.
This guide covers how blisters form on trail, what to do before you leave home, on-trail habits that stop hot spots early, and a simple kit for when friction wins anyway. You will get a starter plan for new shoes, common mistakes, and FAQ answers. Educational content only—not medical advice. Seek professional care for severe wounds or infection signs.
Why blisters ruin day hikes so efficiently
Blisters are fluid pockets between skin layers caused by repeated shear force—your foot sliding inside the shoe while the sock and skin disagree about who should stay put. Uphill work, downhill braking, heat, moisture, grit, and stiff new boots all increase shear.
On a day hike you notice blisters early as hot spots: warmth, sting, or a raw feeling at heel, toe, or ball of foot. Ignore a hot spot and you get a bubble. Ignore the bubble and you change gait. Changed gait stresses knees and hips. The day unravels from a dime-sized friction event.
Prevention is cheaper than hero tape at the summit when fingers are cold and pride is loud.
Start with shoes that fit the trail and your foot
Shoe fit matters more than brand mythology. For day trails, look for:
- Toe room: about a thumb width in front when standing, so downhill toes do not hammer the front
- Heel hold: minimal lift when you walk; heel slip shears skin fast
- Width match: not pinched at the ball, not swimming sideways
- Flex appropriate to trail: rocky descents favor torsional stability; smooth paths tolerate lighter shoes
- Lace systems that lock heel: learn heel-lock lacing for descents
Try shoes in the afternoon when feet are slightly swollen, with the socks you hike in. Walk an incline in the store if possible. “Fine in the living room” is not data.
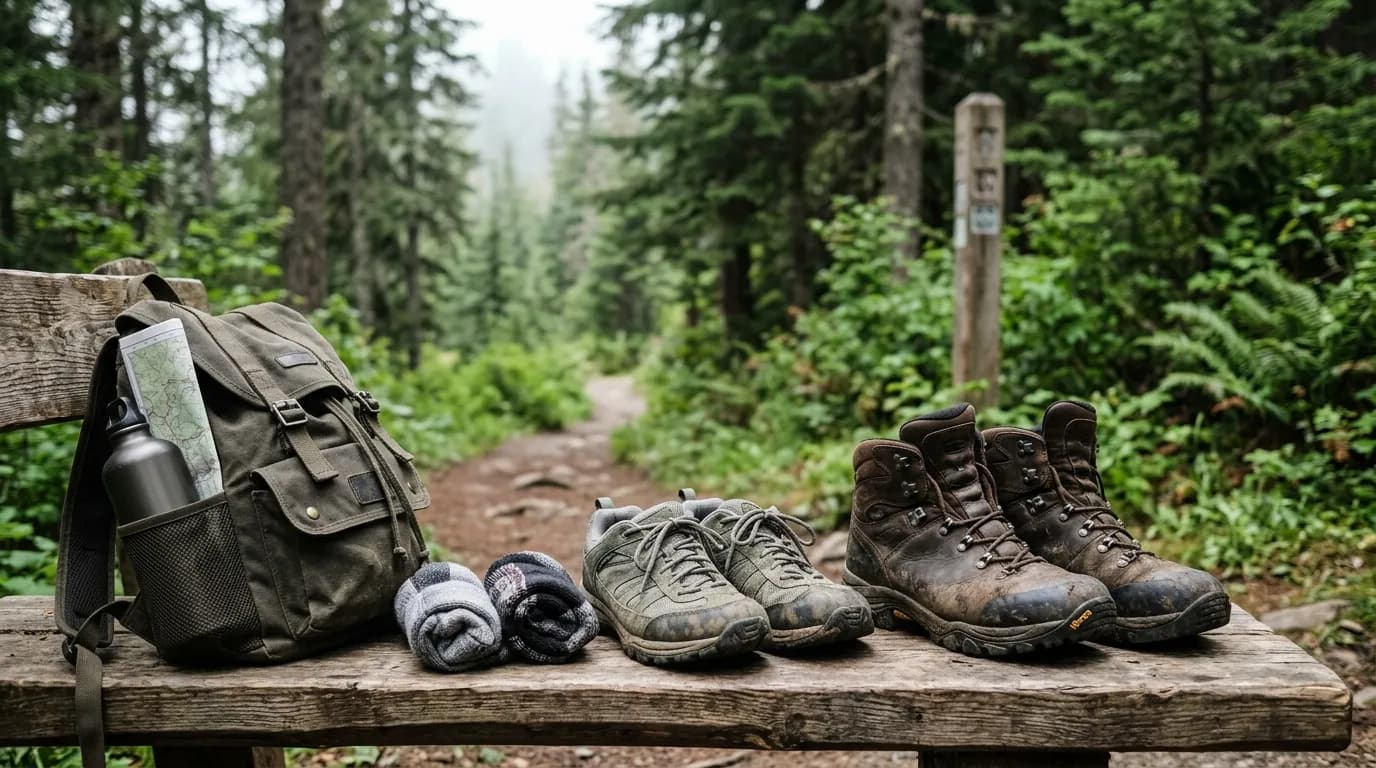
Compare shoes and boots for your typical trails in Hiking Shoes vs Boots: What to Wear on Day Trails, then break them in with a plan from How to Break In Hiking Footwear Without Ruining a Trip.
Socks are a performance layer, not an afterthought
Skip cotton for long days. Choose merino wool or synthetic hiking socks with:
- Smooth toe seams or seamless toes
- Thickness matched to shoe volume—too thick squeezes; too thin lets slip
- Height that matches shoe collar—low socks plus high collar can rub
Some hikers double-layer with liner socks; others prefer one quality sock. Experiment on short walks, not on summit day.
Carry a dry spare pair. Wet socks from stream crossings or sweat increase shear. A midday sock swap feels luxurious and prevents blisters.
Break-in is a schedule, not a wish
New footwear needs short honest miles before long days. A sensible break-in arc:
- Neighborhood walks of twenty to thirty minutes
- Local park loops with one small hill
- Half-distance day hike on familiar trail
- Full planned distance only after zero hot spots on the half day
Stiff boots soften; they do not magically reshape a poor fit. If hot spots appear on every short walk, revisit size or model before blaming your feet.
Trim nails and prep skin before the trail
Long toenails collide with shoe fronts on descents. Trim straight across, file edges smooth. Moisturize heels in daily life if skin cracks, but avoid heavy lotion right before a hike—that can soften skin oddly.
Some hikers pre-tape known trouble spots on long days. That is fine if you test tape on short walks first—some adhesives irritate skin worse than friction.
Lacing adjustments change pressure maps
Loose forefoot with locked heel is a common fix for downhill toe bang and heel slip. Learn:
- Heel lock: extra loops at top eyelets to anchor heel
- Window lacing: skip a crossed section over a hot instep bone
- Snug midfoot, relaxed toes: over-tightening everywhere numb toes and blisters them anyway
Stop within the first mile to adjust laces after feet swell slightly. That micro-stop prevents macro pain.
On-trail habits: catch hot spots early
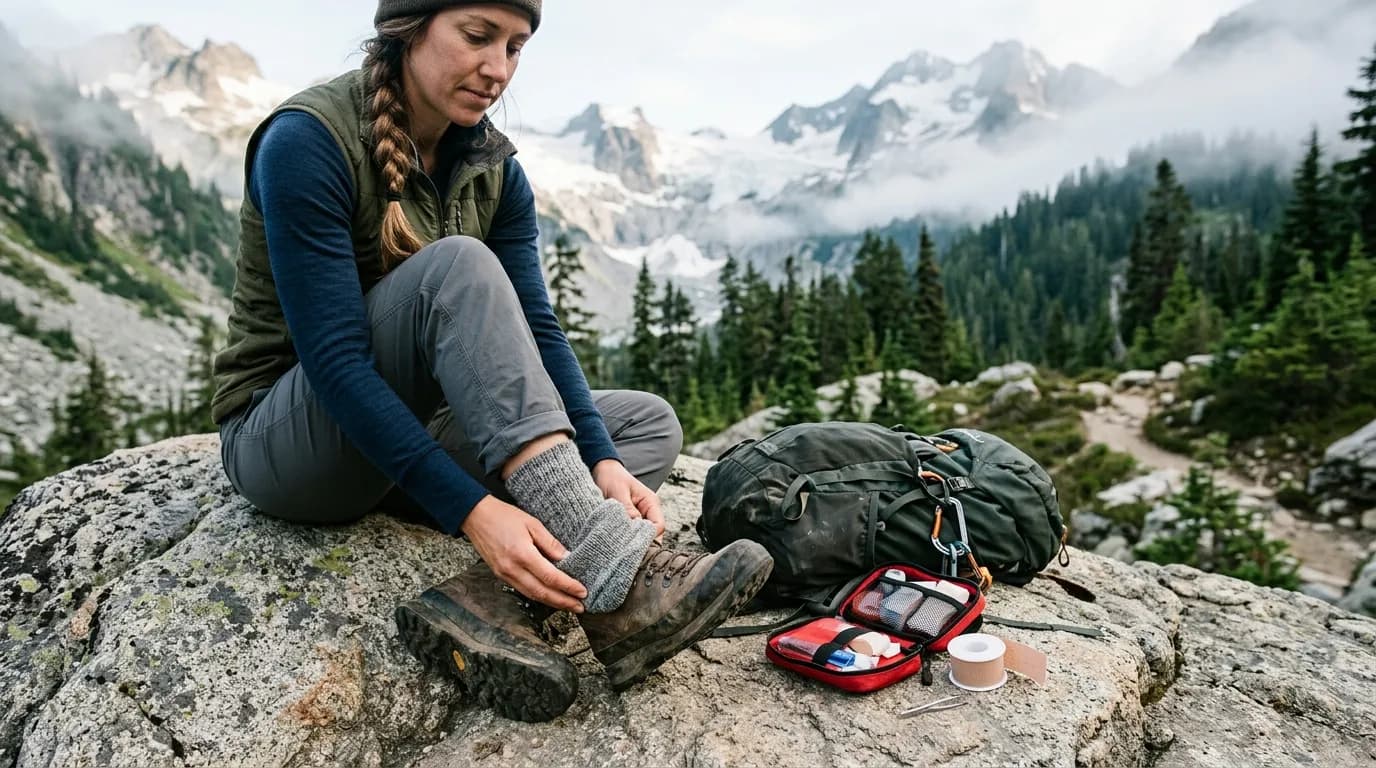
When you feel warmth or sting:
- Stop within five minutes—do not “just get to the overlook”
- Remove grit from sock and shoe
- Dry foot if sweaty or wet
- Apply tape or blister dressing to the hot spot, not only around it
- Change socks if damp
- Adjust laces and walk fifty steps to test
Hot spot care is boring and effective. Most blisters are optional if you stop early.
What to carry in a blister kit
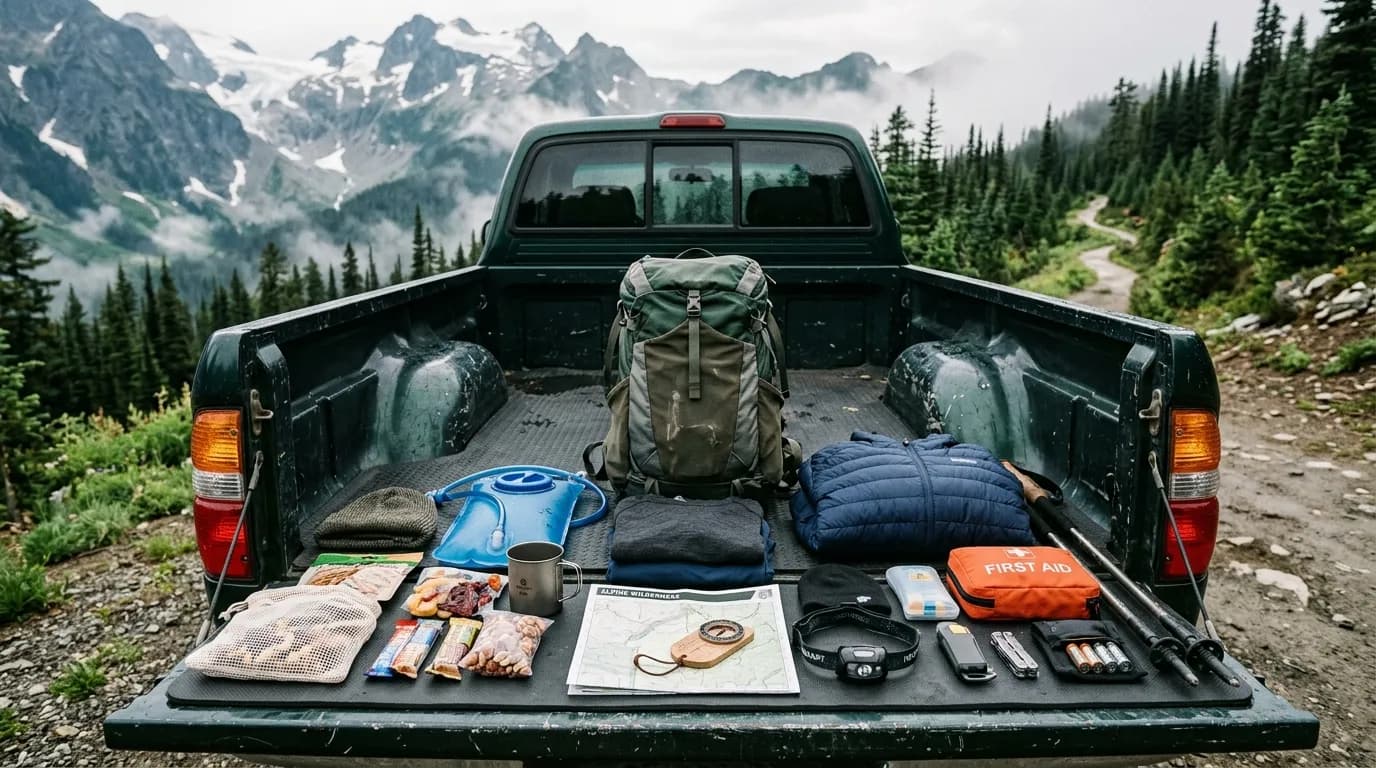
Day-hike blister kit, small and used:
- Several strips of kinesiology tape or dedicated blister tape
- Alcohol wipes or soap for cleaning if feasible
- Small scissors or tape precut at home
- Two to four hydrocolloid blister bandages for heels or toes
- Spare socks in a zip bag
- Optional: small tube of lubricant or anti-friction balm for known rub points
Store tape where you can reach it without emptying the pack—top lid or hip belt pocket. If tape lives at the bottom under rain gear, you will not use it in time.
How to tape a hot spot (simple method)
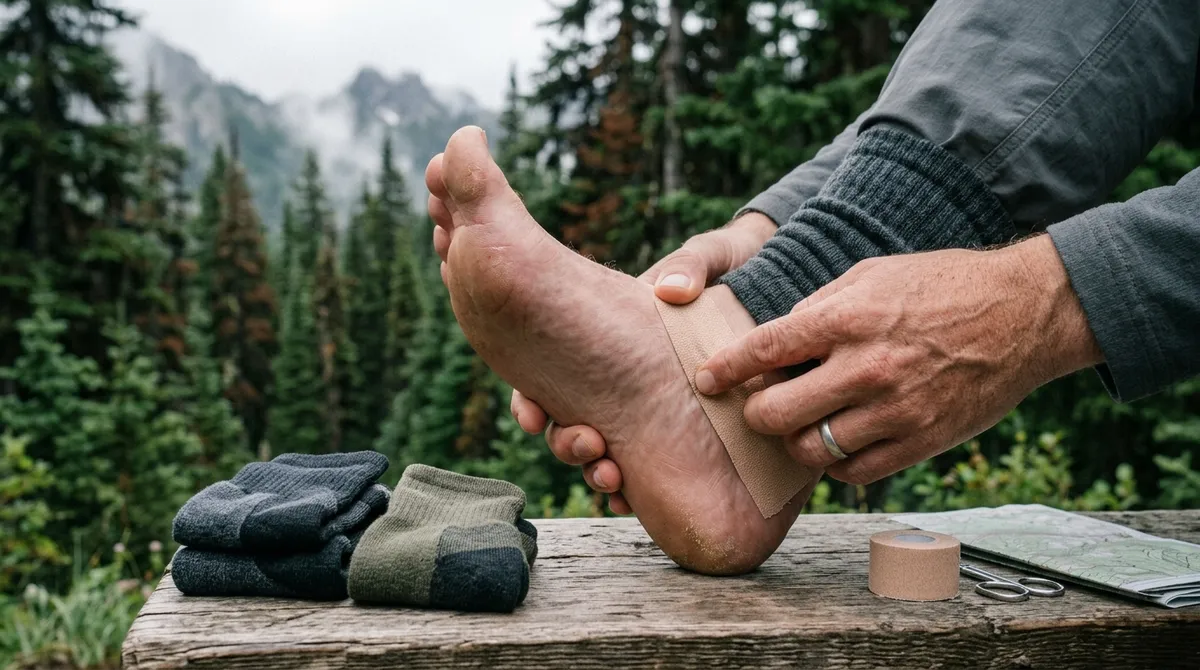
Clean and dry skin. Cut tape slightly larger than the hot area with rounded corners so edges do not peel. Apply without wrinkles. Anchor tape on flat skin, not only on the red spot, so edges do not roll. Walk test. Re-tape if wrinkles form—wrinkles become new blisters.
For toes, a figure-eight wrap can work; practice at home first. Toes are fiddly with cold hands.
When a blister has already formed
Small intact blisters sometimes tolerate careful taping and a shortened day. Large painful blisters may require draining in backcountry contexts only with clean technique—and many beginners should instead bail and care for feet at home. Do not pop blisters casually on trail with dirty fingers.
If you must continue short distances, a hydrocolloid dressing reduces further shear. Change gait expectations: slow descents, flat foot placement, no hero running.
Redness spreading, pus, fever, or extreme pain suggests medical attention, not tougher socks.
Footwear, pack weight, and gait
Heavy packs increase foot slide and pressure. Audit pack weight if feet always hurt on otherwise reasonable trails. Overstriding downhill slams toes; short steps save nails and skin.
Trekking poles transfer some load off feet and knees on long descents—optional but useful if blisters appear mainly going downhill.
Water, heat, and swollen feet
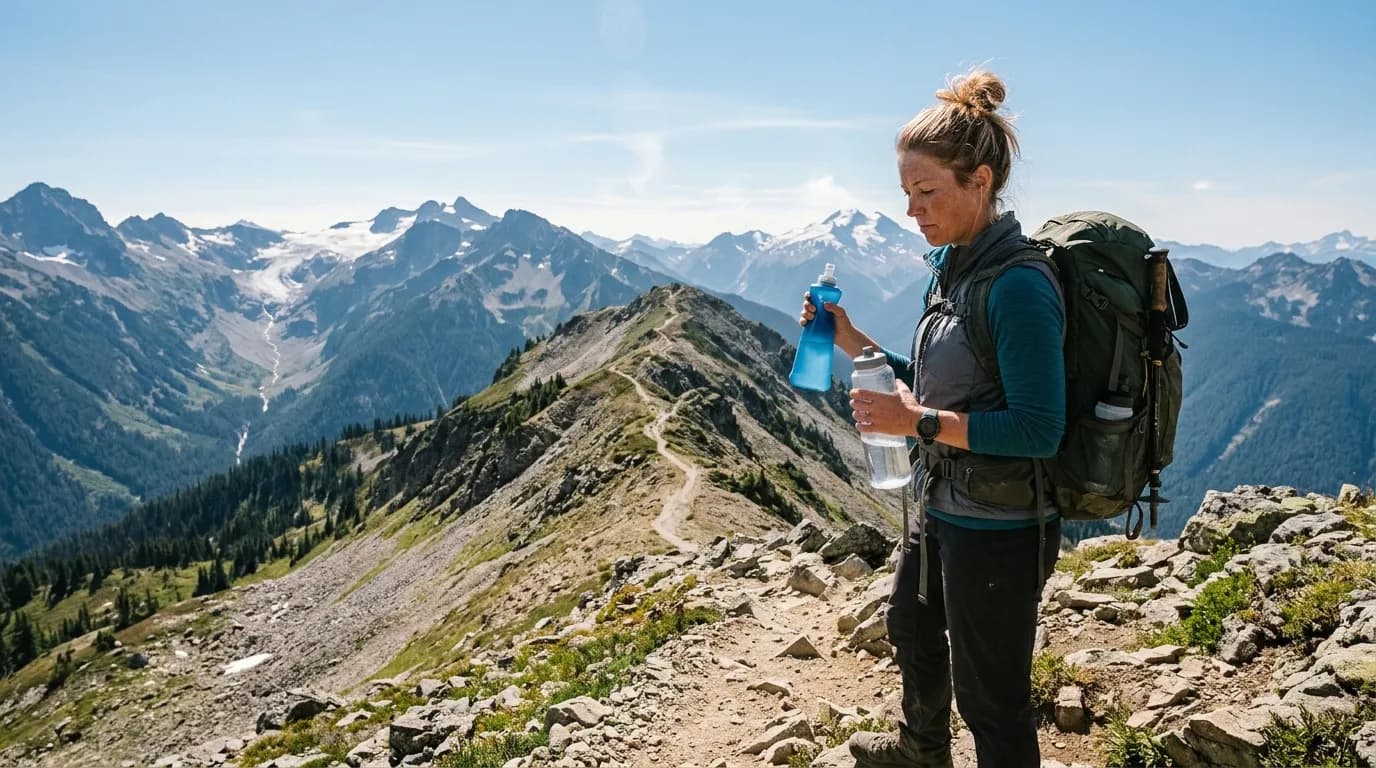
Heat swells feet; shoes that felt perfect at 8 a.m. rub at 2 p.m. Account for swelling when buying shoes. In heat, stop more often, sip water, and loosen laces slightly on flats if toes feel compressed—then re-snug for descents.
Stream crossings without dry socks afterward invite blisters. Plan a sock swap or skip the deep ford if it is optional.
Trail-specific blister patterns
Heel slip: heel lock lacing, better heel cup fit, thinner socks if volume was too tight with thick socks.
Toe tips on downhill: more toe room, trim nails, shorter downhill steps, poles for control.
Ball of foot: check insole quality, reduce pack weight, try metatarsal pad or different sock thickness.
Arch hot spots: window lacing, different arch support, possibly wrong shoe shape for your foot.
Patterns tell you which lever to pull instead of random new gear.
Starter plan: first month of foot care habits
Week one. Short walks in your hiking shoes. Note any hot spots in a notes app with location and fix tried.
Week two. Add a hill. Practice heel-lock lacing on descents. Pack tape anyway.
Week three. Half-length familiar hike with spare socks. Stop once deliberately to inspect feet mid-hike.
Week four. Full day hike distance if no unresolved hot spots. Carry hydrocolloid plus tape.
Repeat the arc after any new footwear purchase—no exceptions.
Common blister mistakes on day hikes
- Brand-new boots on the longest climb of the year
- Cotton socks because “they were clean”
- Ignoring a hot spot to save five minutes
- Tape buried at pack bottom
- Shoes too small hoping they will stretch
- Shoes too large with double socks to compensate
- Skipping break-in because the trail “is not that hard”
- Walking through wet socks all day
- Cutting toenails night before, then hiking aggressive downhill
- Assuming blisters are normal on every hike
Occasional friction happens. Routine blisters mean fit, socks, or habits need adjustment—not more toughness.
Blisters and turnaround decisions
If gait changes to avoid pain and tape fails twice, shorten the day. Limping miles stress joints and turn a skin issue into a multi-day recovery. Turning back is success when feet vote clearly.
Foot care the night before and morning of
The day before a long hike, avoid brand-new shoe experiments and long barefoot walks that abrade soft skin. Sleep in clean dry socks if your feet run sweaty—optional for some, helpful for others. Morning of: apply anti-chafe balm sparingly to known rub zones if you tested it on short walks. Lace shoes snug but not numb before you leave the driveway; re-lace at trailhead after a few minutes of walking when feet settle.
After the hike: recovery that prevents the next blister
At home, wash feet, inspect hot spots even if they did not become full blisters, and air-dry before stuffing shoes in a closet. Note in your trail daybook where rub occurred and which fix you tried. Rotate shoes to dry fully if they soaked. Replace socks that bunched or slid. Small debriefs turn one hot spot into data for the next shoe-lace-sock combination.
When to reconsider your footwear entirely
If blisters appear at the same spot on three different trails with varied socks and taping, suspect fit or shoe shape—not “soft feet.” Visit a shop with your socks and insoles, describe the pattern, and try models with different toe box or heel cup. Half-size changes and width options solve more problems than moleskin ever will on the wrong last.
Foot care the night before and morning of
Blister prevention begins before the trailhead. Trim toenails cleanly the night before—not the morning of if you rush and leave sharp corners. Sleep in clean dry socks if your feet run sweaty; starting with pruned skin helps some hikers. In the morning, inspect feet for existing hot spots from yesterday's walk. Apply preventive tape to known rub zones only if you tested that tape on a prior short hike.
At the trailhead, lace shoes while standing so heel sits correctly. Walk fifty yards in the lot and re-lace if heels lift. That parking-lot minute prevents the first-mile blister that ruins the narrative of the whole day.
Shoe and sock experiments on purpose
Keep a simple foot log for a month: shoe model, sock thickness, trail type, miles, and any hot spots. Patterns emerge faster than memory admits. Maybe thin socks work in summer shoes but fail in winter boots. Maybe one brand's toe seam always rubs your pinky. Experiments belong on two-mile loops, not on peak-bagging days with friends waiting at junctions.
When you borrow or rent footwear for a trip, downgrade distance automatically. Unfamiliar shoes deserve the same break-in respect as new purchases—even if they are technically "broken in" by someone else.
After the hike: recovery that prevents the next blister
Air feet at the car if safe to do so. Swap to dry shoes. Note any red spots in your log while they are visible. Wash socks promptly; salt and grit in fabric abrade skin on the next outing. If skin is tender but intact, rest beats pushing another long day tomorrow.
Rotate shoes if you hike consecutive weekends. Midsoles need recovery time and your skin does too. Blister prevention is a week-between habit as much as an on-trail habit.
FAQ
Are blisters inevitable on long day hikes?No. Many hikers finish long days blister-free with fit shoes, wicking socks, early hot-spot care, and reasonable break-in. Routine blisters signal fixable problems.
Should I wear two pairs of socks?Some hikers use liner plus hiking sock to reduce shear. Others find one quality sock enough. Test on short hikes; extra layers can tighten fit and cause new rub points.
Is moleskin or tape better?Both work if applied early to clean dry skin. Tape is versatile; moleskin pads help heels. Precut at home and round corners for either option.
Can I hike in running shoes?On smooth day trails, yes, if fit and traction suit the terrain. Rocky descents and heavy packs favor trail shoes with better foot protection. Fit beats category labels.
How soon should I replace hiking socks?When elastic dies, thin spots appear, or seams fray. Dead socks slip and bunch—classic blister setup.
Do waterproof shoes cause blisters?They can run warmer and hold moisture inside if feet sweat heavily. Pair with wicking socks, accept occasional dampness, or choose non-waterproof breathable shoes in dry hot regions.
When is foot pain more than a blister?Sharp joint pain, numbness, or swelling without blister signs may be fit, tendon, or nail issues needing rest and professional assessment—not more tape.
Related reading
Choose footwear wisely with Hiking Shoes vs Boots: What to Wear on Day Trails. Break in new pairs using How to Break In Hiking Footwear Without Ruining a Trip.
Blister prevention on day hikes is mostly rhythm: fit shoes, wick socks, break in honestly, stop at hot spots, tape early, swap wet socks, and bail when feet stop cooperating. Protect the skin and the day protects itself.