New hiking footwear has a reputation for betrayal. You buy them on Tuesday, lace them for a ten-mile ridge on Saturday, and spend Sunday explaining why your heels look like a science experiment. Breaking in footwear is not folklore. It is a patient process of letting materials settle, letting your feet adapt, and learning how your socks, laces, and pace interact on real ground.
This guide is for day hikers who want to break in hiking shoes or boots without ruining a trip. It covers timelines, short-walk drills, sock pairing, and the signs that say “not today” before you commit to a long descent. It is practical trail advice, not medical guidance. If you have foot conditions that affect fit, work with a clinician or a knowledgeable fitter rather than pushing through pain.
Footwear choice matters before break-in begins. If you are still deciding between low shoes and taller boots, read hiking shoes vs boots for day trails. Once you have the right category for your feet and terrain, break-in becomes a schedule instead of a gamble. Pair the schedule with blister prevention habits and your long days get quieter.
What “broken in” actually means
Broken-in footwear flexes where your foot flexes, holds your heel without sliding, and does not create new pressure points after an hour of walking. The upper softens slightly. The insole beds to your foot shape. Your lacing pattern finds its groove. You stop thinking about your shoes every mile.
Modern materials break in faster than stiff leather from decades ago, but “faster” is not “instant.” A weekend of couch wearing does not replace walking on slopes, gravel, and uneven tread. Break-in happens in motion, on terrain that resembles what you plan to hike. Flat sidewalk miles help for fit checks. They do not teach a boot how your ankle moves on a rocky step-down.
Break-in is also bilateral. Left and right feet differ. One hot spot on the little toe is data. Write it down after each short walk. Adjust laces, insoles, or sock thickness before the next outing. Small corrections early prevent dramatic tape jobs later.
Shoes vs boots: different timelines
Low hiking shoes often need less time because they flex quickly and cover less ankle. Mid-height boots take longer because more material must soften and because ankle collar pressure shows up after sustained uphill. Heavy leather boots can take weeks of gradual use. Do not let marketing copy convince you that any category is “ready out of the box” for a hard day.
Your timeline also depends on fit at purchase. A shoe that was tight in the store will not become correct through break-in. Break-in adjusts comfort at the margins; it does not fix wrong size. If the fitter said you need a half size up for downhill toe room, believe them before you commit to a long trail.
Before the first trail: home and neighborhood phase
Start indoors. Lace the footwear as you will on trail. Walk on stairs if you have them. Sit and stand. Feel for immediate pinch points at the toes or sides. If something hurts in ten minutes at home, investigate before you add miles.
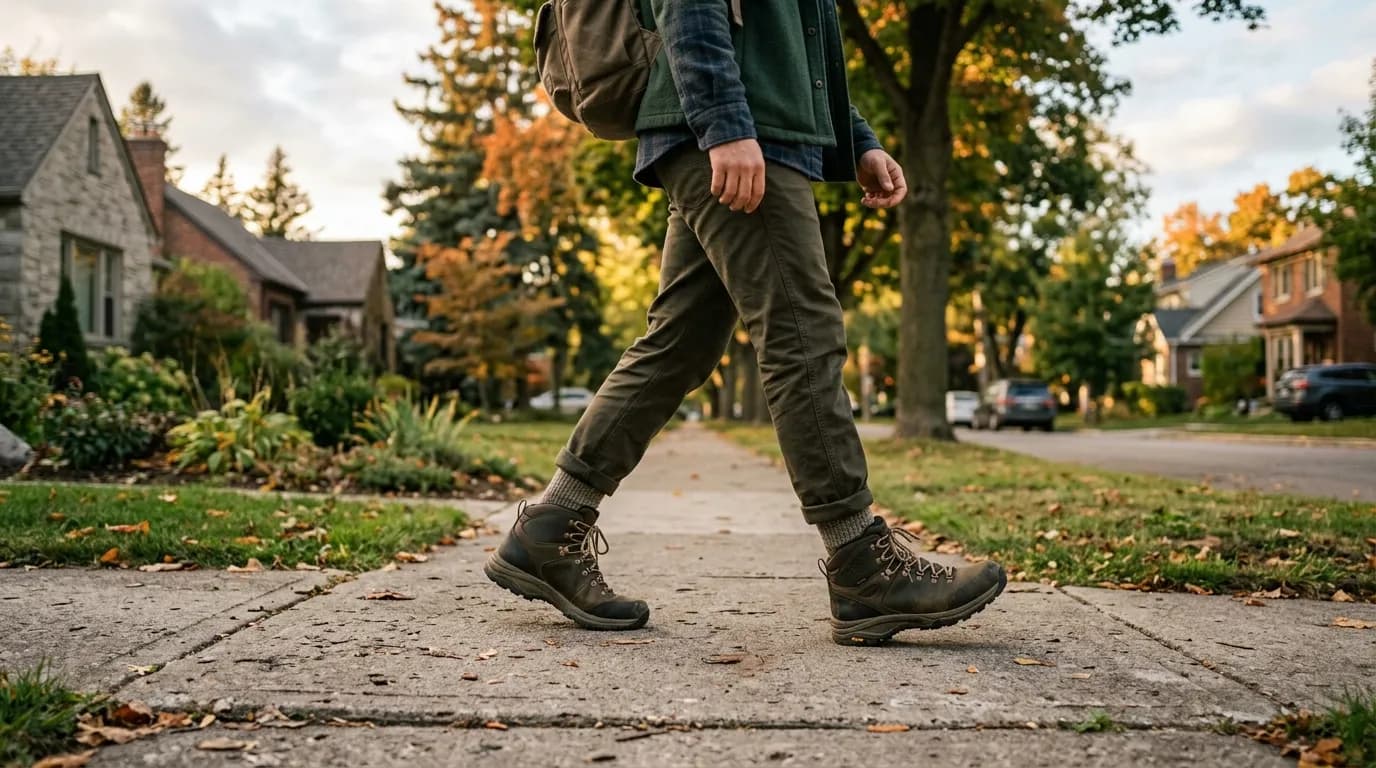
Then walk the block. Thirty minutes on pavement with the socks you plan to use. Note heel lift, toe bump, and any warmth on the sides. Come home, inspect feet, and let footwear dry if your feet sweat. Repeat the next day if everything felt neutral or mildly stiff but not painful.
Do not “speed break-in” with soaking boots in hot water or blasting them with a hair dryer unless a manufacturer explicitly recommends a method for that model. Random internet hacks shrink leather unpredictably and void warranties. Patience is lighter than regret.
Week one: short walks with purpose
Plan three to five short outings in the first week, depending on stiffness. Each outing should have a job.
- Walk one: Flat local path, 45–60 minutes. Goal: confirm heel lock and toe room on level ground.
- Walk two: Include a hill or stairs if possible. Goal: watch ankle collar and toe slide on incline.
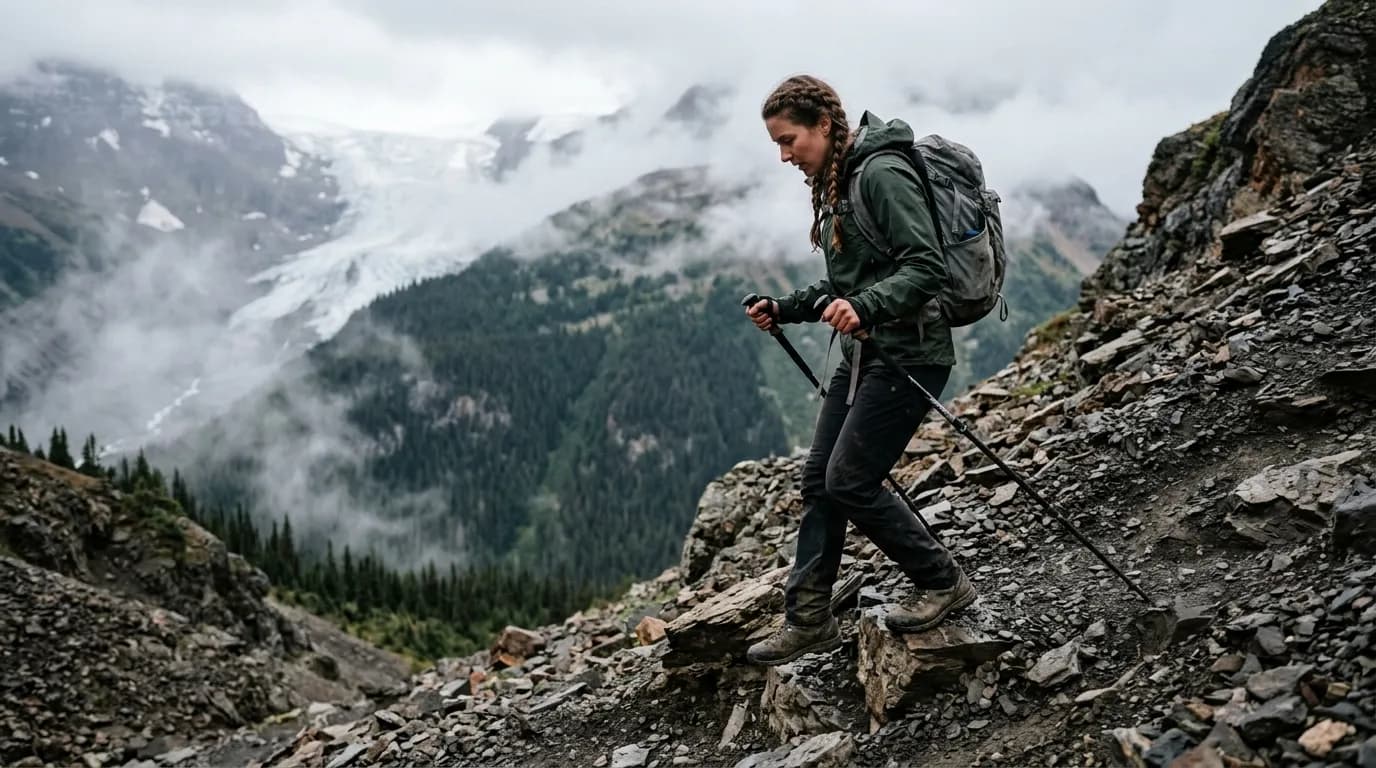
- Walk three: Mixed surface—gravel, dirt, a few uneven steps. Goal: feel flex points and side pressure.
- Walk four: Carry a light daypack similar to your hiking load. Goal: notice if weight changes lace pressure.
- Walk five: Slightly longer, still under 90 minutes unless everything has been flawless. Goal: confirm repeat comfort.
After each walk, journal one line: where, how long, what felt warm, what lacing you used. Patterns appear fast. Maybe your heel lifts only on downhills. Maybe your wide forefoot needs thinner insole under the arch. Data beats guessing on trip day.
Week two: trail-shaped miles
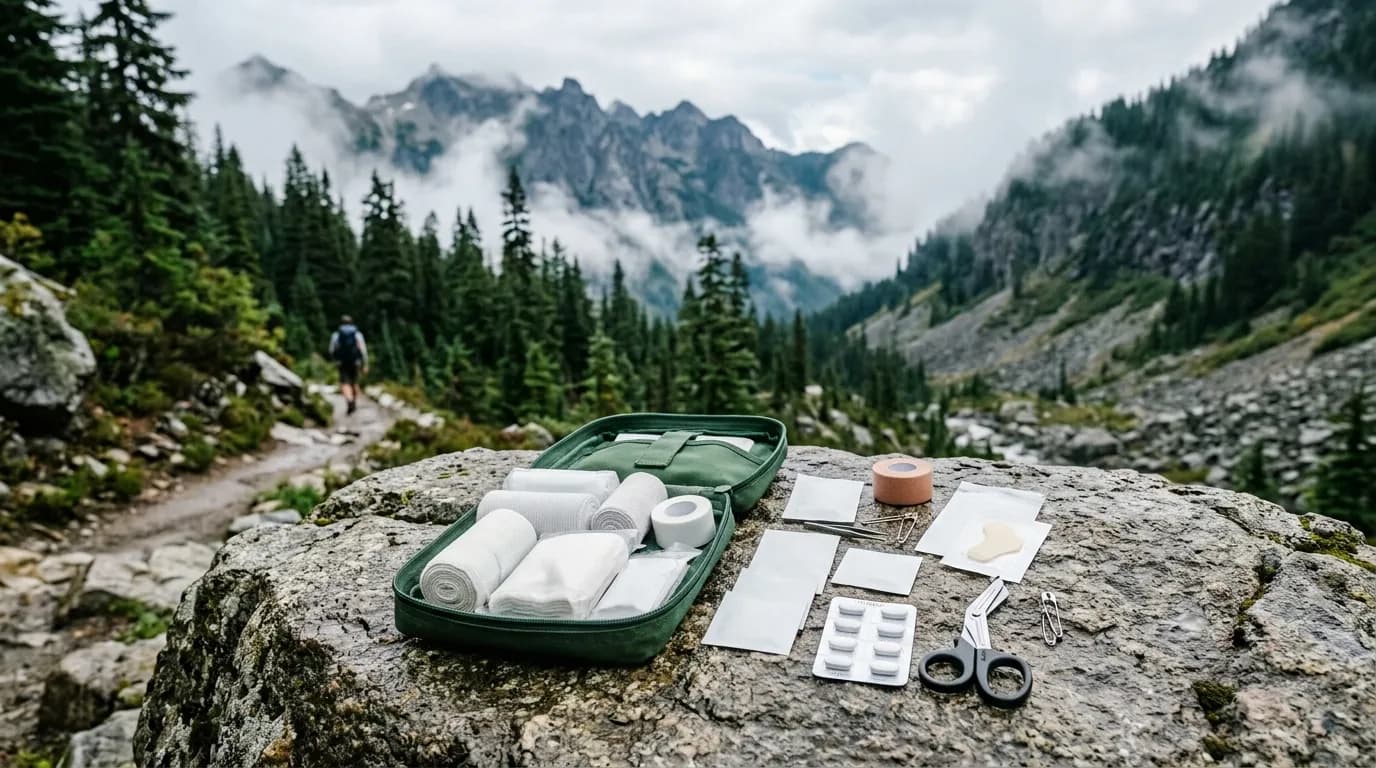
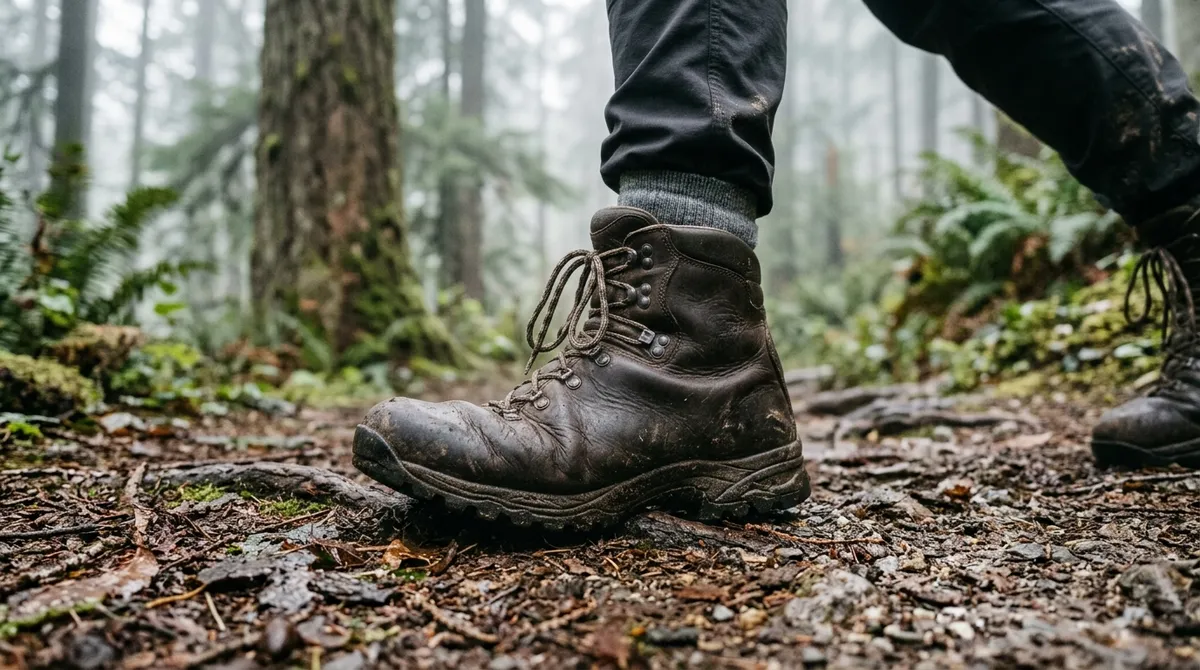
Move to actual dirt. Pick a local trail with modest elevation and a clear bail-out point. Aim for two to three hikes between 90 minutes and half a day, not a full epic. Wear the same socks you will use on the target trip. Carry a small blister kit and stop early if hot spots appear.
Practice lace management on the trail. Many hikers use a snug lower lace for stability and a slightly looser upper to reduce pressure on the instep. On downhills, a heel-lock lacing technique can reduce slide. Learn these adjustments now, not when your group is already moving.
Test wet feet if your climate is humid or rainy. Cross a shallow stream if safe, or hike after light rain on a known path. Wet skin changes friction. Better to learn on a two-hour loop than on mile eight of a planned summit push.
Socks, insoles, and the hidden half of break-in
Footwear break-in is really a system break-in. Socks matter as much as uppers. Try the sock thickness you will hike in, not thin dress socks for “comfort.” A sock that is too thick can make a good fit feel tight after swelling. A sock that is too thin can let your foot slide.
Factory insoles are fine for many hikers. Others need aftermarket support or a different volume fill. Swap insoles before you declare the boot “wrong.” Sometimes one thin insole change fixes heel lift. Sometimes the boot is wrong. Give yourself one controlled experiment before deciding.
Trim toenails before longer break-in walks. Long nails bump the front on descents and create mystery toe pain blamed on boots. Simple maintenance prevents misdiagnosis.
Signs you are ready for a long day hike
Ready means repeatable comfort, not perfect bliss. Use this checklist honestly.
- No new hot spots after a half-day hike with a pack.
- Heel stays stable on downhills with your chosen lacing.
- Toes have a little room at the front when standing slightly downhill on a step.
- Stiffness feels like support, not sharp pain at flex points.
- You can walk the last hour without re-lacing every fifteen minutes unless terrain changed dramatically.
If one item fails, schedule another short day before the big trip. Postponing a marquee hike beats limping through it. Trails forgive patience. They rarely forgive swollen heels worn thin.
Signs you should stop and reassess
Sharp pain, numb toes, bruised toenails after moderate mileage, or blisters in the same spot twice mean stop. Revisit fit, socks, and lacing. Consider return or exchange if the shoe never improves on short walks. Continuing through structural pain is how a $180 purchase becomes a closet ornament.
Also stop if the footwear changes shape oddly—collapsed midsole feel, delaminating sole, or eyelets pulling unevenly. Manufacturing defects happen. Catch them during break-in when returns are still easy.
Breaking in while traveling
Sometimes you buy footwear on the road or must replace a blown-out shoe before a planned hike. Compress the timeline but not the logic. Walk the hotel corridor, then a flat park path, then a short trail with bail-out. Carry extra blister care. Tell partners you are on a shortened break-in plan so pace stays conservative.
Do not combine brand-new footwear with brand-new everything else—new socks, new pack, new route, new weather. Change one variable. Your feet are the variable you least want to surprise.
Starter plan: four-week gentle timeline
If your calendar allows, this plan gets most day hikers to a confident long day without drama.
- Week 1: Indoor checks plus three neighborhood walks, 30–45 minutes each.
- Week 2: Two short trail hikes under 90 minutes with pack weight.
- Week 3: One half-day hike with elevation and a deliberate downhill section.
- Week 4: Your target long day, or one more half-day if week 3 showed hot spots.
Fast break-in for experienced hikers with familiar brands can shrink to ten days if shoes are low-cut and fit is excellent. Stiff boots on rocky terrain deserve the full month. Match the plan to the footwear, not to Instagram urgency.
Common mistakes that ruin trips
- First real use on the hardest hike of the year: Save marquee days for trusted systems.
- Wrong sock experiment on trip morning: Test socks on break-in walks, not at the trailhead.
- Ignoring mild hot spots: Tape early on break-in days to learn what works.
- Buying too small because “they will stretch”: Some stretch; toe room should exist early.
- Skipping downhills during break-in: Descents expose heel lift and toe bang.
- Never wearing a pack: Load changes foot slide and lace pressure.
- Believing waterproof means no break-in: Membranes do not remove fit physics.
- Rotating two new pairs at once: Pick one primary pair until broken in.
Another mistake is treating discomfort as character building. Mild stiffness is normal. Sharp pain is information. Learn the difference before your trip narrative depends on it.
Care during break-in extends shoe life
Clean mud after walks so uppers dry evenly. Remove insoles to dry separately in humid climates. Do not store damp footwear in a hot car trunk for days. Gentle care during break-in sets habits that keep shoes alive for seasons.
Rotate if you can. Two pairs broken in on different schedules give feet rest and let you compare which flex pattern you prefer on rock vs gravel. Rotation is a luxury, not a requirement, but it helps high-mileage day hikers.
When old footwear returns to the lineup
Breaking in is not only for new boxes. Shoes you have not worn in six months may feel stiff again. Run a shortened re-break-in after long storage: two short walks, one trail day, then commit. Stored rubber can harden; uppers can dry and crack if poorly stored. Inspect before trusting old friends on a long day.
FAQ
How long does it take to break in hiking boots?
Many modern mid-height boots need one to three weeks of regular short walks plus a few trail outings. Stiff leather or heavy packs can extend that. Low shoes may feel trail-ready within a week if fit is excellent and terrain is moderate.
Can I break in boots only by wearing them around the house?
House wearing helps for initial fit checks, but it is not enough alone. You need hills, uneven ground, and pack weight to reveal real hiking pressure points.
Should boots hurt at first?
They may feel stiff and snug in places. They should not cause sharp pain, numbness, or repeated blisters on short walks. Discomfort that improves is different from pain that worsens.
Do I need different break-in for waterproof boots?
Waterproof models still need flex and fit tuning. They may run warmer, which changes sweat and friction. Test in conditions similar to your hikes and dry footwear thoroughly between walks.
What if my feet are different sizes?
Fit to the larger foot and use socks or insole tweaks for the smaller. Do not split sizes unless a fitter recommends it for your situation. Break-in walks will show which side needs attention.
Can I speed break-in with longer miles immediately?
Long miles on stiff footwear increase blister and tendon irritation risk. Gradual load beats one heroic day that sidelines you for a week.
Related reading
Choose the right category before you invest weeks breaking in the wrong silhouette. Read hiking shoes vs boots on day trails, then stack prevention with blister prevention for day hikes. Your feet will thank you on the first long descent when the laces, socks, and flex all feel familiar instead of experimental.
Breaking in footwear is a quiet skill. It does not look heroic on social media. It does keep you walking smoothly when the view finally opens. Start small, note what your feet say, and save the big miles for when the shoes feel like part of your stride instead of a debate you carry in your pack.
Daily Peaks favors trips that end well. Patient break-in is one of the cheapest insurance policies in hiking. No extra grams, no gimmicks—just repeated short days that teach your footwear how you move before the mountain asks you to move faster.
When your break-in log shows three clean outings in a row, tape the note inside your gear closet: “Ready.” That single word saves you from talking yourself into a premature summit on shiny new soles. Trust the log. Trust early hot-spot stops. Trust that the best break-in story is the boring one where nothing hurt enough to remember.
Finally, keep one pair “trip ready” at all times if you hike often. Break in the next pair before the current pair dies. That overlap removes the panic purchase before a booked vacation hike. Continuity beats crisis shopping every time.
Your knees and your calendar both prefer shoes that already know your pace. Give them the short walks they need, and they will carry you through the long ones without stealing the story.
That is the whole game: fit right, walk small, note honestly, then go big when the footwear disappears from your attention and the trail takes its place.
See you on the dirt when the boots feel like yours.
Walk steady.
— Daily Peaks