A day hike promises daylight, yet the most common “unexpected overnight” stories begin with someone who thought the sun was guaranteed. A headlamp is the piece of gear that turns a late descent from a stumble in the dark into a controlled walk out. It weighs less than a granola bar and matters more than half the gadgets in your pack on the day you actually need it.
This guide builds a compact day-hike basics kit around a trustworthy headlamp: what brightness and beam pattern mean on trail, how to store batteries, what else belongs in the same pouch, and how early starts and late finishes change your planning. Pair timing decisions with our sunrise hike timing guide, and use the broader carry list from day hike packing list for beginners so your lamp is not floating alone in an empty pack.
Why a headlamp beats a phone flashlight
Phone flashlights drain batteries you may need for navigation or communication. They do not leave your hands free for poles, maps, or steadying on roots. A headlamp points where you look, which matters on uneven tread after sunset when depth perception collapses into guesswork.
Modern LED headlamps are light, bright, and inexpensive compared to the cost of a misstep. For day hiking, you are not shopping for cave-exploration lumens. You want reliable output for two to four hours on a moderate setting, a flood beam for camp chores and close work, and a spot or mixed beam for seeing trail markers ten to twenty meters ahead.
Treat the headlamp as safety gear, not night-hiking luxury. Even if you plan to finish by lunch, fog, injury, wrong turn, or a long photo stop can push you past civil twilight. The lamp is your margin.
Choosing a headlamp for day trails
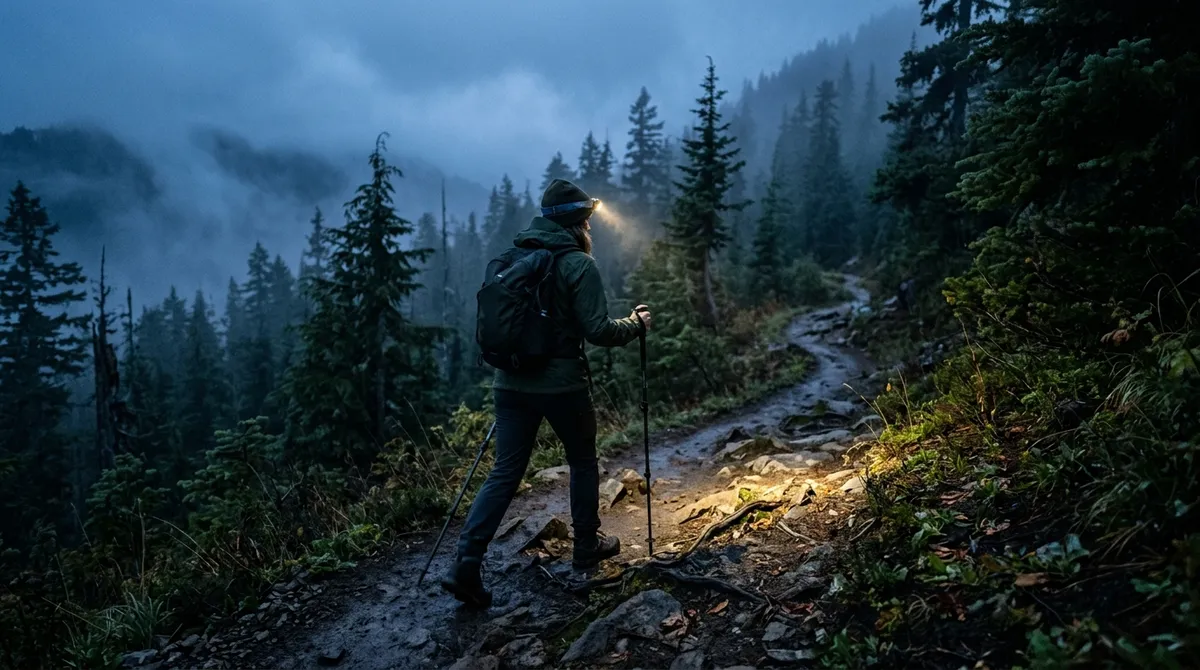
Look for adjustable brightness, a lock mode so it does not turn on in your pack, water resistance for rain and sweat, and comfortable strap material that does not pinch over a hat or buff. USB-rechargeable models reduce waste; replaceable-battery models swap easily on trail if you carry spares. Pick one system and stick with it so you know your routine.
Lumen counts are marketing loudness. On trail, beam shape matters more. A wide flood helps you cook at a shelter or read a map at your chest. A tighter spot helps pick footholds on rocky descent. Many headlamps offer a middle “hiking” mode that balances burn time and visibility. Test yours on a neighborhood walk after dark before trusting it on a forest switchback.
Red-light mode is underrated for preserving night vision and not blinding partners at breaks. Some hikers use red in tent or shelter contexts; on open trail you may still prefer white for obstacle spotting. Know how to switch modes with gloves on if you hike in cold seasons.
Rechargeable versus replaceable batteries
Rechargeable headlamps suit hikers who charge gear between outings and hike often enough to remember. Carry a small power bank on long days if you rely on phone navigation too. Replaceable AAA or AA models suit infrequent hikers, cold trips where battery swap is faster than warming a depleted cell, or multi-day travel where outlets are uncertain.
Store spare batteries in a zip bag, not loose in the pack where they can short against coins. For rechargeables, develop a habit: return the lamp to the charger after every hike, like you would with trekking poles by the door. A headlamp with unknown charge is a headlamp you do not trust.
The day-hike basics kit: what lives with the lamp
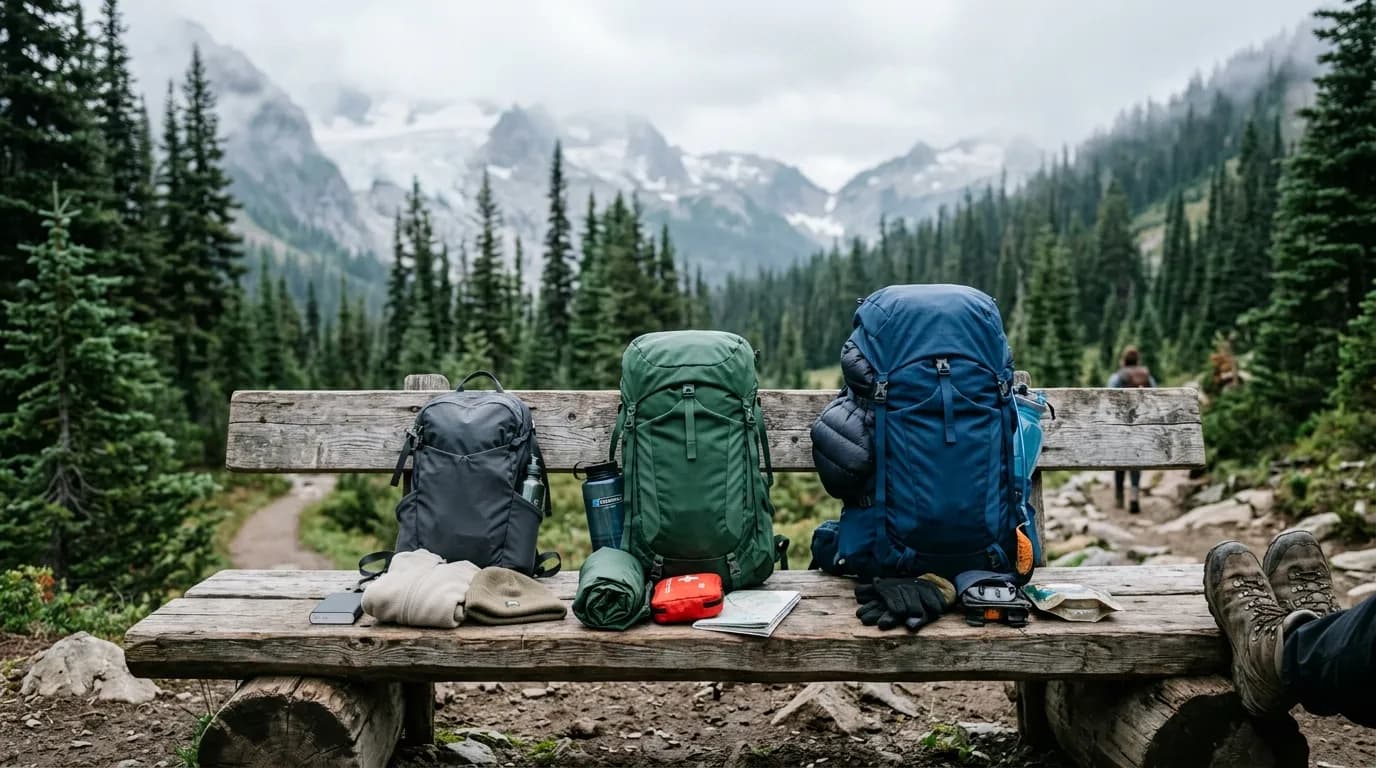
Think of a small pouch that answers minor problems and delays: light, warmth, navigation backup, small repairs, and basic first aid. The headlamp is the anchor. Around it, pack items that are useless until suddenly essential.
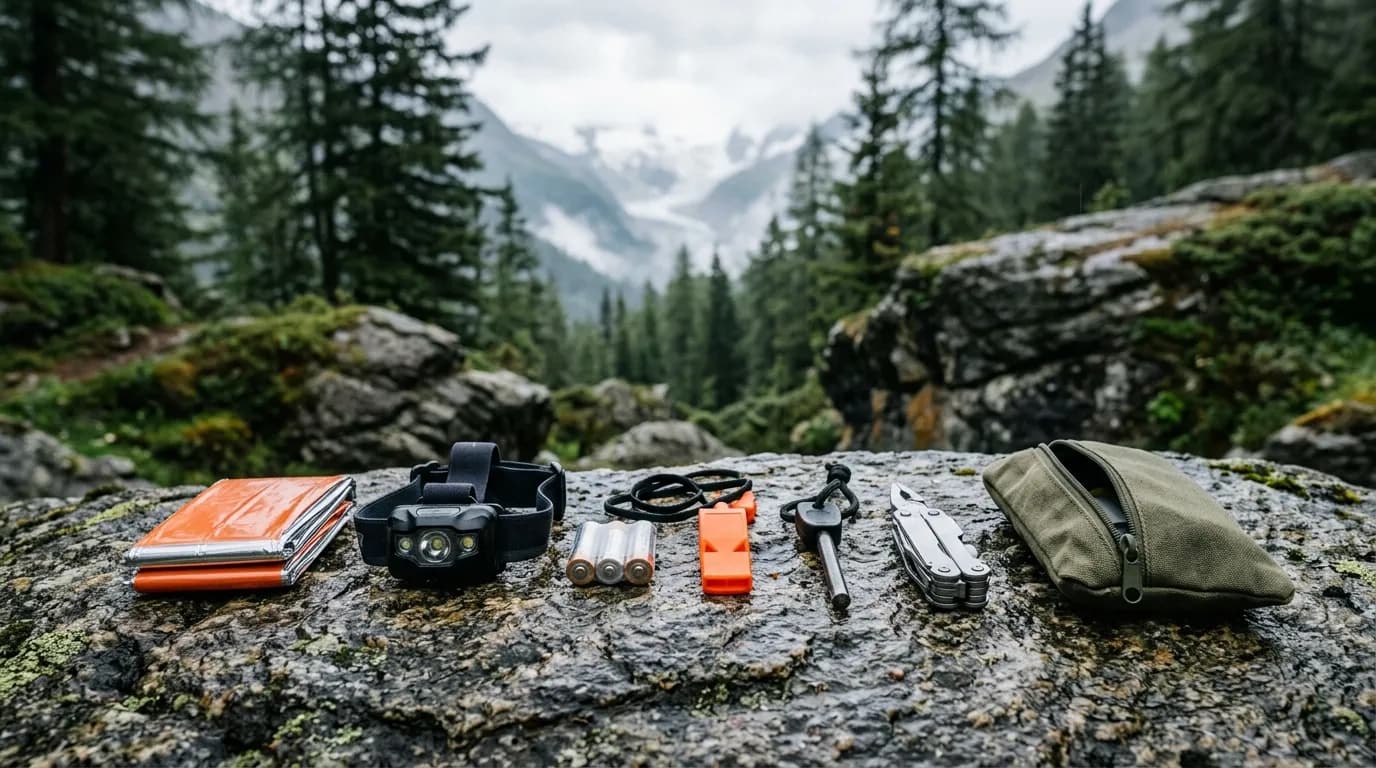
Suggested core, adjusted to your climate and route:
- Headlamp with known-good batteries or charge
- Whistle on pack strap or inside pouch
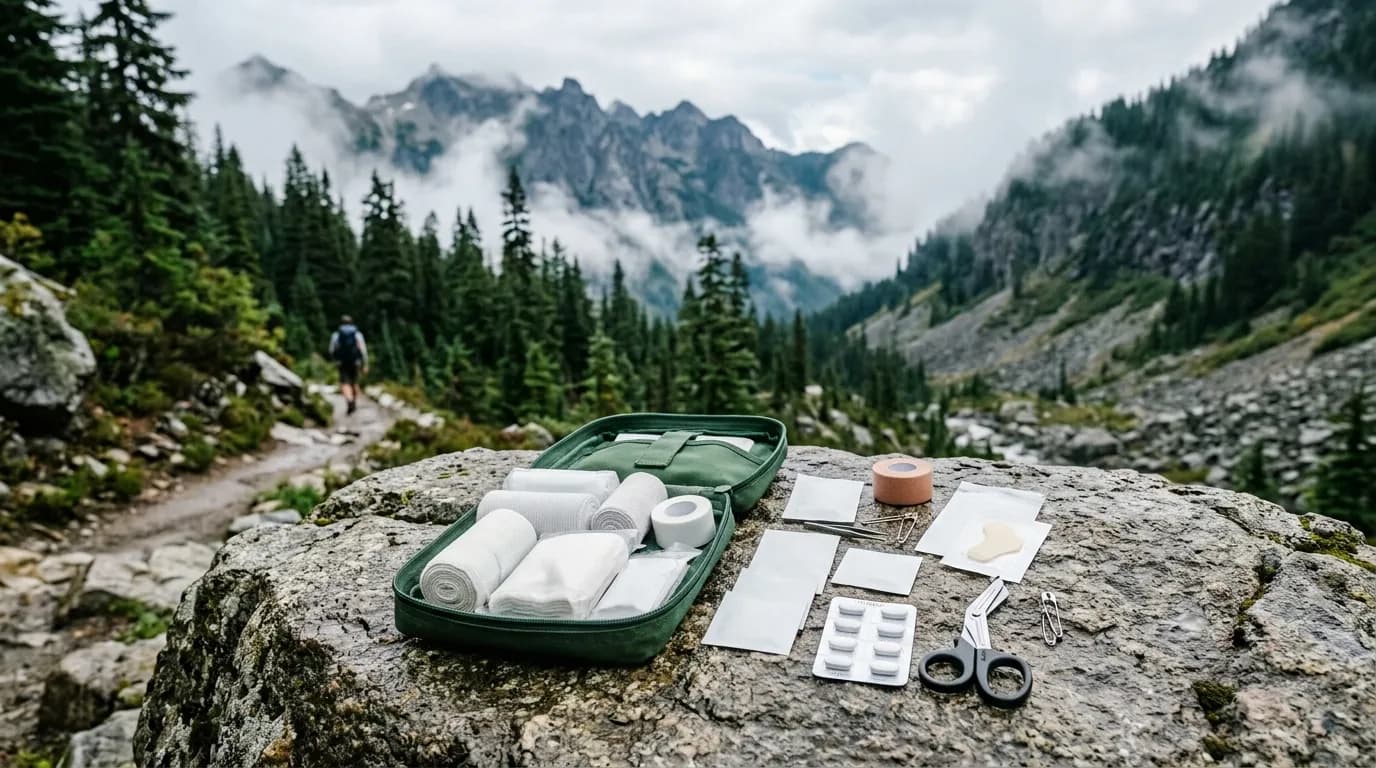
- Compact first-aid: blister care, adhesive bandages, gauze, tape
- Emergency warmth: light beanie, gloves, or emergency bivy if remote
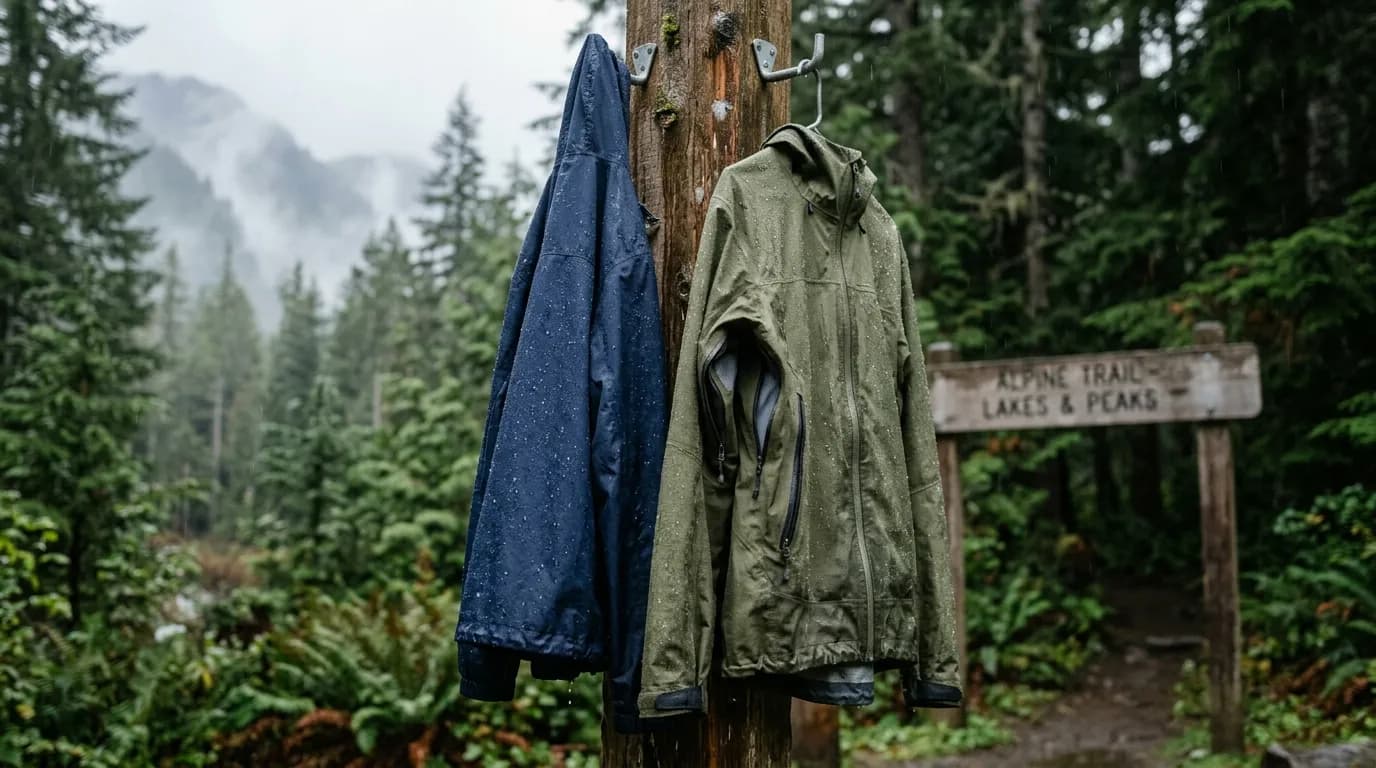
- Rain shell or emergency poncho
- Fire starter only where legal and appropriate; many day hikers skip fire tools on established trails
- Small knife or multitool
- Duct tape wrapped on a trekking pole or a few strips flat-packed
- Backup navigation: map, compass, or downloaded offline map you know how to use
- Extra calories: one bar or gel beyond planned snacks
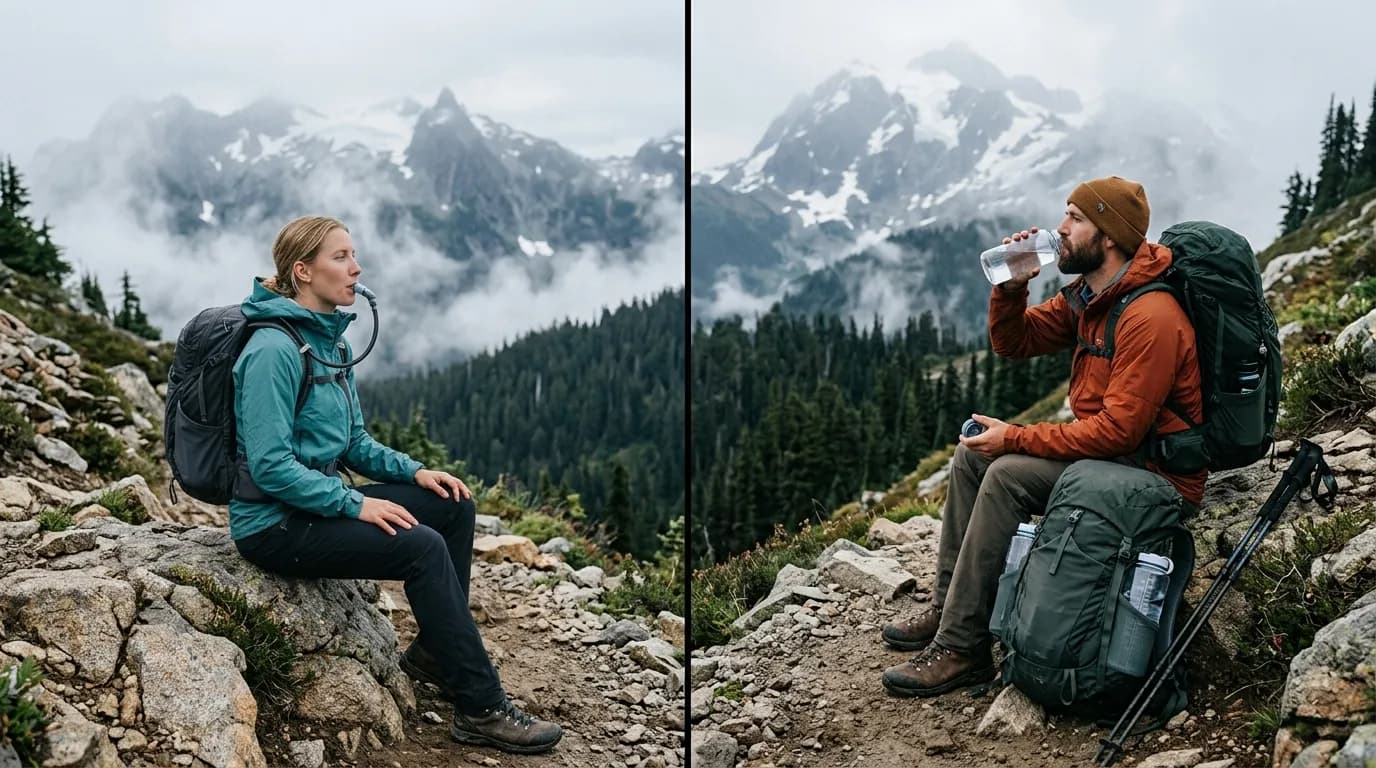
- Water purification tablet or filter straw for unexpected extended time
This is not a survival bunker. It is a delay-and-discomfort reducer. Edit for local norms: desert days need sun protection emphasis; buggy forests need repellent; winter daylight needs more insulation.
Where the kit lives in your pack
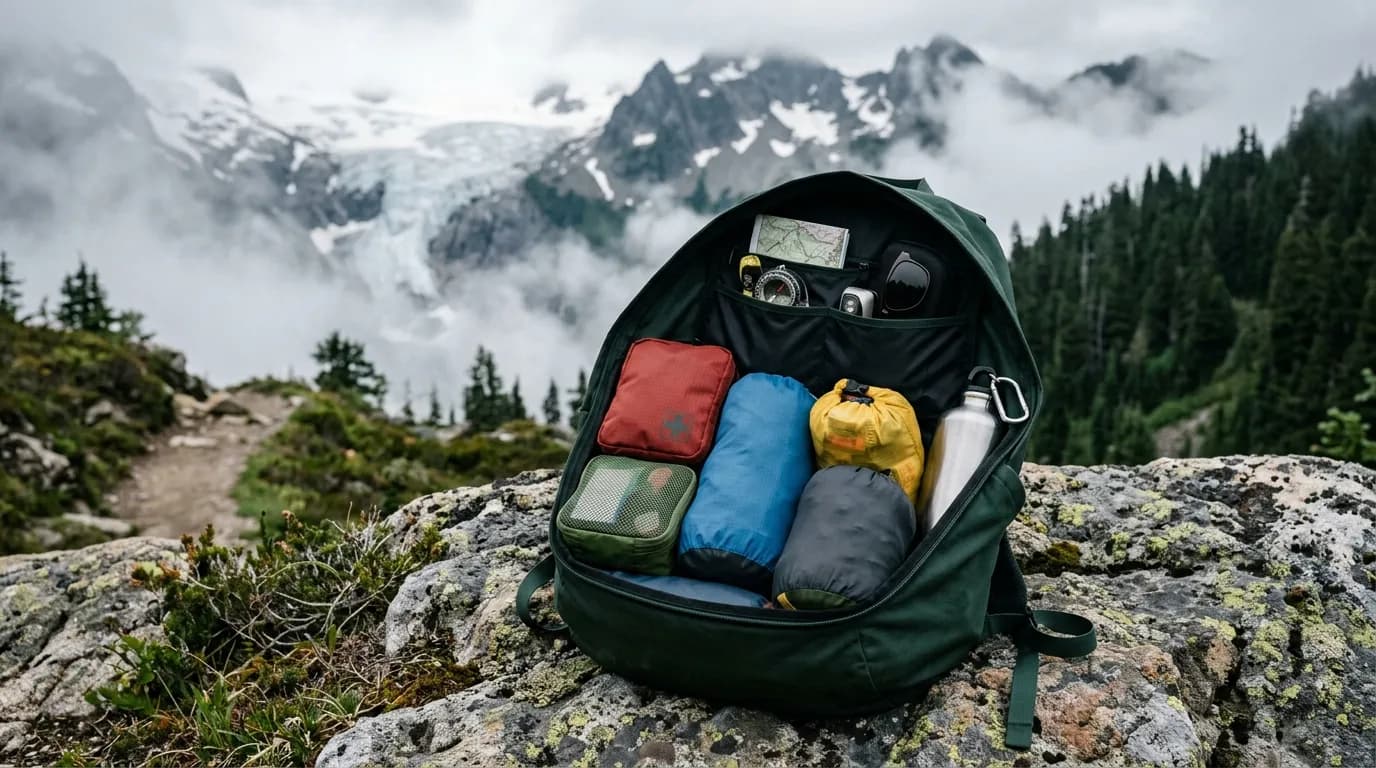
Put the headlamp and pouch where you can reach them without unpacking everything. Top lid, hip belt pocket if large enough, or a dedicated front pouch on the pack works. At dusk, fumbling through a main compartment is how headlamps get “lost” while sitting twelve inches away under a rain jacket.
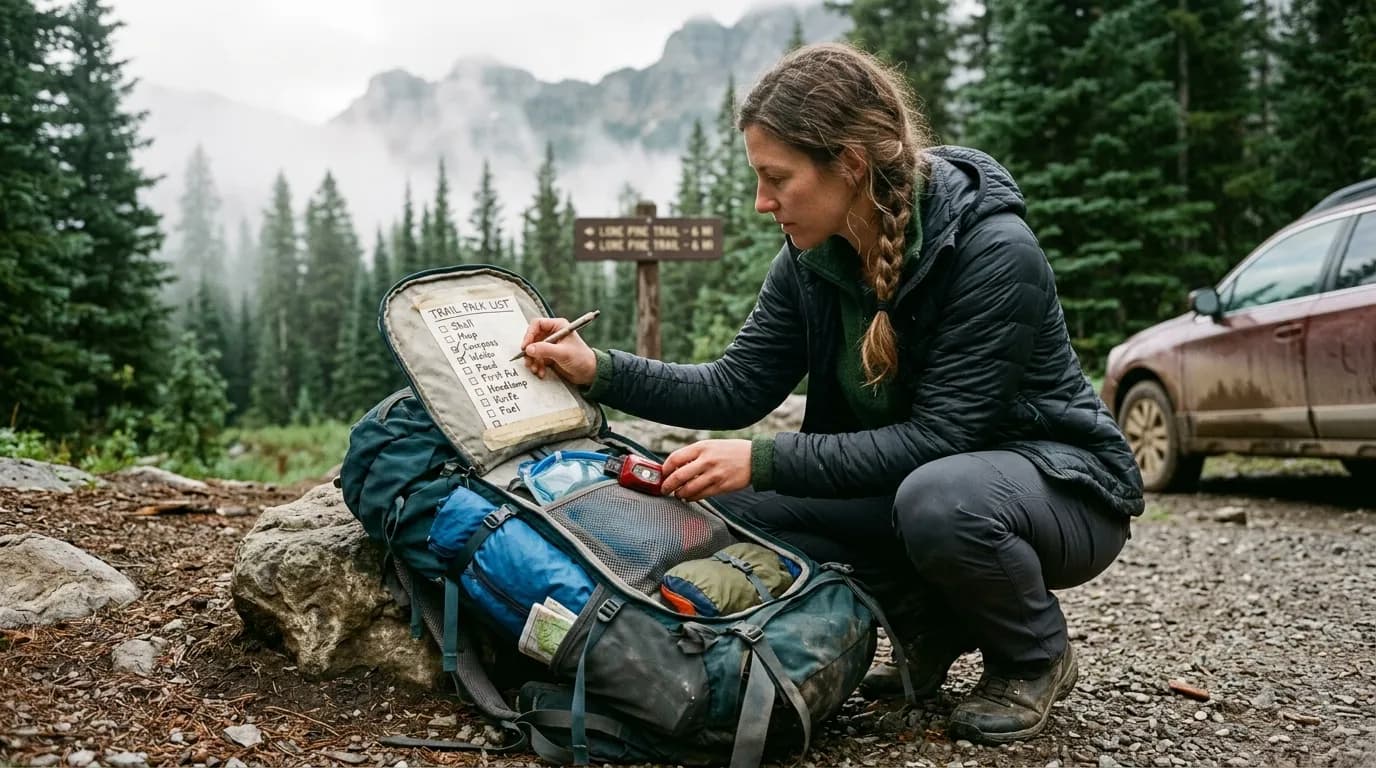
Check the kit at home, not on trail. Once a month, turn the lamp on, inspect band elasticity, confirm spare batteries, replace expired snacks, and refresh tape. First-aid items migrate mysteriously; restock when you use them, not “next season.”
Early starts, late finishes, and the lamp
Sunrise hikes are quiet magic and also low-light trail time. If you begin before full daylight, you need the headlamp for the first mile even on easy tread. Roots and rocks hide in flat morning gray. Read sunrise hike timing guide for how to plan start times against terrain and season; the lamp is the physical backup to that math.
Late finishes happen when views linger, knees slow on descent, or groups spread out. Build a turnaround time that includes buffer for twilight. Civil twilight ends faster than people expect in valleys surrounded by ridges. When in doubt, start the descent earlier and treat the headlamp as insurance you hope not to use.
If you use the lamp on trail, dim it when passing others to avoid blinding uphill hikers. On shared paths, a courteous angle downward keeps social peace and still lights your feet.
First aid and self-care in the same breath
The basics kit overlaps first aid. Blister tape saves days; many “injuries” on day hikes are hot spots ignored until they are holes. Carry moleskin or dedicated blister dressings and know how to apply them dry. Small scissors or a safety blade help more than you expect.
Pain relief is personal and medical guidance varies; many hikers carry a few tablets they tolerate for headaches or inflammation after consulting their own health context. This article is not medical advice. The broader point is that discomfort slows groups, and slow groups meet darkness.
Include any personal essentials: epinephrine if prescribed, inhaler, allergy meds. Day hikes do not exempt anyone from personal medical needs because the itinerary said “home by dinner.”
Navigation backup when the phone dies
Phones combine map, camera, and flashlight poorly when battery hits five percent. A paper map of your route or a printed screenshot in a zip bag weighs little. A compass helps if you know how to orient the map; if not, learn basics before relying on it symbolically.
Download offline maps before you lose service. Tell someone your plan. The headlamp lets you read that map at a junction after sunset when panic would otherwise win.
Weather and the kit
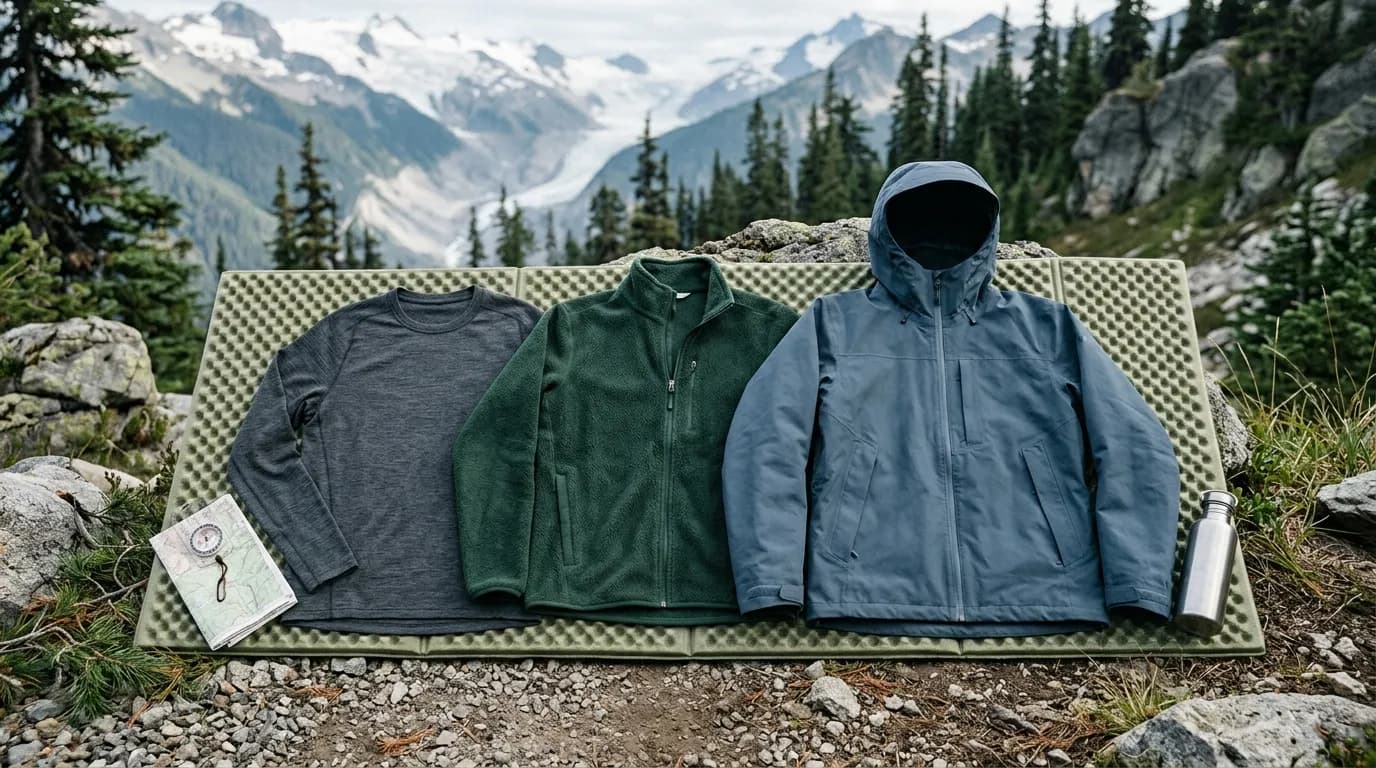
Rain without shell becomes cold without light—a bad combination. Keep the rain layer accessible, not buried. Hypothermia on day hikes often involves wet plus wind plus stillness, not only subzero temperatures. The lamp helps you keep moving safely to shelter or the car instead of sitting miserable in dark wet cotton.
In heat, the kit still needs electrolytes and sun protection. Heat delays cause late finishes too. Water planning belongs in the same conversation; see linked packing guidance in day hike packing list for beginners.
Training the habit
Every hike, confirm lamp location and charge. Every season, practice putting it on in under thirty seconds with gloves. Every year, replace elastic straps that lost stretch. Gear fails gradually until it fails suddenly.
Teach partners where the kit lives. If one person carries all group safety items, the group has a single point of failure. Split critical items across two packs on group hikes when sensible: two lamps, two whistles, shared first aid.
Choosing brightness modes for real trail tasks
Most headlamps ship with a high beam that looks impressive in the store and a medium mode you will actually use for two hours. Learn your lamp’s runtime chart before a big day. High mode is for signaling, brief searches, or reading a map at a junction when you need extra throw. Medium mode is for walking. Low mode is for camp chores, tent zippers, and preserving battery when you already know the tread.
Strobe and SOS modes exist for emergency signaling. Practice activating them once so you are not scrolling modes in actual stress. Partners should know the same sequence. A confused button dance at dusk is how simple problems feel complicated.
Beam color temperature matters more than spec sheets admit. Cool white LEDs reveal roots and contrast on rocky descents; warmer tones feel easier on eyes during long hours but can flatten depth perception on mixed terrain. Pick what you have tested on dirt, not on carpet.
Group hikes, kids, and shared responsibility
On group day hikes, agree before leaving who carries the spare batteries and who carries the group first-aid pouch. Rotating that role spreads skill and prevents one person from always being the “parent pack.” Kids old enough to carry a small daypack can carry their own headlamp if an adult verifies charge at the trailhead—a ritual that builds habit faster than lectures.
If one hiker in the group is consistently slower on descent, plan turnaround times assuming that pace, not the fastest member’s pace. The lamp becomes relevant when math was optimistic. Align timing ideas with our sunrise hike timing guide when early starts compress your daylight buffer.
Seasonal tweaks without rebuilding the kit
Summer adds long daylight but afternoon thunderheads that delay descents. Winter adds short daylight even on “easy” mileage. Spring mud slows everyone. The pouch contents shift slightly—more insulation in cold months, more sun protection in hot months—but the headlamp stays year-round. Seasonal edits should take five minutes at home, not become an excuse to skip the kit entirely because “it’s just a quick loop.”
In buggy seasons, store repellent away from lamp lenses and first-aid tape; solvents can cloud plastic. In wet seasons, keep lamp batteries in a small dry bag inside the pouch even if the lamp is marketed as water resistant. Resistance is not immunity.
Common mistakes
- Leaving the headlamp in the car because “it is a day hike.”
- Relying on phone flashlight until battery is critical.
- Unknown battery charge at trailhead.
- Buried lamp at bottom of main compartment.
- Ultra-cheap lamp with failing switch after one season.
- First-aid pouch empty of the one item you always need.
- No backup calories when a two-hour delay happens.
- Starting a sunrise hike without testing beam on actual trail tread.
Starter plan: assemble the pouch in one evening
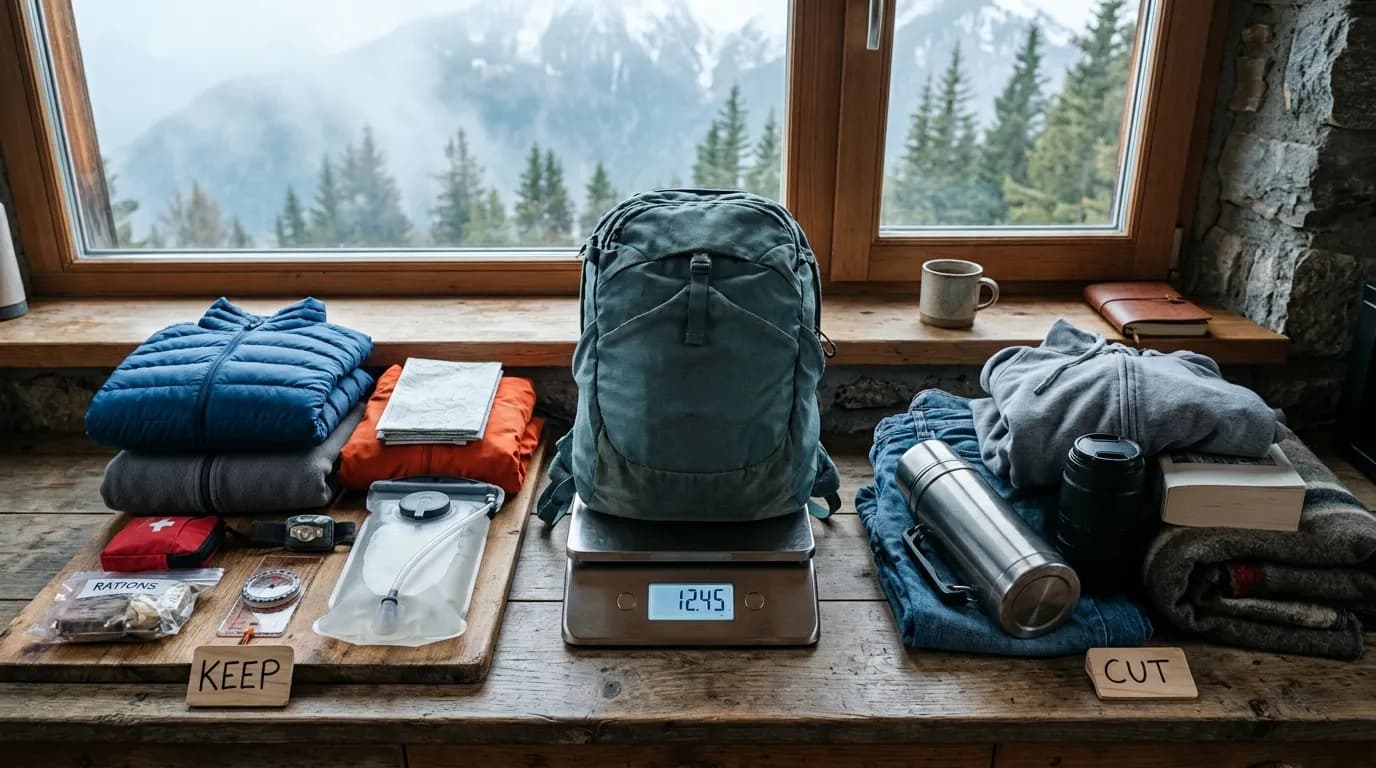
Gather a quart-size zip bag or small stuff sack. Add headlamp, verified charged. Add whistle, blister kit, tape, shell, snack, map snippet for your usual trail. Weigh it. It should feel modest. Attach a carabiner or bright ribbon so the pouch is visible when you dig.
Next morning, hike a familiar loop and simulate a late finish: at the last mile, turn the lamp on even if sun remains, and practice walking with it. Adjust strap tension and hat compatibility. After the hike, recharge or log battery status on a calendar. Repeat monthly.
FAQ
How many lumens do I need for day hiking?
One hundred to three hundred lumens on a moderate setting is enough for trail walking. Higher bursts help for signaling or scanning, but burn time drops. Prioritize beam quality and battery life over maximum lumen bragging rights.
Should I carry two headlamps?
Solo remote hikes benefit from a backup light or spare batteries. Popular local day hikes often need only one reliable lamp plus phone as last-resort only. Match redundancy to route remoteness.
Are rechargeable headlamps safe in cold?
Cold can reduce runtime. Keep the lamp inside a jacket pocket before use in winter, carry spare cells if using replaceable batteries, and know that performance drops when batteries chill.
Where does a headlamp fit in Leave No Trace thinking?
Use low red modes in shared camps, avoid shining into wildlife or other hikers’ eyes, and pack out failed batteries properly. Light pollution is minor compared to cities but courtesy still matters on trail.
Can kids carry their own lamp?
Yes, with a lightweight model and adult check of charge before start. Kids feel empowered by their own beam and are easier to spot in dusk if separated by a few meters on switchbacks.
Related reading
Time your starts and buffers with the sunrise hike timing guide, and slot the lamp into a full carry list via day hike packing list for beginners. Light is small until the day you need it; then it is everything.
Educational trail guidance only. Carry and use safety gear according to your route, skills, and local regulations.