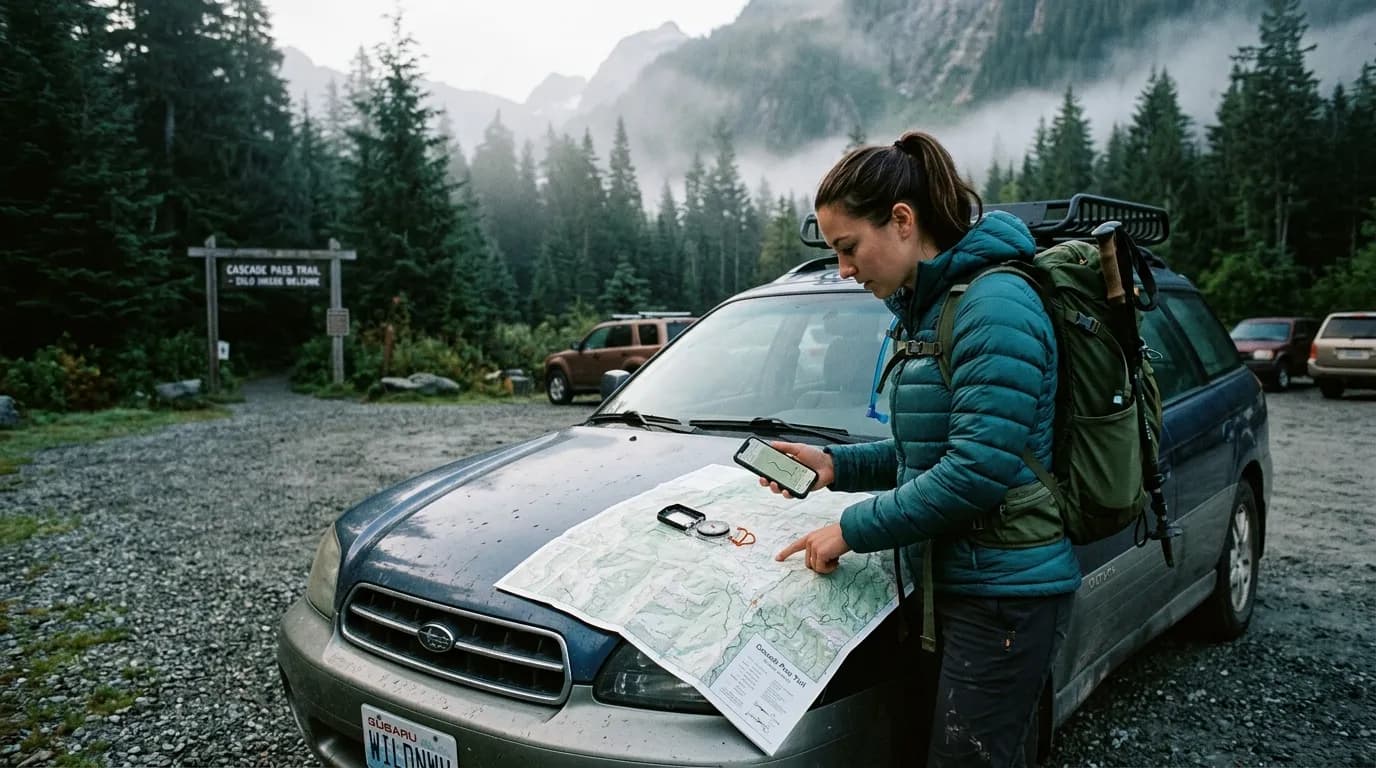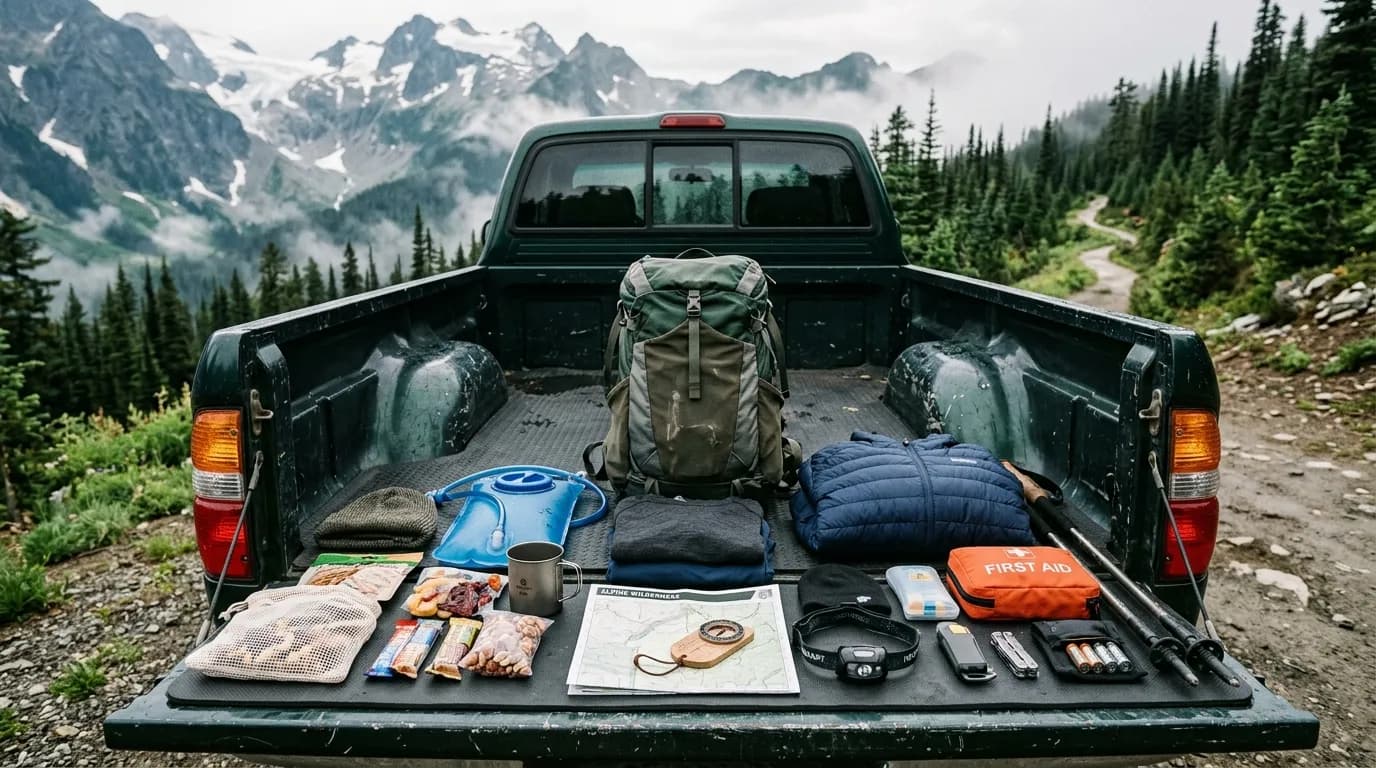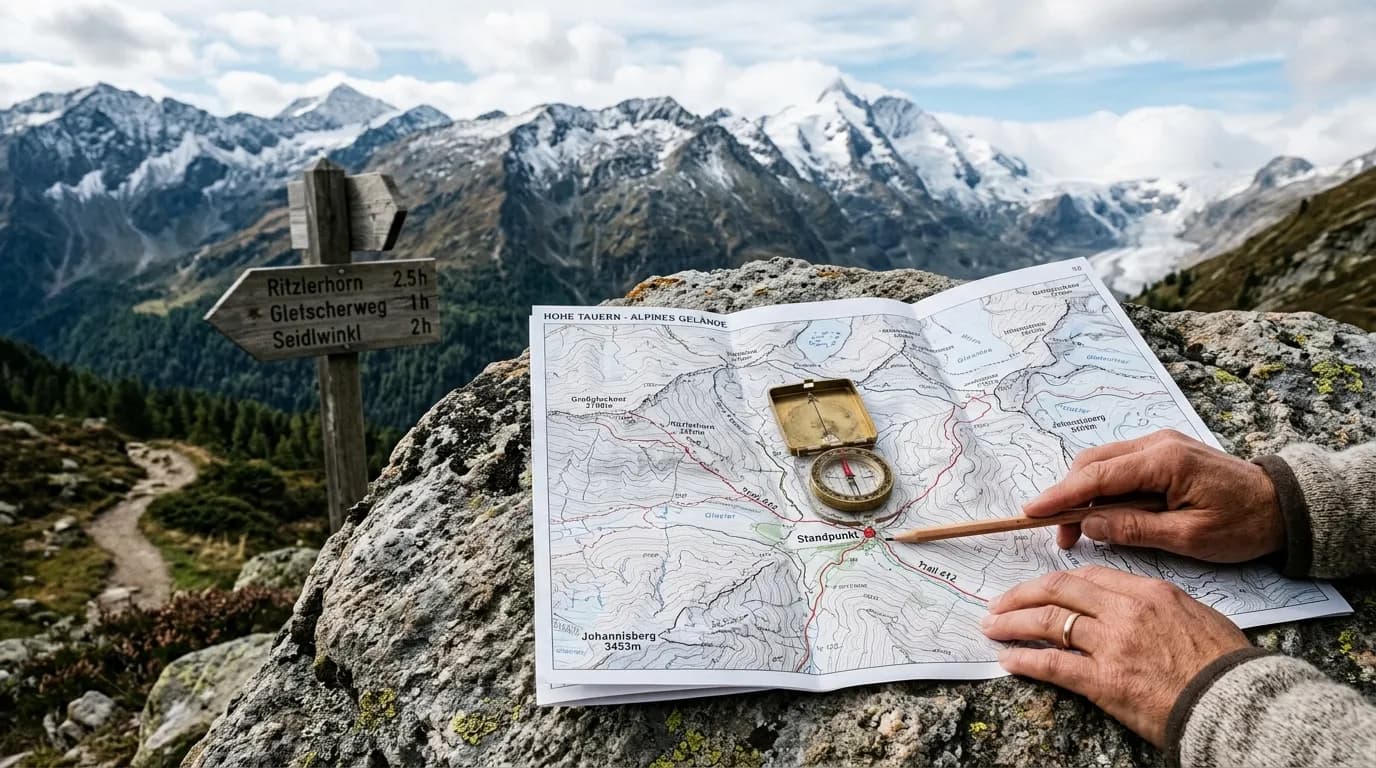
A trail map is not decoration for your phone wallpaper. It is the contract you make with the day: where you start, where you turn, how steep the climb is, and where you can bail if weather or legs disagree with the plan. Beginners often treat maps like optional reading. Then a junction looks different on the ground, a loop closes late, and the hike becomes a story about guessing.
Daily Peaks map reading starts at the kitchen table, not at the confused fork in the trees. This guide teaches how to read a trail map before you go: scale and distance, contour lines, trail symbols, junctions, water sources, and simple bailout planning. You will get a pre-hike map routine, common beginner mistakes, a starter plan for three practice sessions, and FAQ answers.
This is educational outdoor content, not a substitute for formal navigation training or local official guidance. Always cross-check with park websites and current conditions.
Why map reading still matters with GPS apps
Phone apps are excellent until they are not: dead battery, wet fingers, wrong layer selected, or a track that looks like a trail but is not. Paper maps, park PDFs, and offline downloads each have strengths. The skill is reading the information they share, not worshipping one format.
Map reading before the hike reduces trailhead anxiety. You already know the big climbs, the junction where people go wrong, and how far it is to the turnaround bench. On trail, you spend less mental energy interpreting and more enjoying footing and weather.
Maps also teach humility. A pretty line on a screen is not permission. Closed trails, seasonal bridges, and private land still exist. The map plus the park page plus recent reports beat any single source.
Pick your map sources and stick to one primary
Common sources for day hikes:
- Park or agency PDF map — often the best authority for legal trails and closures
- Topographic map — paper or digital, showing terrain with contour lines
- Commercial trail app — convenient tracks, sometimes crowdsourced errors
- Printed screenshot — fine for simple signed loops if scale is visible
Before the hike, choose one primary map for decisions. You may carry a backup, but arguing between two conflicting maps at a junction wastes time. If the agency map and the app disagree, trust the agency map until you confirm on the ground with signs.
Understand scale and distance
Scale tells you how map distance converts to ground distance. On many topo maps, the scale bar shows miles and kilometers. On PDFs, look for a printed scale or measure against a known trail length listed in the description.
Practice estimating: if the trail segment between two junctions looks like two finger widths on your screen at a given zoom, how many miles is that at this scale? Wrong zoom makes everything feel shorter.
Round-trip distance is what you walk. Out-and-back maps sometimes tempt you to measure one way and forget the return. Loops still have distance; write the full number on your plan.
Read contour lines without fear
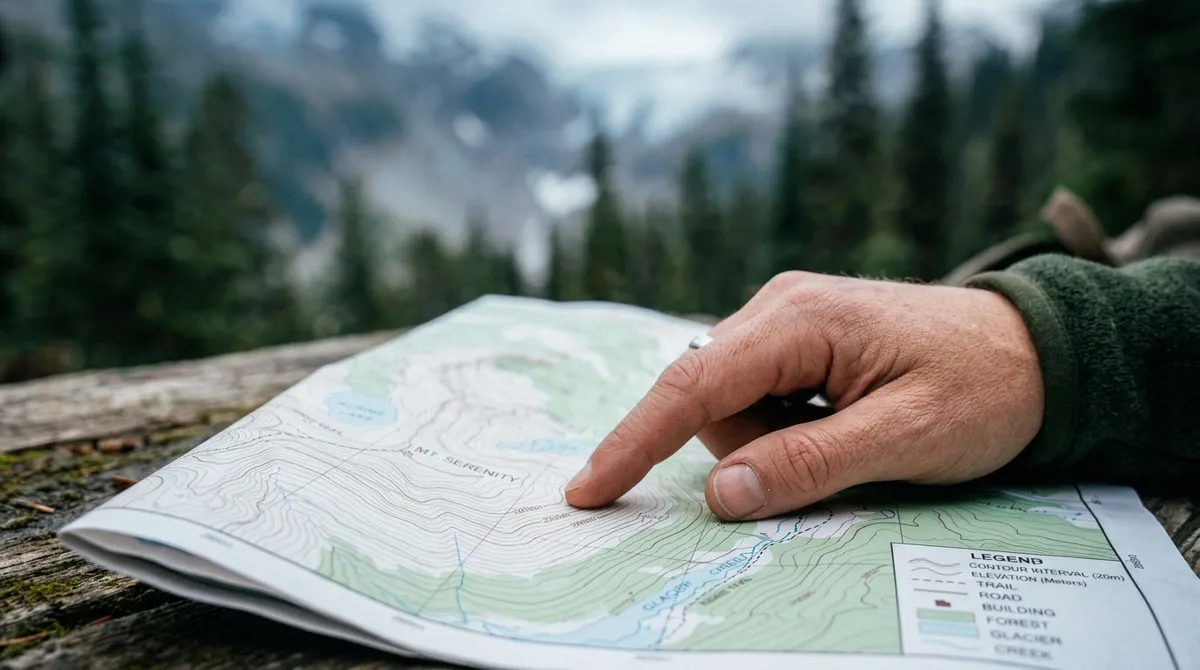
Contour lines connect points of equal elevation. When lines are close together, the terrain is steep. When they are spaced wide, the slope is gentler. Lines crossing a trail tell you whether you are climbing, descending, or traversing a hillside.
Beginner contour habits:
- Count how many contour intervals you cross on the climb to the objective
- Notice V-shaped contours pointing uphill—those often follow drainages
- See rounded, widely spaced contours as easier travel when choosing bailouts
- Watch for tight contour stacks near cliff symbols or river canyons
You do not need to memorize every cartographic symbol on day one. You need to answer: “Is the hard part at the start, middle, or end?” and “If I turn back at the saddle, how much downhill is left?”
Trail symbols and what they imply
Maps use lines and icons to describe the tread:
- Solid trail line — maintained path, usually signed
- Dashed line — unmaintained, social, or seasonal route; treat with caution
- Trail numbers or names — write them on your plan; photos of signs help at junctions
- Water icons — streams and lakes may exist but not be safe or reliable to drink
- Structures — shelters, lookouts, parking, restrooms
A dashed shortcut that saves distance on paper may be brushy, steep, or illegal. Beginners should stay on solid lines until they can judge terrain.
Mark junctions before you are tired
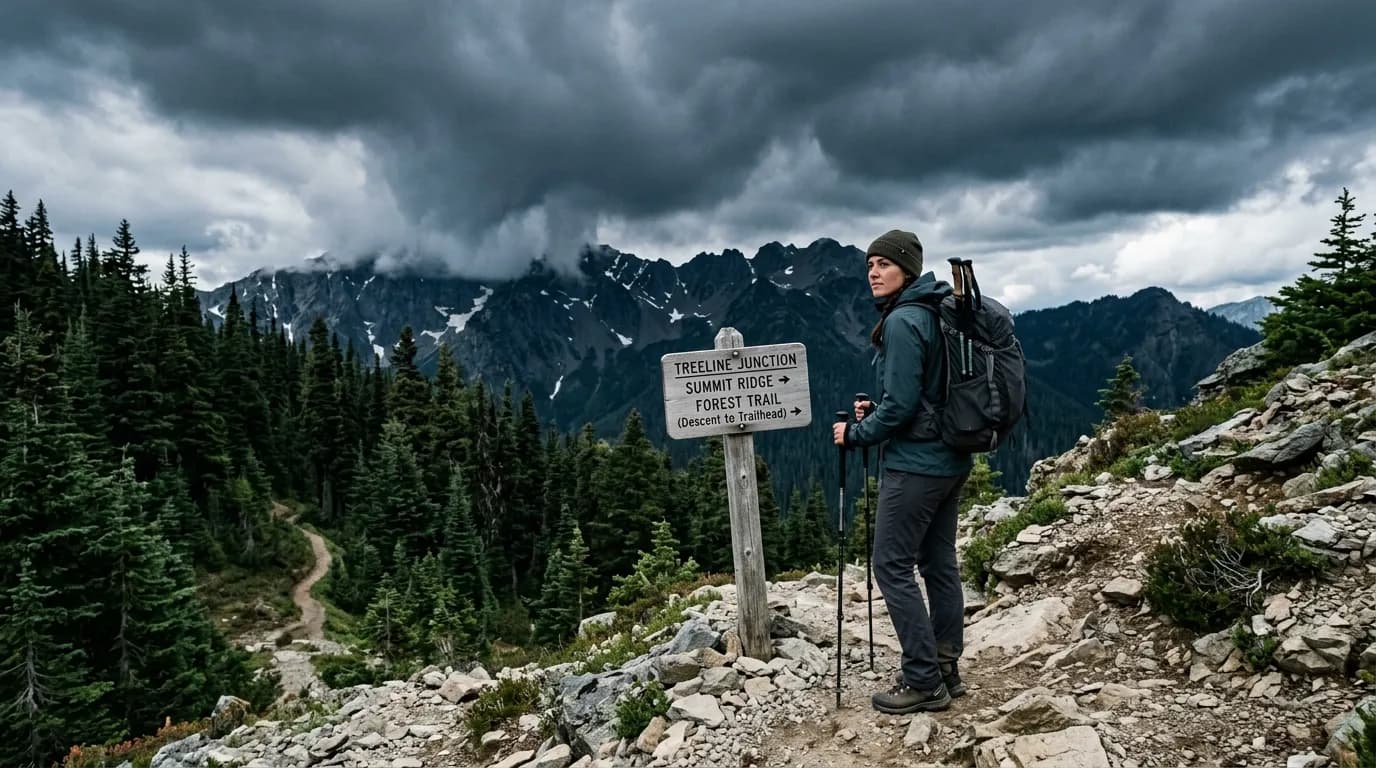
Junction errors cause most beginner “we added three miles” stories. On the map at home, circle every junction you must pass and label the correct exit:
- “Stay right on blue blazes toward lake”
- “Left at sign for Ridge Trail, not service road”
- “Straight through four-way, ignore spur to campground”
Write compass directions only if you trust them; many beginners confuse map north with slope direction. Trail names beat “go north” when signs exist.
At the junction on trail, stop. Pack down. Map or app open. Confirm. Then move. Walking while guessing multiplies mistakes.
Relate the map to time and energy
Distance is not time. Map reading includes translating miles into hours for your fitness:
- Flat two miles might be forty-five minutes
- Steep one mile might also be forty-five minutes
- Rocky or muddy tread adds time even on moderate grades
Mark on your map where you expect to be at halfway through your planned hiking window. If you are behind at that point, shorten the objective. Maps are timing tools when you use them that way.
Plan bailouts on the map itself
Draw or note bailout points:
- Lower loop cutoff that skips the summit spur
- Out-and-back turnaround at a named overlook
- Connector trail to a road or parking lot if the main loop runs long
Bailouts turn a map from a wish into a plan. Pair them with turnaround rules from When to Turn Around on a Hike.
Overlay weather and sun on the map
Ridges and open summits show on maps as long contour traverses with few tree symbols. South-facing slopes heat up. Narrow valleys funnel wind. Reading the map with weather in mind helps you choose layers and turnaround times.
Morning sun on an east-facing climb can feel pleasant. Afternoon storms on an exposed west ridge are a different story. The map shows where you will be exposed when the forecast shifts.
Digital map hygiene before you leave
If you use an app:
- Download the offline region while on Wi-Fi
- Confirm the correct trail layer is visible
- Save a screenshot of the full route at a zoom that shows junctions
- Charge phone and carry a power bank
- Know how to drop a pin at your car
Offline does not mean immortal. Cold drains batteries. Touch screens hate rain. A paper backup for one critical junction is cheap insurance.
Paper map basics for beginners
If you carry a paper topo:
- Fold it to the section you need, not the whole state
- Put it in a zip bag or use a map case
- Align the map to the terrain using trailheads, rivers, and ridge shapes
- Use your thumb or a pencil to track progress junction to junction
Paper teaches spatial reasoning apps sometimes skip. Beginners who learn both formats adapt faster when one fails.
A ten-minute pre-hike map routine
- Open the agency page for closures and alerts
- Write round-trip distance and elevation gain on your plan
- Circle junctions and label correct turns
- Mark bailout and turnaround points
- Estimate hours and compare to daylight
- Save offline copy and one screenshot
- Text your leave plan with trail name and return time if hiking solo—see Solo Day Hike Safety Checklist
Ten minutes at the table saves forty minutes of backtracking.
Practice reading maps without hiking far
Study a map of a trail you already walked. Compare memory to lines. Where was the steep section? Which junction felt confusing? That retroactive read builds skill without risk.
Walk a city park loop with a printed map even if signs are obvious. Practice orienting the paper to bends in the path. Silly drills become trail confidence.
When the map and ground disagree
Trust signs and closures first. Then trust obvious terrain features: river, ridge, lake shape. If the map says trail left but a signed maintained path goes right, stop and reconcile before exploring.
Social trails that cut switchbacks look tempting on satellite view. They erode hillsides and confuse beginners. Stay on the signed tread unless you are navigating intentionally off trail with higher skills—not a day-hike basics move.
Map reading for loops versus out-and-back
Out-and-back: Simplest for beginners. Turnaround is a mirror of the ascent. Map task is confirming junctions on the way up so the descent is autopilot.
Loop: Requires knowing which arm of the loop you take first and where the loop closes. Mark direction of travel with arrows at home. Loops feel shorter psychologically and longer when you miss a connector.
Lollipop routes: Stem plus loop. Common error is doing the loop twice or missing the stem return. Label the stem trail name clearly.
Starter plan: three map sessions at home
Session one. Pick a future hike map. Write distance, gain, three junction notes, and turnaround time. No hiking required.
Session two. Compare agency PDF to app track. Note any differences. Choose primary source.
Session three. Walk a local signed loop carrying the map. Stop at every junction to confirm. Goal: map and ground match without frustration.
Then apply the same routine to a new trail before each outing until it feels automatic.
Common map mistakes beginners make
- Zooming in so far that distance looks trivial
- Ignoring contour spacing on a “short” trail
- Not labeling junctions until lost
- Assuming blue dot equals perfect trail position always
- Skipping offline download “because the park has service”
- Using a dashed shortcut because it saves a half mile
- Forgetting round-trip distance on out-and-back plans
- Reading map once at the trailhead in wind and glare
- Confusing north on the map with uphill direction
- Treating map reading as complete without a turnaround time
Maps and group hiking
Even in groups, one person should own pre-hike map review and another should confirm junctions. “Someone else navigates” fails when that person’s phone dies. Share a one-line plan everyone knows: trail name, objective, turnaround time.
Teaching a friend to read the map at a junction spreads skill and reduces silent following. Rotate who holds the map at each fork so the group is not dependent on one battery percentage. On family hikes, let kids trace the route with a finger at home—recognition at a signed junction builds confidence faster than passive following.
Reading elevation profiles if your app shows them
Some digital maps include an elevation profile—a small graph of climb and descent along the route. Use it to see whether the hard work clusters at the start or end. A steep final climb before a ridge summit means you will arrive tired exactly when exposure and wind matter most. A steep first mile warms legs early but can overheat beginners in summer if they start overdressed. Profiles do not replace contour reading, but they make pacing conversations honest before you leave the house.
FAQ
Do I need a compass to read a trail map?For signed day trails, many hikers start without compass work, focusing on junction labels and terrain features. A compass becomes more valuable as routes get faint or foggy. Learn basics when you move beyond obvious paths.
Which is better: paper or phone map?Both have roles. Phones are convenient; paper tolerates rain and dead batteries better. Beginners benefit from studying paper or PDF at home and carrying phone offline as primary on trail—or vice versa with a screenshot backup.
How close should my GPS dot be to the trail line?GPS can drift ten to forty feet or more in forest and canyons. Use the dot as a hint, not a verdict. Junctions still deserve stop-and-confirm habits.
What contour interval should I assume?It varies by map. Check the legend. Common USGS-style topos use forty-foot intervals; some maps use ten or twenty meters. The legend tells you how much elevation each line represents.
Can I rely only on trail apps?Use apps as one source. Cross-check with official maps and signs. Apps excel for discovery; agency maps excel for what is legal and maintained today.
How do I practice without getting lost?Practice on trails you know, in parks with dense signage, or at home with maps of previous hikes. Skill building does not require remote terrain.
What map skill matters most for day hikes?Junction identification plus steepness awareness from contours. Master those and most day-hike navigation anxiety drops sharply.
Related reading
Combine map skills with solo habits in Solo Day Hike Safety Checklist. Pair map bailouts with When to Turn Around on a Hike (Go / No-Go Rules).
Reading a trail map before you go turns a walk into a plan you can trust. Learn scale, respect contours, label junctions, mark bailouts, and carry backups. The map is not homework—it is the difference between arriving calm at the car and wondering where the extra hour went.