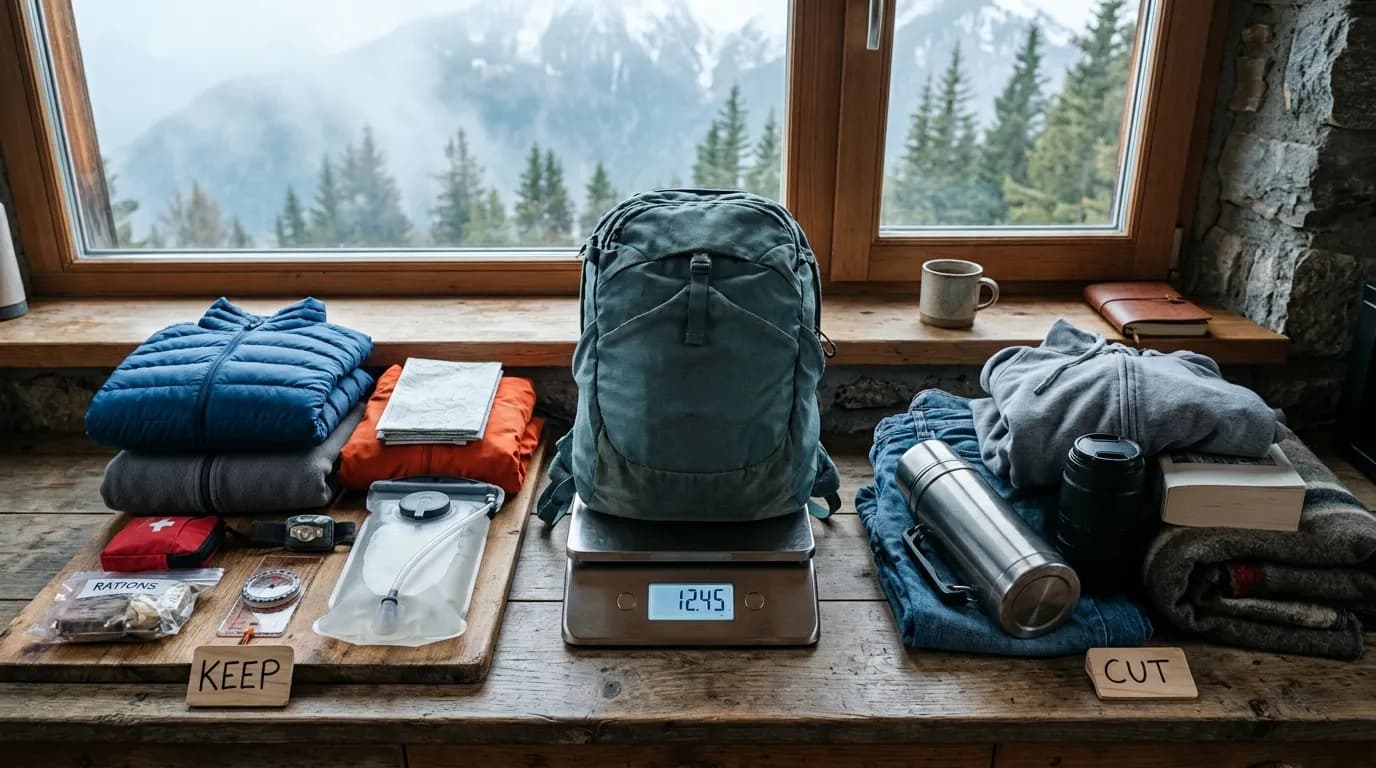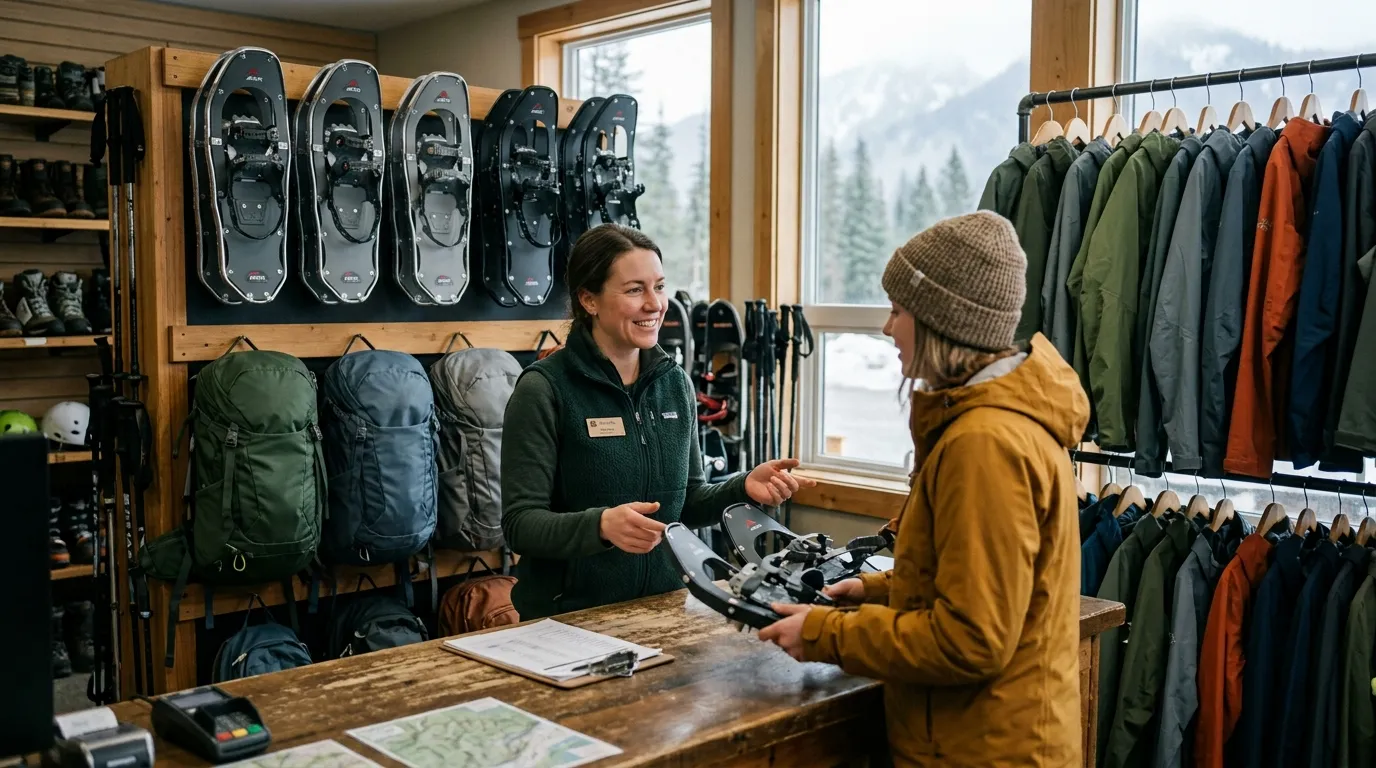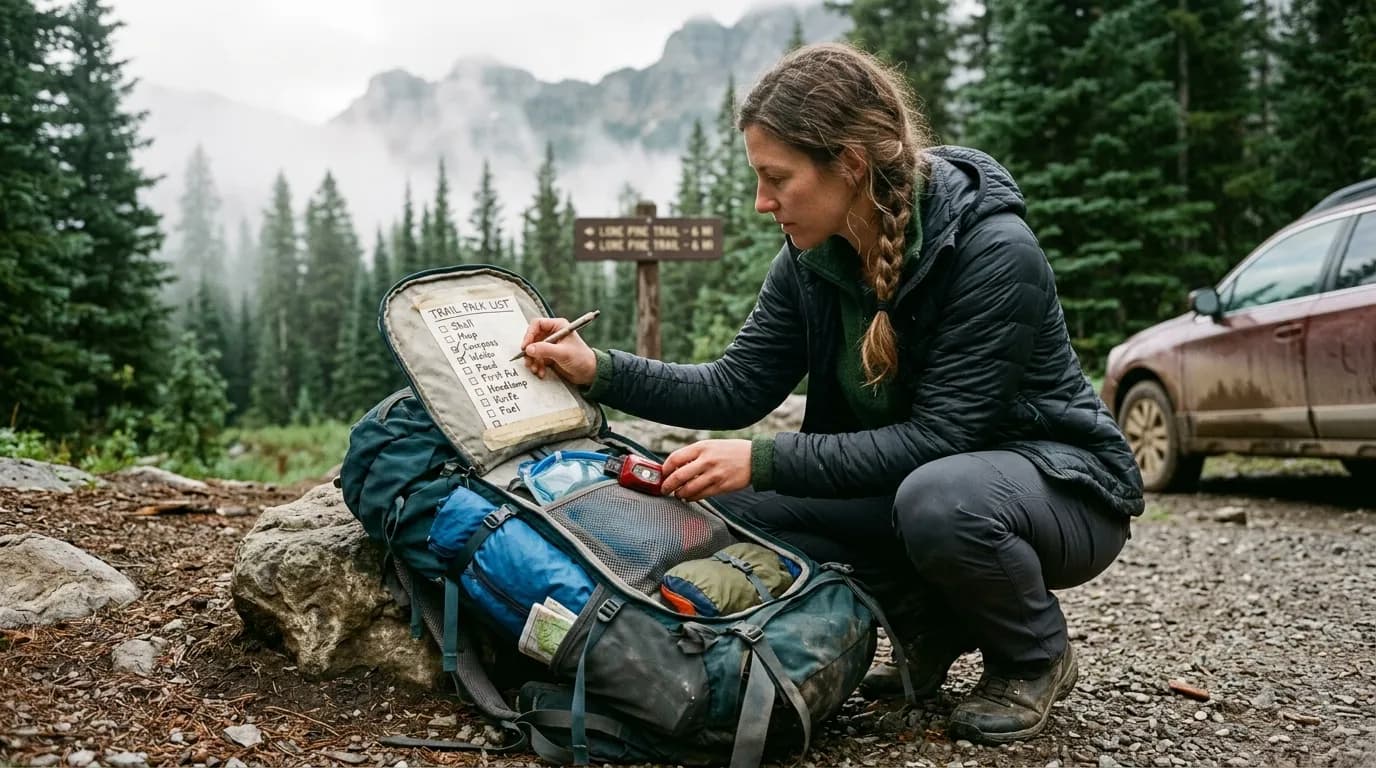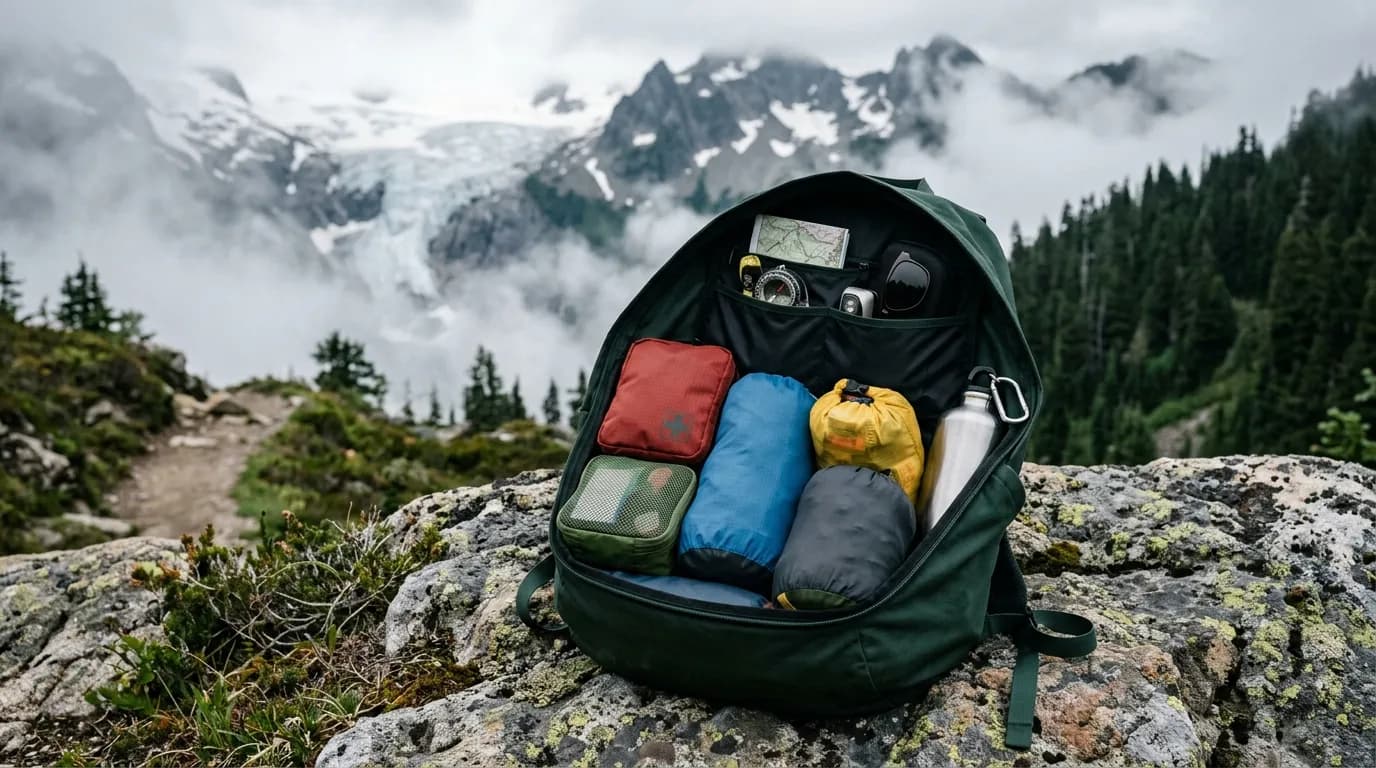
Water carries differently depending on the container. A soft bladder disappears inside your pack until you sip through a hose. Bottles clink in side pockets and show exactly how much you have left at a glance. Neither is universally superior; each trains different habits about refilling, cleaning, and knowing your intake. The wrong choice for your trail style is the one you avoid drinking from because it is annoying.
This guide compares hydration packs versus water bottles for day hiking: access while moving, weight and pack fit, cleaning reality, winter quirks, and how each pairs with pack volume. Start with how much you need from how much water to carry on a day hike, then choose the vessel that makes that volume easy to live with. Your pack size conversation continues in daypack size guide: 15L, 20L, or 30L?.
Why water system choice matters more than bottle brand
Dehydration on day hikes is often a systems problem, not a knowledge problem. Hikers know water is important yet still under-drink because stopping is inconvenient, hoses freeze, bottles are buried, or they cannot see remaining volume and assume they are fine until headache arrives. The best system is the one you use automatically every thirty to forty minutes on trail.
Volume planning comes first. Read how much water to carry on a day hike for mileage, heat, and elevation factors. Once you know roughly one to three liters for typical days, pick hardware that makes carrying that amount natural rather than an afterthought stuffed around lunch.
Hydration packs: hands-free sipping
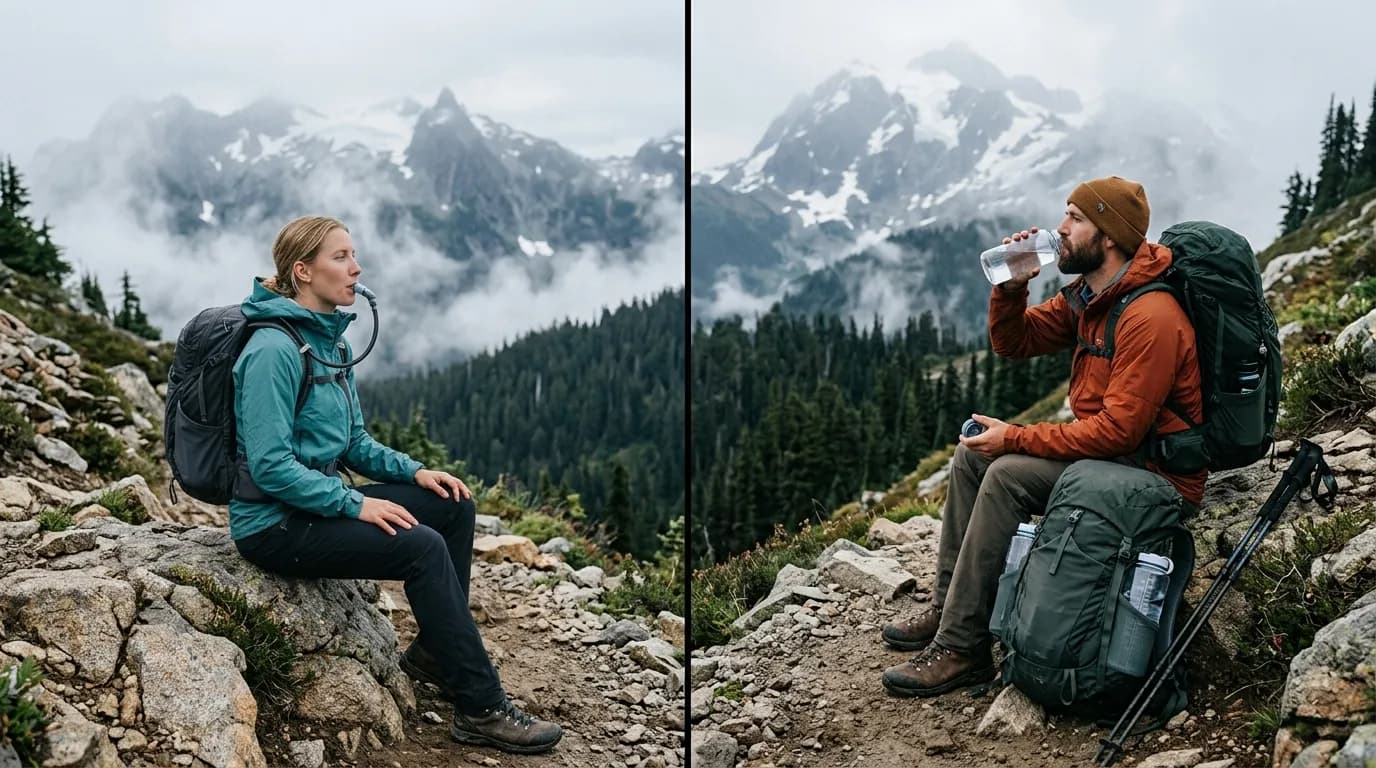
Hydration systems use a flexible reservoir inside the pack, a drink tube routed over the shoulder, and usually a bite valve. Advantages shine on steady-paced hikes where stopping breaks rhythm: rolling forest tread, moderate climbs, and social groups that keep moving. You sip without dropping pack straps or fishing for bottles.
Bladders also distribute water close to your back, which can feel stable compared to swinging side bottles. In tight fifteen-to-twenty-liter packs, a two-liter bladder sometimes fits more cleanly than two rigid bottles competing with soft layers. That interacts directly with daypack size guide: 15L, 20L, or 30L? because bladder sleeves consume internal space even when empty.
Hydration pack downsides
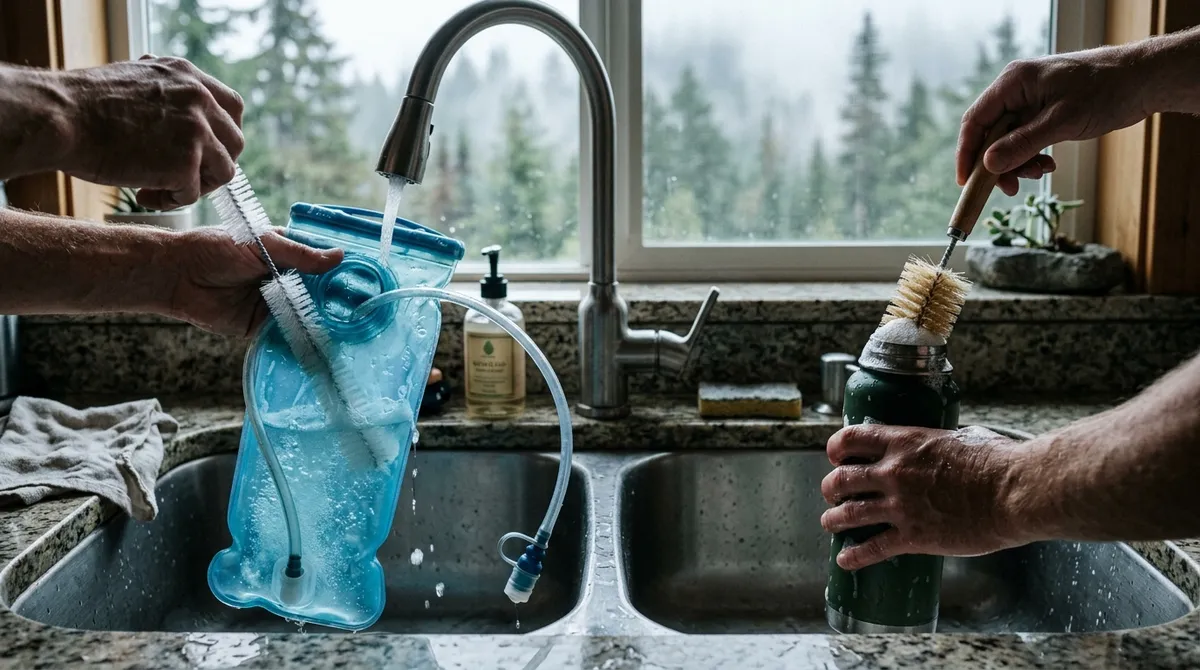
Cleaning is the big one. Sticky tubes, mildew corners, and forgotten reservoirs in hot trunks ruin enthusiasm. If you will not rinse and dry the bladder after most hikes, bottles may be healthier. Seeing remaining water requires pulling the reservoir or guessing from weight—some hikers under-drink because the hose makes intake feel endless.
Winter hiking adds frozen hose risk unless you insulate or blow air back after sips. Leaks at connection points soak gear silently. Bite valves fail at inconvenient times. Repairs are possible but fiddly on trail compared to swapping bottles.
Water bottles: simple, visible, versatile
Hard or soft bottles in side pockets offer instant volume readout, easy sharing, and straightforward cleaning. Drop a tablet, scrub, dry—done. Bottles work with any pack that has reachable pockets, and they double as camp or car containers without hose adapters.
Bottles encourage micro-breaks when you stop to drink fully, which some hikers prefer for heat management and ankle resets. On hot days, pausing in shade to drink half a liter beats trickling sips while heart rate stays pegged. Bottles also simplify mixing electrolyte powders without threading powder into a bladder you cannot see inside.
Water bottle downsides
Reach matters. If side pockets sit too low or too tight, you fight the pack every time. Some hikers dislike shoulder strain from asymmetric weight when only one bottle remains. Narrow bottles rattle; wide bottles may not fit pocket openings. Accessibility beats capacity if you never grab the bottle because it requires pack removal.
Hands-busy moments—poles, scrambling, map reading—make bottle sipping slower. Groups waiting on you to repack after drinking can nudge people toward hoses for social pace, not physiological need.
Side-by-side comparison for day hikers
Access while moving: Hydration pack wins for continuous sipping; bottles win for deliberate stops.
Knowing remaining water: Bottles win clearly; bladders need practice estimating or periodic checks.
Cleaning and hygiene: Bottles win unless you are meticulous about bladder maintenance.
Pack compatibility: Depends on pack design; bladders need sleeve and port; bottles need pockets.
Winter performance: Bottles often easier to keep flowing; hoses need care.
Sharing water: Bottles easier to hand off; bladders are personal by default.
Weight of system: Similar at two liters; bladders add hose weight; bottles add rigid shell.
Failure modes: Bladder leaks are stealthy; bottle loss or cap crack is obvious.
Hybrid approaches many hikers prefer
Carry a one-and-a-half to two-liter bladder for steady sipping plus one bottle with electrolyte mix for refills at streams or trailheads. Or carry two bottles until you know your habits, then add a bladder for long rolling days only. Hybrid systems cost slightly more weight but reduce single-point failure if a valve freezes or a bottle cap cracks.
Another hybrid: soft flask in chest pocket for quick access plus main volume in bladder or bottle. Fast hikers and trail runners popularized chest flasks; day hikers on moderate terrain can borrow the idea without adopting full race kit.
Matching system to hike profile
Rolling forest half-days with steady pace: Bladder or soft flask chest plus minimal stops.
Hot exposed ridges with limited shade: Bottles you can see emptying, scheduled drink breaks in shade.
Scrambly routes with hands busy: Bladder may win if hose is routed cleanly; otherwise bottles stowed for planned stops only.
Family hikes with kids: Bottles easier to share and monitor intake; kids often prefer visible bottles they control.
Winter or shoulder season: Insulated bottles or wide-mouth bottles easier than hoses; consider warm drink thermos separate from hydration math if cold dominates.
Pack integration details
Before buying a bladder, confirm your pack has a sleeve that matches reservoir shape and a hose exit port that does not kink the zip. Some ultralight packs omit sleeves; bladders then flop inside the main compartment. That works but complicates packing layers.
For bottles, test pockets with full two-liter bottles while pack is on your back. Can you extract and replace without removing pack? If not, plan pocket position as a purchase criterion next pack cycle. See daypack size guide: 15L, 20L, or 30L? for volume tradeoffs when bottles consume external space.
Filtration and refills
Both systems pair with filters or purification tablets on longer routes with known water sources. Bottles fill directly at creeks; bladders require careful filling without contaminating bite valves on muddy banks. Some hikers carry a dirty-water bottle for collection and transfer clean water into main storage—workflow favors bottles at refill stops.
Know your route water availability before choosing carry volume. A bladder packed for three liters when sources exist may be unnecessary weight; empty bottles collapsed in pack may beat hauling full load from car.
Electrolytes and flavor psychology
Plain water boredom is real. Electrolyte tabs in a dedicated bottle separate flavor from main supply, making intake tracking clearer. Sweet bladder water all day can grow tiresome and harder to clean. Splitting flavors between bottles helps groups with different preferences.
Caffeine and sugar drinks in hydration systems accelerate gunk buildup. If you must, dedicate one bottle, not your only bladder, to sticky liquids.
Environmental and trail etiquette
Both systems generate waste if you rely on disposable plastic bottles every hike. Reusable bottles and bladders reduce trash. On crowded trails, step aside to drink from bottles; hose sippers sometimes block narrow paths while walking. Courtesy is independent of container type but visible when groups clog singletrack.
Common mistakes
- Choosing a bladder then never cleaning it until taste revolts.
- Bottles buried under rain shell in main compartment.
- Carrying less water because the system is annoying, not because math says so.
- Ignoring freeze risk on hoses in shoulder season mornings.
- Buying a pack without testing bottle pocket reach loaded.
- Assuming sipping equals adequate intake without periodic full drinks.
- Mixing electrolytes in bladder with no rinse plan.
Starter plan: one month A/B test
Week one and two: hike your regular routes with two visible bottles totaling your target volume from how much water to carry on a day hike. Note drink frequency, leftover water, and annoyance points.
Week three and four: same routes with a cleaned bladder of equal volume. Compare intake, pace, cleaning time afterward, and pack organization. Pick default system; keep alternate for seasonal exceptions.
Log results in phone notes. Most hikers converge quickly once data replaces gear forum opinions.
Temperature, insulation, and where water lives in your pack
Cold water in bottles against your back can feel bracing on winter shoulder hikes; some hikers prefer bottles in side pockets for that reason while keeping bladder water slightly closer to body mass in summer. None of this is physics homework—it is comfort tuning. If shivering distracts you from footing, reposition containers before buying a new pack.
Hot days invert the problem: bottles in direct sun warm faster than bladder water tucked inside. Insulated sleeves or burying bottles under a light layer helps. The system that keeps water palatable is the system you drink from.
Trail math: translating liters into behavior
If how much water to carry on a day hike suggests two liters for your loop, decide when you will drink half liter one and half liter two. Bottles make that visible; bladders require checkpoints—“finish main compartment snack, check reservoir weight.” Behavior beats capacity.
On climbs, pre-load fluids before the steep section if you know hose sips will drop during hard breathing. On descents, drink deliberately before knees complain and before you forget because adrenaline dropped. Hydration is pacing infrastructure.
Accessibility for different bodies and packs
Side pockets set too far back punish shorter torsos. Hip-belt pockets fit soft flasks for some hikers but not others. Try systems with your actual pack on your actual back. Online reviews from hikers with different proportions mislead kindly. A bladder hose that reaches comfortably for a six-foot hiker may tug on a five-foot-three hiker unless routed with extra clip points.
Accessibility also means cleaning accessibility. If arthritis or hand fatigue makes tiny bladder caps difficult, wide-mouth bottles may increase actual hydration because maintenance happens. Gear light includes friction light.
Failure drills worth five minutes at home
Fill bladder, invert, squeeze bite valve over sink—any drips? Cap bottles, shake, inspect threads. Load pack, walk stairs, reach for each container without removing pack. These drills expose annoyance before summit annoyance. Swap one component at a time instead of rebuilding entire kit when one pocket height is wrong.
Travel days and airport-adjacent hiking
Travel often nudges hikers toward bottles because bladders are awkward to dry in hotel rooms and harder to inspect at security checkpoints depending on region. Collapsible soft bottles pack flat in luggage and become primary on vacation day hikes. If you travel often, build a bottle-first kit at home and add a bladder only for local rolling trails where drying space exists.
Buying water at trailheads is valid on travel days; the lesson is still to choose a carry system that makes you drink what you buy instead of hauling unopened liters back to the car because accessing them was inconvenient inside a rental-daypack with no pockets.
When you return home from a trip, empty and dry every container before storing the pack. Vacation habits often leave half-full bottles forgotten until the next season’s first sour smell reminder. Five minutes of drying beats replacing a bladder you stopped trusting.
FAQ
Are hydration packs only for running?
No. Day hikers on steady trails use them widely. Running vests are specialized; daypacks with bladder sleeves are the hiking norm.
How often should I clean a hydration bladder?
Rinse after every use, deep clean with brush kit weekly if used often, and dry fully unassembled. Skipping drying invites mildew faster than skipping rinsing.
Plastic taste in new bladders?
Common initially. Rinse with mild baking soda solution, air dry, repeat. If taste persists, some hikers prefer bottles with less surface area.
Can I carry a bladder and bottles together?
Yes. Many hikers use bladder for plain water and bottle for electrolytes or backup. Watch total pack volume.
What about metal bottles?
Durable and taste-neutral but heavier. Fine for short hikes with car stash; less ideal for all-day carry unless weight is acceptable to you.
Related reading
Calculate carry volume with how much water to carry on a day hike, then fit containers into pack choice via daypack size guide: 15L, 20L, or 30L?. Drink on purpose; the container is just how delivery happens.
Educational trail guidance only. Adjust hydration to heat, health, and route conditions.