A day hike does not need a wilderness hospital in your pack. It does need a small, honest kit you can open with cold fingers and still understand. Most trail days end with nothing more dramatic than a hot spot, a scrap of grit in an eye, or a shallow cut from brush. The hikers who handle those moments calmly are rarely the ones carrying the largest pouch. They are the ones who packed a kit they actually know how to use.
This guide is about building a mini first-aid kit for day hikers: light enough for a 15-liter daypack, complete enough for common problems, and organized so you are not dumping the entire bag onto a dusty rock. It is educational trail practice, not medical advice. Serious injuries, allergic emergencies, and anything that feels beyond basic first aid deserve professional care and a call for help when you can make one.
Think of the kit as insurance you hope never to open, paired with prevention you practice every mile. Pair it with habits from blister prevention on day hikes and the calm checks in our solo day hike safety checklist. Gear without judgment is just clutter. Judgment without gear is optimism. You want both.
What a mini kit is for—and what it is not
A day-hike kit covers friction, small wounds, irritation, and the little stabilizations that keep a walk from becoming a limp. It helps you clean a scrape, tape a hot spot before it becomes a blister, rinse grit from an eye, and manage a minor headache or stomach upset if you choose to carry personal medications you already use. It is not a substitute for evacuation planning, group communication, or knowing when to turn around.
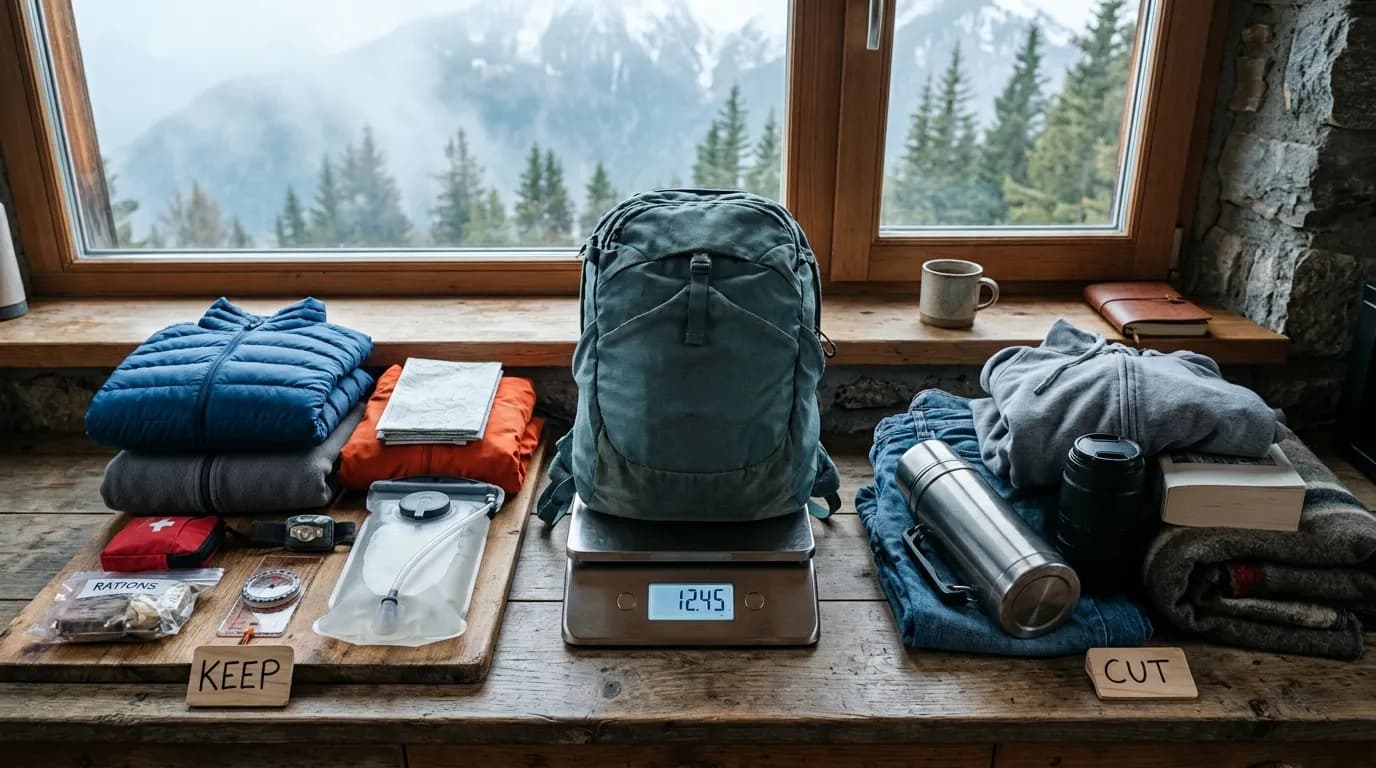
Weight targets matter because they keep you honest. Many day hikers land between 150 and 350 grams for a personal mini kit, depending on how many people they cover and whether they add a wrap or a small roll of tape. If your kit climbs past half a kilogram for a short local loop, ask what story each item is telling. Duplicate gauze pads tell a story of anxiety. A single well-chosen wrap tells a story of restraint.
Scope also depends on terrain and company. A paved rail trail near a trailhead asks for less. A rocky ridge with sparse cell service asks for more tape, a stronger wrap, and clearer turnaround rules. Hiking with kids or less experienced friends often means packing extras of the items people use most: bandages, blister care, and antiseptic wipes. Hiking alone means packing what you can apply to yourself one-handed when possible, and keeping emergency contact habits sharp.
Prevention beats padding
The lightest first-aid item is the one you never open. Socks that fit, shoes that are broken in, toenails trimmed before a long descent, and early stops for hot spots prevent half the dramas that empty a kit. Carry the kit anyway. Prevention and response are partners, not rivals. When your feet feel slightly warm under the ball of the foot, stop in shade, dry the area, and tape before the skin shears. That two-minute pause is better trail craft than any brand of bandage.
Weather changes the kit’s job too. Heat increases sweat and blister risk. Cold makes tape less sticky and fingers less clever, so keep adhesive products in an inner pocket where they stay warmer. Rain pushes you toward waterproof packaging and a habit of drying feet during snack breaks. Wind makes eye rinse more useful when dust and grit ride the trail.
Core items that earn their grams
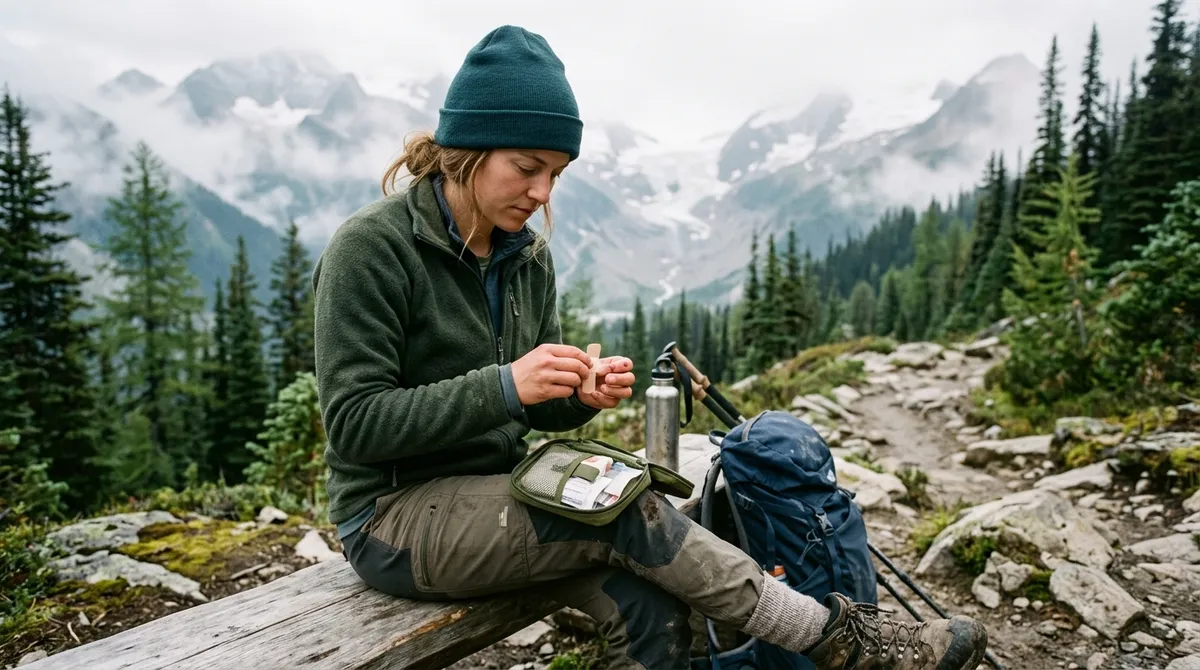
Start with a short list and resist catalog browsing. Every item should answer a clear trail problem. If you cannot name the problem in one sentence, leave the item at home until you can.
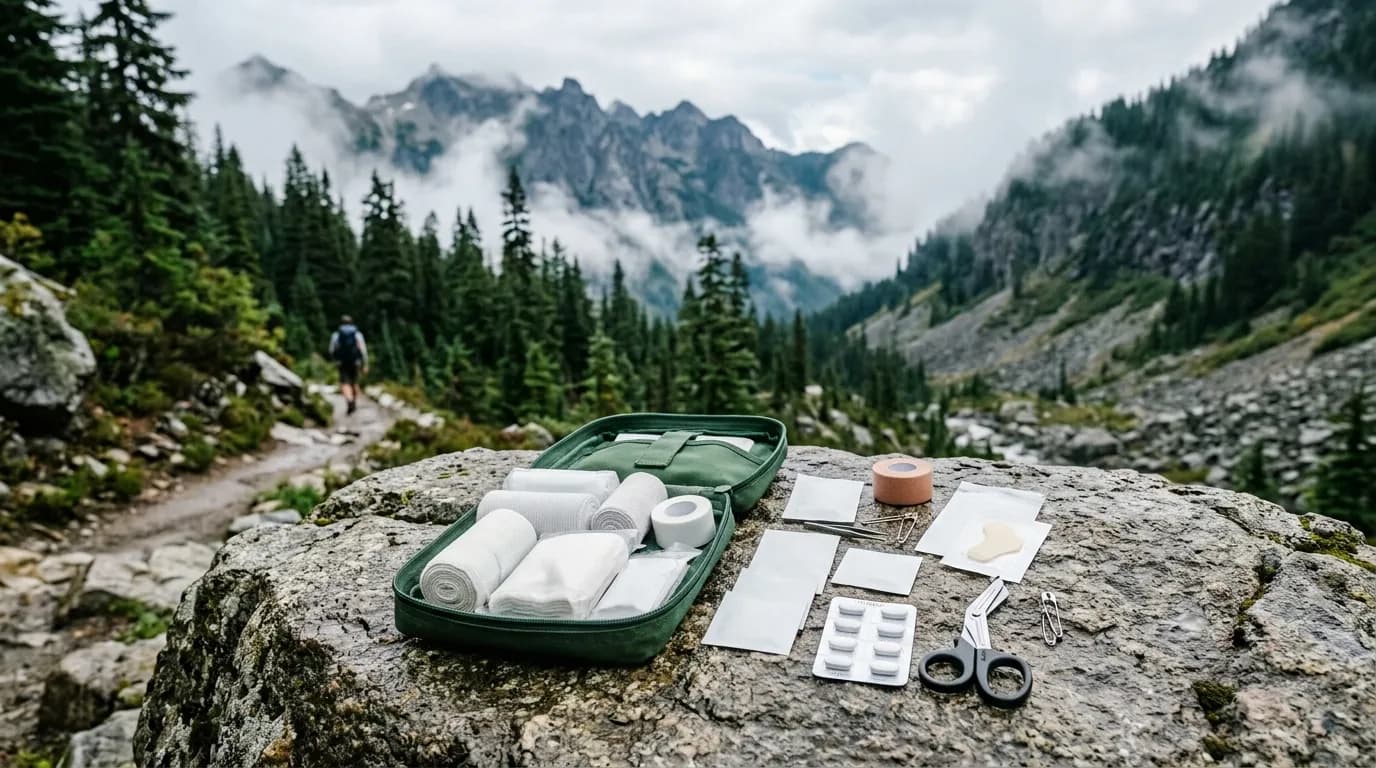
- Gloves: A pair of non-latex gloves keeps blood and dirt off your hands when helping someone else, and keeps your own cuts cleaner while you work.
- Antiseptic wipes: Small alcohol or antiseptic wipes clean around scrapes. A few is enough for a day; a dozen is for a group week.
- Assorted adhesive bandages: Include a few sizes. Knuckle and fingertip shapes earn their keep on rocky scrambles.
- Gauze pads and medical tape: For larger scrapes that outgrow a bandage. Tape also secures blister dressings.
- Blister care: Moleskin or a hydrocolloid patch, plus a small scrap of leukotape or similar athletic tape if you know how you like to apply it.
- Elastic wrap or cohesive bandage: One short wrap can stabilize a mild sprain enough to walk out carefully, or hold a pad in place.
- Saline or sterile eye wash ampule: Grit in an eye ruins focus and balance. A tiny rinse bottle or ampule is high value.
- Tweezers: Fine-point tweezers for splinters and ticks if your region has them. Keep them sharp and clean.
- Small scissors or trauma shears miniature: Cutting tape and moleskin cleanly matters more than people expect.
- Personal medications: Only what you already use and understand—pain relief you tolerate, any prescribed rescue meds, antihistamine if advised for your history.
- Irrigation syringe or squeeze bottle: Optional but excellent for flushing dirt from a wound with clean water.
- Tiny notepad and pencil: Optional for recording time of injury, symptoms, or directions if you call for help.
Skip novelty gadgets that look clever in a product photo and confuse you on a windy saddle. Skip bulk cotton balls that shed lint into wounds. Skip mysterious unlabeled pills. Skip a full suture kit unless you are trained and truly need that skill set for remote work—day hikers almost never do.
How to pack the kit so you can find things fast
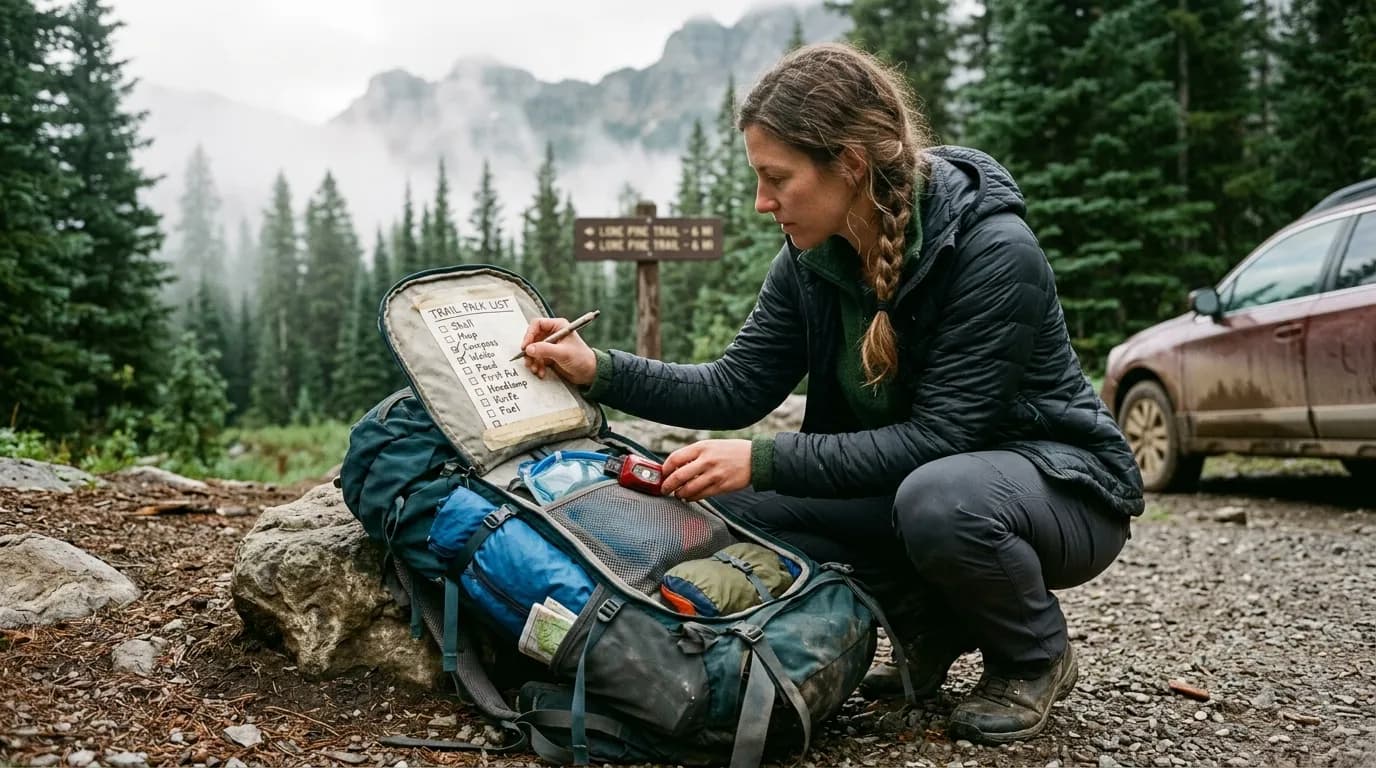
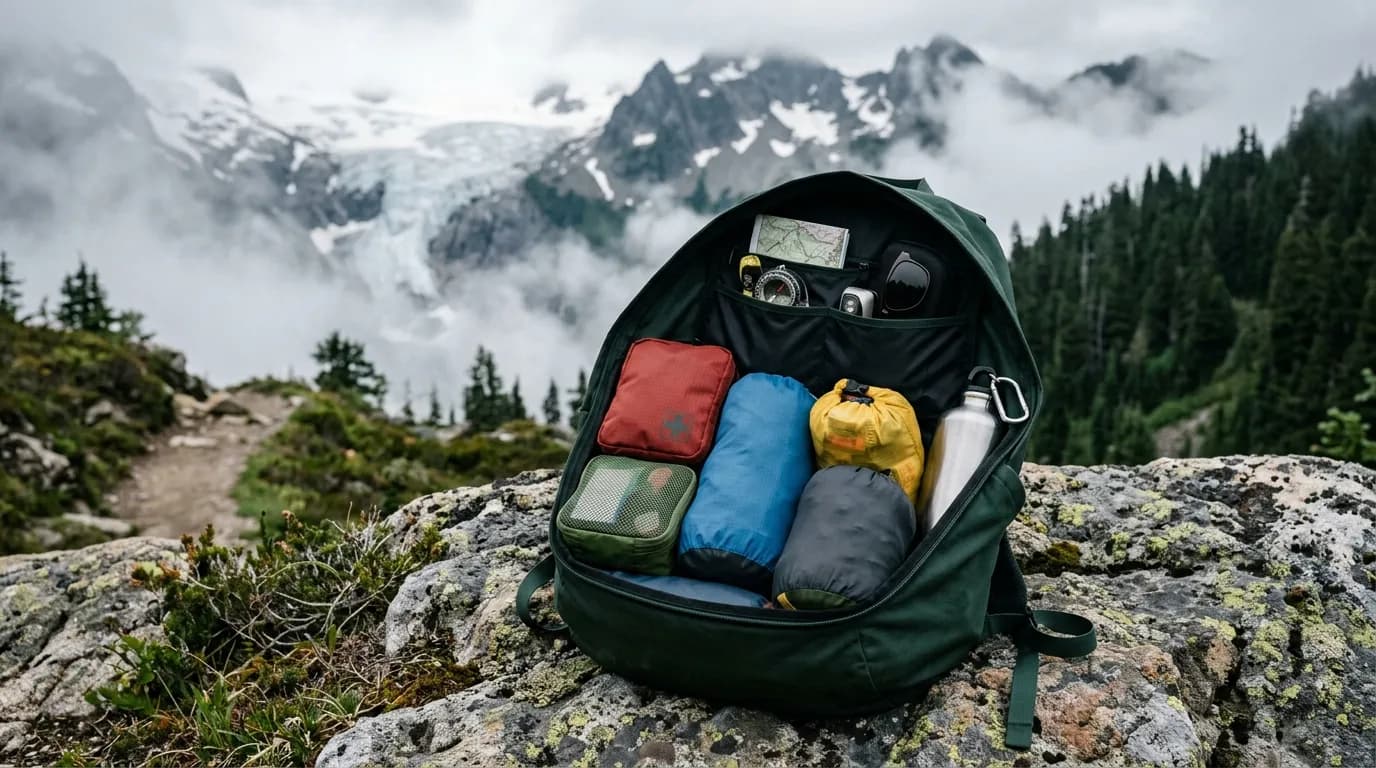
Organization is half the kit. Use a bright pouch you can spot in a dark pack pocket. Clear zip bags inside the pouch create zones: wound care, blister care, meds, tools. Label the zones with a permanent marker if your brain likes labels. Keep gloves on top so they are the first thing you touch when helping someone else.
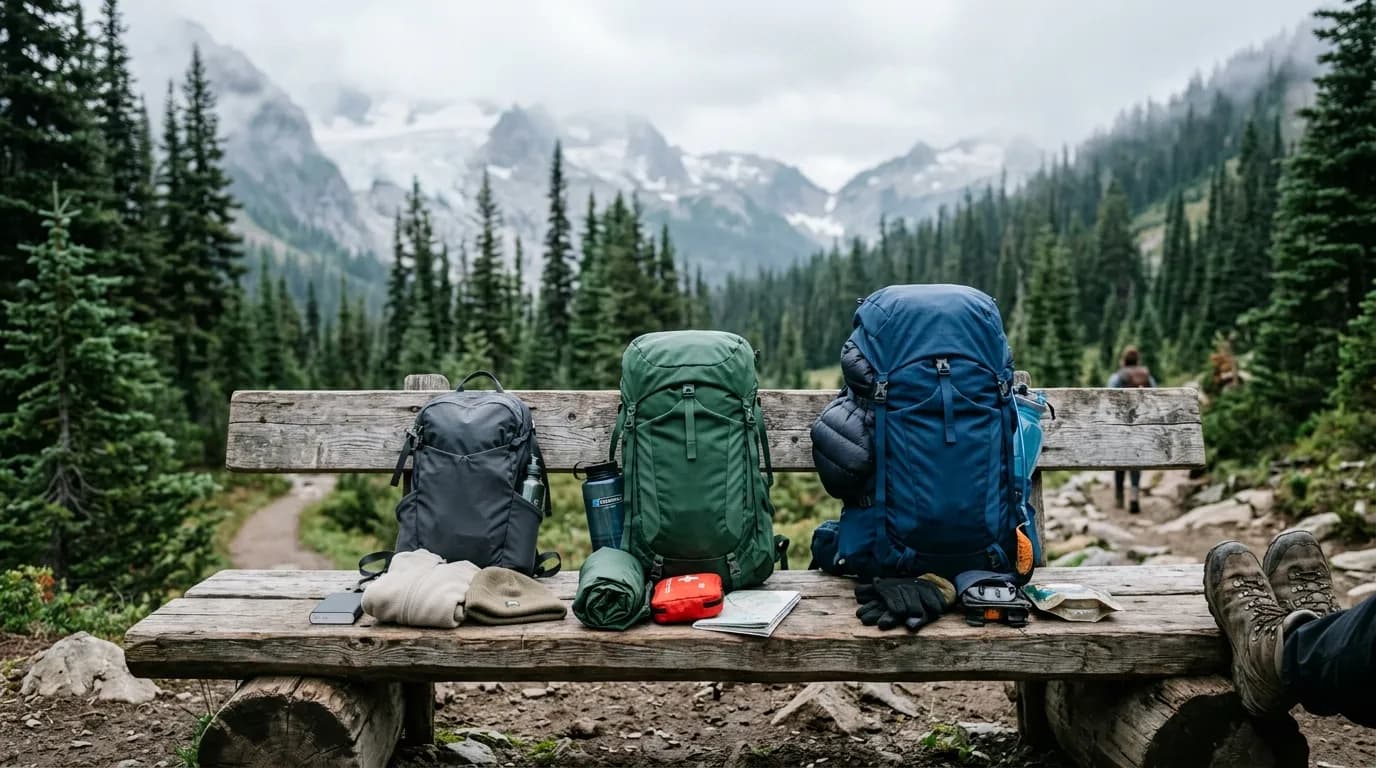
Store the pouch in a consistent place. Left hip belt pocket, lid pocket, or a specific side pocket—pick one and never move it for whims. Muscle memory matters when someone is rattled. If you hike with a partner, tell them where your kit lives. Shared knowledge is shared safety.
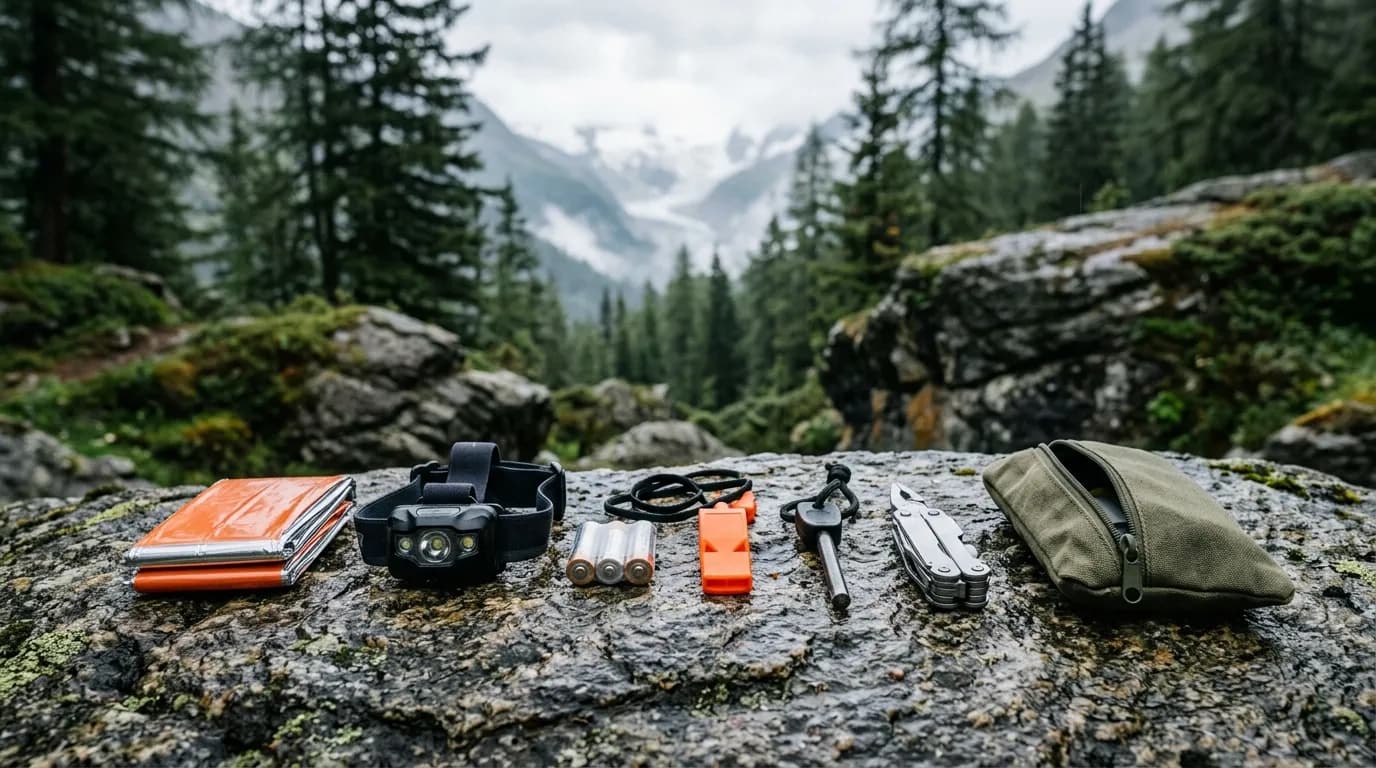
Waterproofing is simple. A zip bag inside the pouch keeps rain and sweaty bottles from softening adhesive. In wet climates, double-bag blister patches and tape. After a rainy trip, open everything at home, dry it, and replace anything that looks compromised. Sticky products that have been wet once often fail the next time you need them.
Seasonal and regional add-ons
In tick country, add a tick removal tool you trust and know how to use, plus a plan for when to seek medical advice after a bite. In hot deserts, prioritize blister care, electrolytes if you use them, and sun protection habits that reduce burns. In alpine rock, add more tape and consider a slightly stronger wrap. In humid forests, antifungal cream for feet can matter on multi-day approaches, though most single day hikes need less.
Allergy history changes everything. If you or a frequent partner carries prescribed epinephrine, that device is not optional “kit fluff.” It belongs where it can be reached immediately, and everyone in the group should know it exists. That is personal medical gear, not a general tip, and you should follow the guidance of the prescribing clinician.
Blisters: the day hiker’s most common kit test
Blisters are friction plus moisture plus time. Your kit should support early intervention. At the first hint of a hot spot, stop. Dry the skin. Apply a protective layer before the blister forms if you can. If a blister has already formed and you choose to drain it, do so only with clean technique you understand, and protect the skin afterward. Many hikers prefer to leave intact blisters alone and pad around them. Choose a method you have practiced at home, not invented on a ridge.
Tape technique is a skill. Practice on your heel at the kitchen table. Learn how much tension is too much. Learn which tapes stick on your skin after sweat. The best blister product is the one that stays put on your feet for your pace and climate. Pair kit contents with the prevention habits in our blister guide linked above: sock choice, shoe fit, and early stops matter more than any patch brand.
Carry more blister care than bandages if your personal history is blister-heavy. Some hikers never cut themselves and always cook a heel. Build the kit for your pattern, not a generic checklist from a catalog.
Cuts, scrapes, and the walk-out mindset
Clean what you can see. Flush dirt with clean water when possible. Pat dry. Cover to keep trail grit out. Elevate if swelling is mild and rest is available. Then decide whether continuing is wise. A small scrape on a flat trail is different from a deep cut on a remote descent with hours of walking left. Pride is a poor navigator. Turning around early is a skill, not a failure.
Pressure for bleeding, elevation when useful, and clean covering are the basics most day hikers need. If bleeding does not slow with direct pressure, if the wound is deep, if function is lost, or if you feel faint or confused, treat the situation as urgent and seek help. Your mini kit buys time and comfort; it does not rewrite physiology.
Sprains, twists, and “I can walk it off”
Ankle rolls are common on uneven day trails. Rest, assess, and decide. A wrap can reduce motion enough to limp carefully toward the trailhead if the injury is mild and you still have control. If you cannot bear weight, if the joint looks deformed, or if pain escalates quickly, do not negotiate with the mountain. Sit, signal, and use your communication plan.
Never wrap so tightly that toes go numb or color changes. Check circulation. Loosen if needed. Practice wrapping at home so the first time is not in panic. A short video practice session in your living room pays for itself the first time rock underfoot shifts.
A starter plan for building your kit this week
Use a simple three-session plan instead of one overwhelming shopping trip.
- Session one — inventory: Empty any old kits you own. Discard expired meds, dried-out wipes, and mystery items. List what you actually used in the last year of hiking.
- Session two — rebuild: Buy only the core list above, sized for one or two people. Pack into a bright pouch with labeled zones. Weigh the finished kit and write the weight on a scrap of tape inside the lid.
- Session three — drill: On a short local walk, pretend you have a hot spot and a scraped knee. Time how long it takes to find gloves, wipe, bandage, and tape. Adjust pocket placement until the drill feels boring.
After three real hikes, review. Did you use anything? Did you wish for something? Add one item at a time. Resist the urge to “complete” a kit from a fifty-item checklist meant for expeditions. Day hiking rewards editing.
Keep a tiny restock box at home: spare bandages, wipes, and blister patches. After each trip that opens the kit, restock the same night while memory is fresh. Empty kits are a classic failure mode for people who helped a stranger once and forgot to refill.
Common mistakes that make kits useless
- Buying a giant kit and never opening it at home: Unfamiliar gear fails under stress. Unpack, sort, and practice.
- Carrying expired everything: Adhesives dry. Meds expire. Check dates each season.
- No blister plan: Bandages alone do not replace tape and moleskin for heel friction.
- Kit buried under a jacket and lunch: If it takes two minutes to reach, you will delay care.
- Sharing unlabeled pills: Never give medications to strangers or friends without clear understanding of allergies and dosing. Keep personal meds personal.
- Ignoring prevention: A kit cannot outpace bad socks and new boots on a long descent.
- Overpacking “just in case” duplicates: Three rolls of the same tape crowd out the eye rinse you actually need.
- Forgetting group context: Solo kits and family kits are different. Adjust deliberately.
Another quiet mistake is treating the kit as a moral shield. Carrying gauze does not excuse ignoring weather, daylight, or a partner’s early fatigue. The kit supports good decisions; it does not replace them. That is why we keep linking first aid to wider habits like the solo safety checklist and blister prevention rather than selling fear.
Weight, cost, and upgrading without bloat
You can build a solid mini kit from a pharmacy aisle for less than a fancy branded pouch costs. Spend money on tape that sticks, tweezers that grip, and a pouch that opens cleanly. Save money by skipping decorative tins and duplicated trauma theater for day trails near roads.
Upgrade path: start core, then add based on real trips. After a dusty wind day, add eye wash if you lacked it. After a rocky ankle scare, practice wrapping and confirm your wrap length is enough. After a humid summer of hot spots, refine blister materials. Let experience edit the kit, not marketing.
If you lead friends often, consider a slightly larger group pouch plus each person carrying personal meds and blister care. Centralizing everything in one leader’s pack creates a single point of failure when the group spreads out for photos.
On-trail decision framework
When something happens, breathe once. Scene safety first—do not become a second patient on a steep edge. Gloves if fluids are involved. Assess calmly. Treat what you can. Then decide: continue with modifications, shorten the route, or evacuate. Communicate the plan out loud so partners share the same story.
Write mental thresholds before the hike: “If either of us cannot walk normally for ten minutes, we turn around.” “If bleeding soaks through a dressing quickly, we stop and call.” Clear thresholds beat optimistic bargaining at mile six.
Cell service is not a plan by itself. Know whether your route has coverage. Tell someone your itinerary. Carry a charged phone in a pocket you can reach. On remote days, consider a communicator device if that matches your risk tolerance and region. The mini kit sits inside a larger safety system.
FAQ
How big should a day-hike first-aid kit be?
Small enough to live in one pouch you always pack, large enough to cover blisters, minor wounds, and one wrap. For many solo day hikers, that is roughly the size of a thick wallet to a small sandwich bag compressed. Weight often lands under 350 grams once you edit duplicates.
Do I need different kits for summer and winter?
Often one core kit works year-round with seasonal add-ons. Summer may emphasize blister care and sun-related comfort. Winter may need tape kept warm and attention to cold fingers when opening packaging. Review the kit when seasons change rather than owning three forgotten pouches.
Should every person in a group carry a full kit?
Everyone should carry personal medications and basic blister care. At least one person should carry a shared wound kit. On longer or more remote days, two kits are wiser than one. Redundancy beats a single pouch left in a car by mistake.
What is the one item people forget most often?
Blister supplies they know how to apply, or gloves. Many kits are bandage-heavy and friction-light. Others have tools sealed in packaging that requires scissors nobody packed. Practice reveals gaps faster than shopping does.
Can I use a pre-built kit from a store?
Yes, as a starting shell. Then open it, remove what you will never use, add blister care and personal meds, and re-pack for access. Factory kits are rarely perfect for your feet, climate, or group size.
Is this a substitute for a wilderness first-aid course?
No. A course builds judgment and practice. A mini kit is equipment. Together they are powerful. Alone, either is incomplete. For frequent remote hiking, training is one of the highest-value “weightless” upgrades you can buy.
Related reading and next steps
Build the kit, then protect the feet that force you to open it. Read blister prevention for day hikes and tighten the habits in our solo day hike safety checklist. Weigh the finished pouch, label it, and run one drill before your next peak attempt.
On the next trail day, pack the kit without drama. Eat your snack, watch the weather, and keep moving with quiet attention. If you never unzip the pouch, that is success. If you do unzip it, you will be glad it was small, familiar, and ready.
Daily Peaks is about finishing the day with enough energy to want the next one. A mini first-aid kit supports that goal when it stays light, stays organized, and stays honest about what a day hike really asks of you. Edit ruthlessly, practice once, restock always, and let prevention do most of the work while the pouch rides quietly in its pocket.
One last habit: after every season, dump the kit on a towel, check dates, replace tired adhesives, and rewrite your personal notes. Feet change. Routes change. The kit should change with them. That short evening ritual keeps tomorrow’s hike simple, which is the whole point of going light without going careless.
If you hike weekly, treat restocking like charging your headlamp. If you hike monthly, put a calendar reminder at the start of each month. Systems beat memory. Your future self, sitting on a rock with a hot heel, will not want to invent a system from scratch. Pack the system now, keep it small, and walk on.