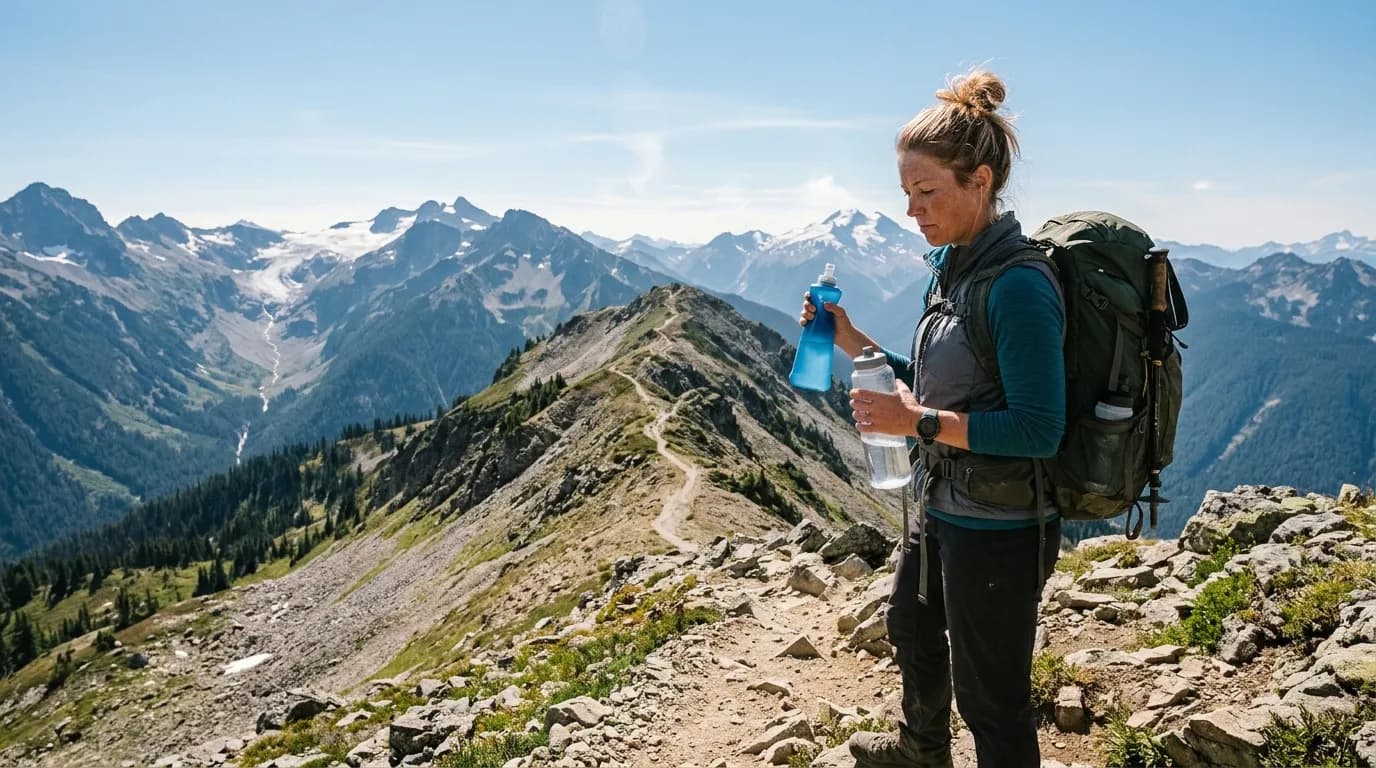
Your first peak or viewpoint hike should feel like a good day, not a trial. The internet is full of dramatic summits and sunrise silhouettes. Your first outing needs a different filter: finishable distance, honest elevation gain, a clear turnaround, and a view that rewards effort without demanding heroics. Daily Peaks treats peak picking as a daybook decision, not a bucket-list audition.
This guide walks through how to choose your first peak or viewpoint hike step by step: reading trail descriptions without getting seduced by photos, matching the route to your current fitness, checking weather at elevation, and building bailouts so a shortened day still counts. You will get a starter plan for three practice hikes, common mistakes beginners make when chasing summits, and a short FAQ.
Educational outdoor content only. Local trail conditions, closures, and your fitness always matter more than any generic advice here.
What counts as a first peak or viewpoint hike
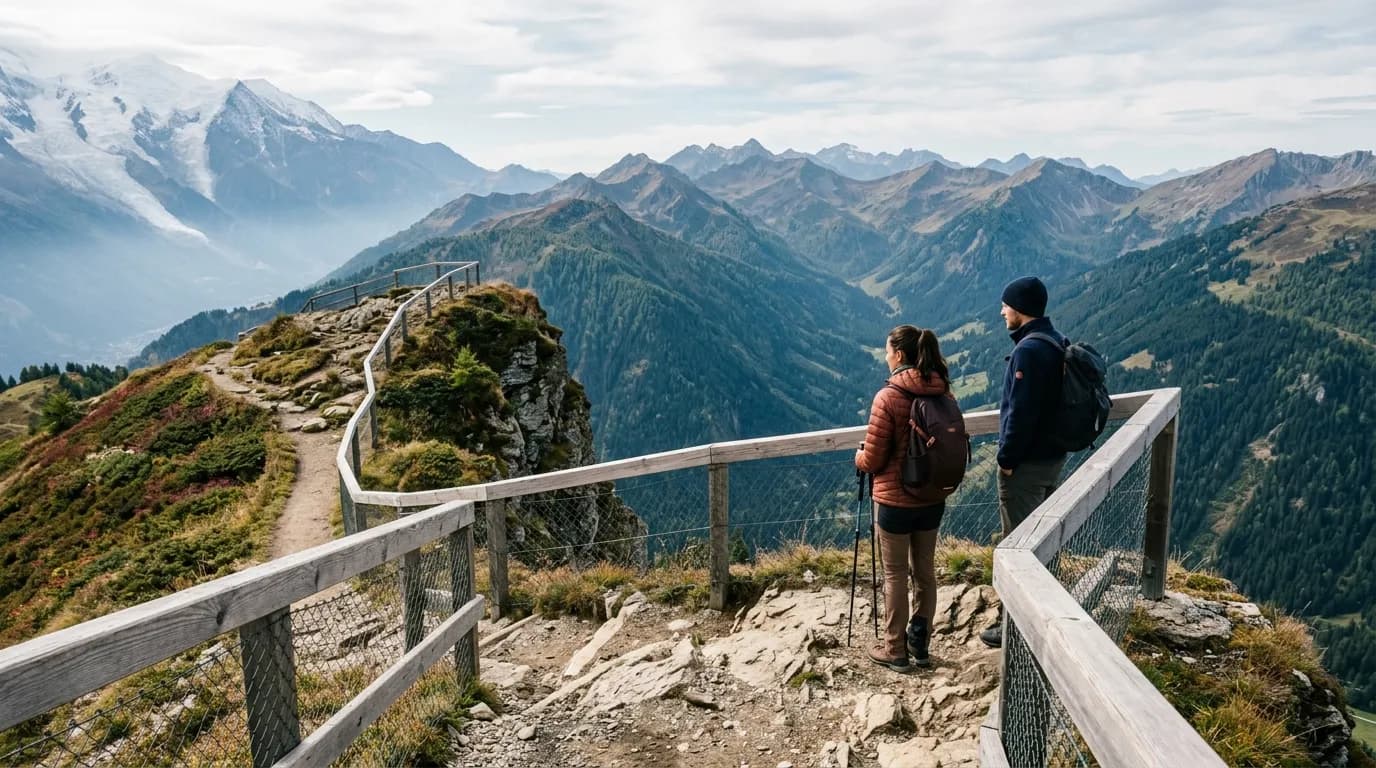
A “peak” does not have to mean a technical mountain. On day trails, it often means a named bump, a fire lookout site, a ridge knoll, or a signed high point with a register box. A “viewpoint” might be a cliff edge, a lake overlook, or a bench where the forest opens to a valley. Both are valid first goals if the route is clear and the return is same-day.
What you are choosing is an objective with a visible payoff: you climb or walk to a place where the landscape changes. That payoff motivates beginners more than a flat loop through trees, even when the flat loop is excellent training.
The mistake is choosing payoff without reading the cost. A viewpoint one mile from the car can be perfect. A peak five miles in with 2,000 feet of gain might be perfect next year. First peaks should teach you how your body handles sustained uphill, not how far you can push before sunset.
Read trail descriptions like a planner, not a tourist
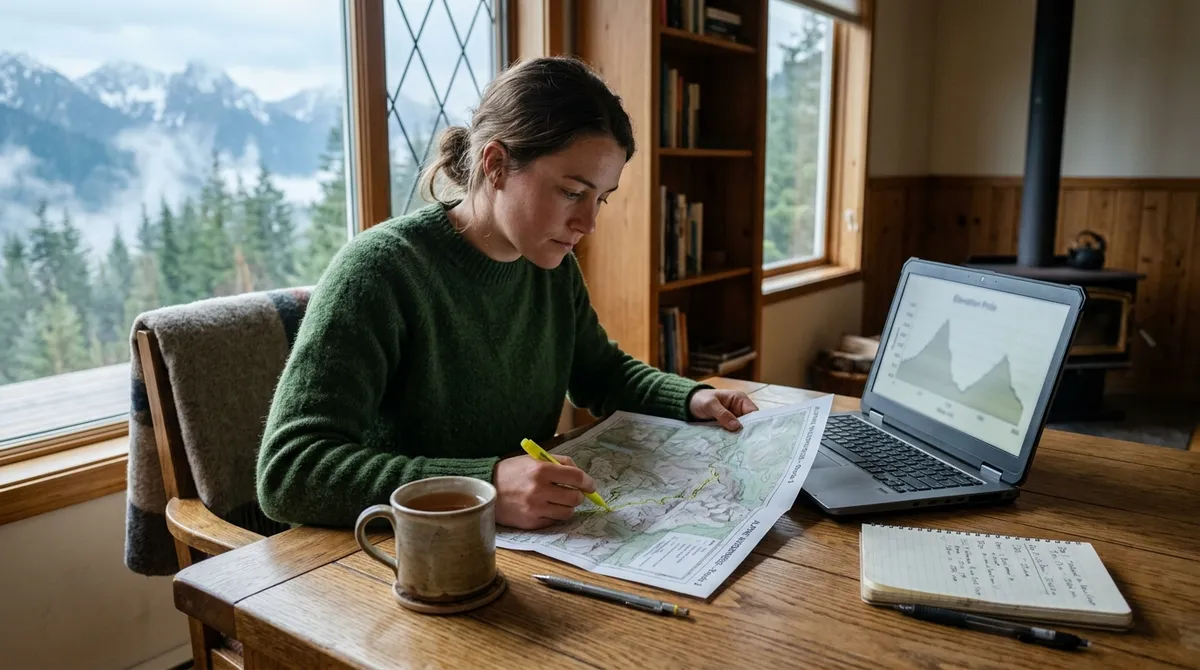
Trail write-ups usually list distance, elevation gain, and sometimes time estimates. Start there, not with the comment section’s emotional superlatives.
- Round-trip distance is the number that matters for water and snacks
- Elevation gain tells you how much uphill work is packed in
- Steepness matters as much as total gain: 800 feet over a mile feels different from 800 feet over four miles
- Surface changes the day: rock steps, roots, snow patches, or scree slow beginners
- Exposure on ridges or cliffs may be fine for some hikers and stressful for others
If a description says “moderate” without numbers, dig until you find numbers. Moderate is not a standard unit. Two hours for one person might be four for another carrying a heavier pack on a hot day.
Look for recent trip reports when available. Mud season, downed trees, and confusing junctions show up in comments more honestly than in brochure copy.
Match the hike to your current fitness, not your aspiration
Be honest about your last month of walking. If your longest recent outing was a flat three-mile park loop, your first peak should not be an eight-mile ridge day with 2,500 feet of gain unless you have company, perfect weather, and early daylight to spare.
A practical first-peak filter for many beginners:
- Round trip under six miles, or under your comfortable flat distance plus one mile
- Elevation gain under 1,200 feet if you are new to sustained uphill
- A trail you can shorten by turning around at a midpoint overlook
- Finish time with at least ninety minutes of daylight buffer after the estimated hike
Viewpoint hikes often beat true summits for a first objective because the turnaround is obvious. You see the view, you eat, you descend. Summits sometimes hide the best scenery behind a false summit or a crowded rocky top with limited sitting space.
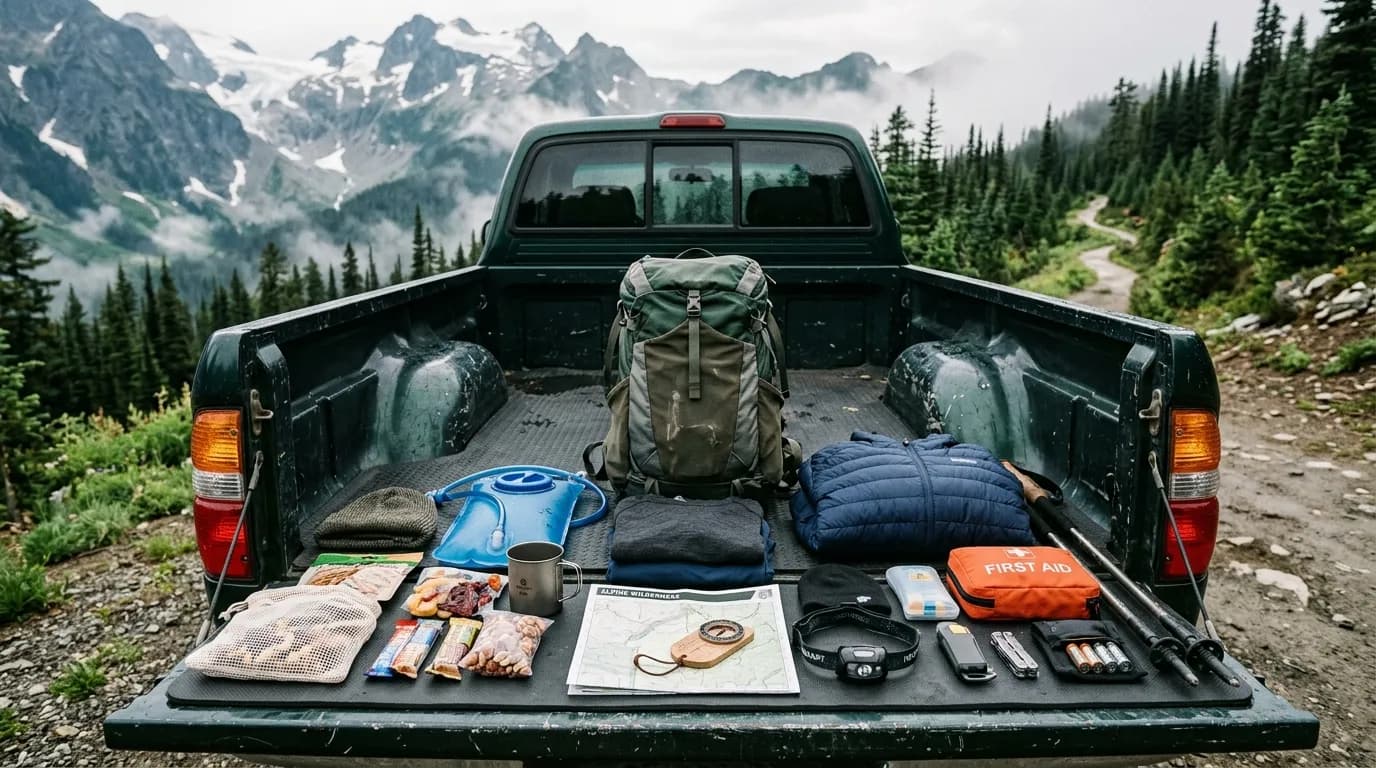
Pack for the day you chose with Day Hike Packing List for Beginners so the objective is not undermined by forgotten water or layers.
Elevation gain in plain language
Elevation gain is cumulative uphill. A trail that climbs 400 feet, drops 200, then climbs 400 again might list 800 feet of gain even if the net elevation change is smaller. That is why your legs feel the work.
Beginners often underestimate gain on short steep trails. A two-mile round trip with 900 feet of gain can feel harder than a six-mile rolling path with the same total gain spread out.
When comparing options, ask: “Where is the steep section?” If the steep section is the last half mile before the viewpoint, fatigue will arrive exactly when navigation and weather judgment matter most. A gentler approach trail teaches pacing better.
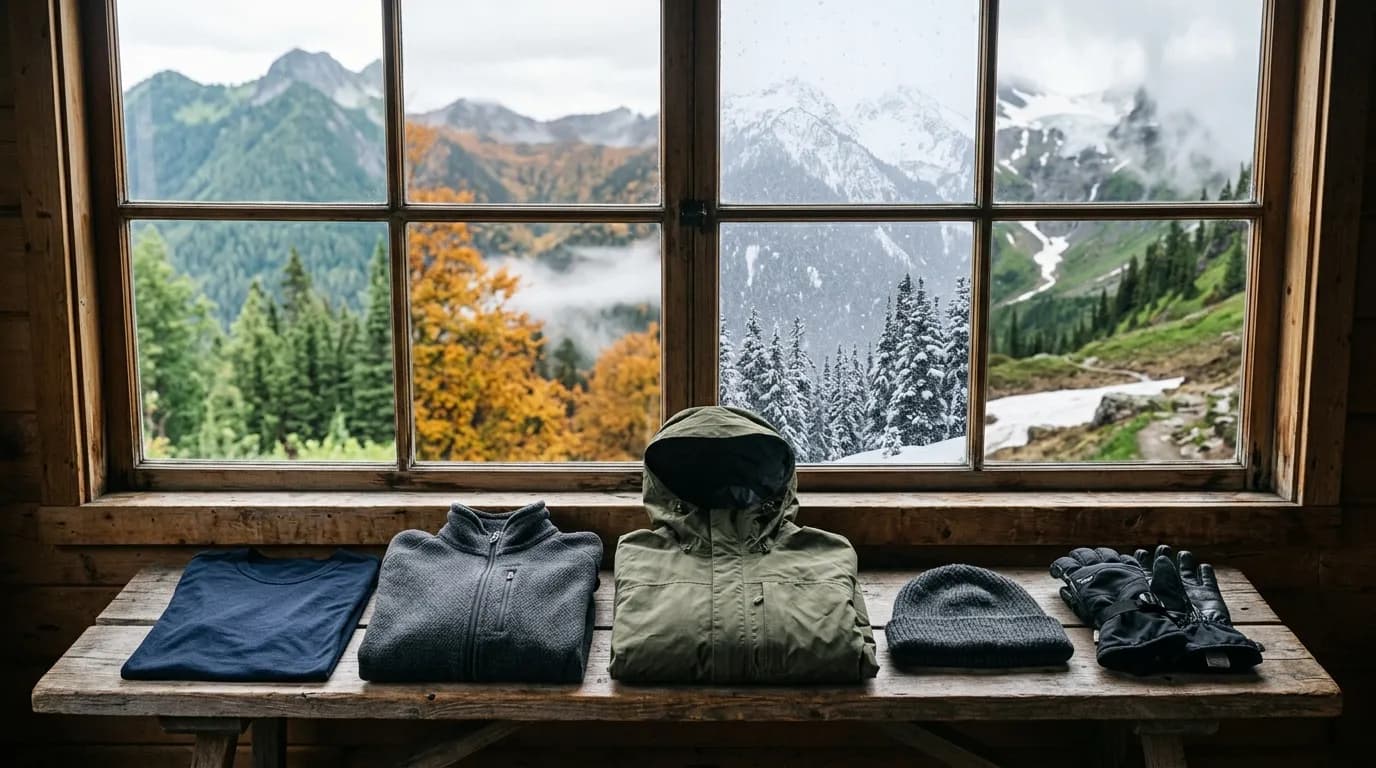
Weather and season at the objective
Valley weather and ridge weather are not the same forecast. Before you commit to a first peak, check:
- Forecast for the trailhead town or nearest reliable weather point
- Wind and temperature at higher elevation if your source provides it
- Recent precipitation that might mean mud, slick rock, or lingering snow
- Cloud base if you are hiking for a view; a summit in fog still counts as exercise, not as the goal you wanted
Shoulder seasons reward conservative peak choices. A viewpoint at 3,000 feet in April might still have icy patches while the parking lot feels like spring. Summer heat on south-facing slopes can drain water faster than your plan.
If weather is uncertain, choose a lower viewpoint with tree cover partway up. You can still practice uphill without betting everything on a exposed ridge.
Navigation clarity beats bragging rights
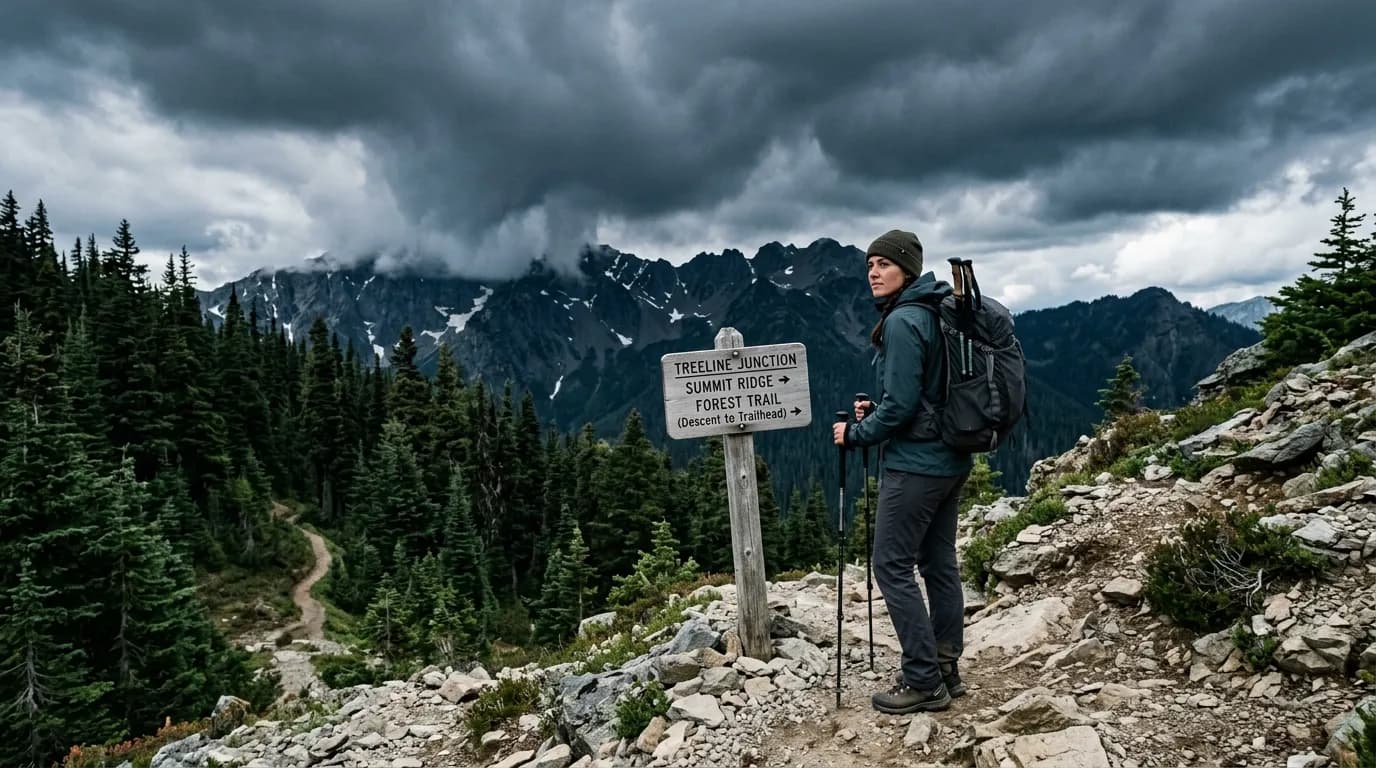
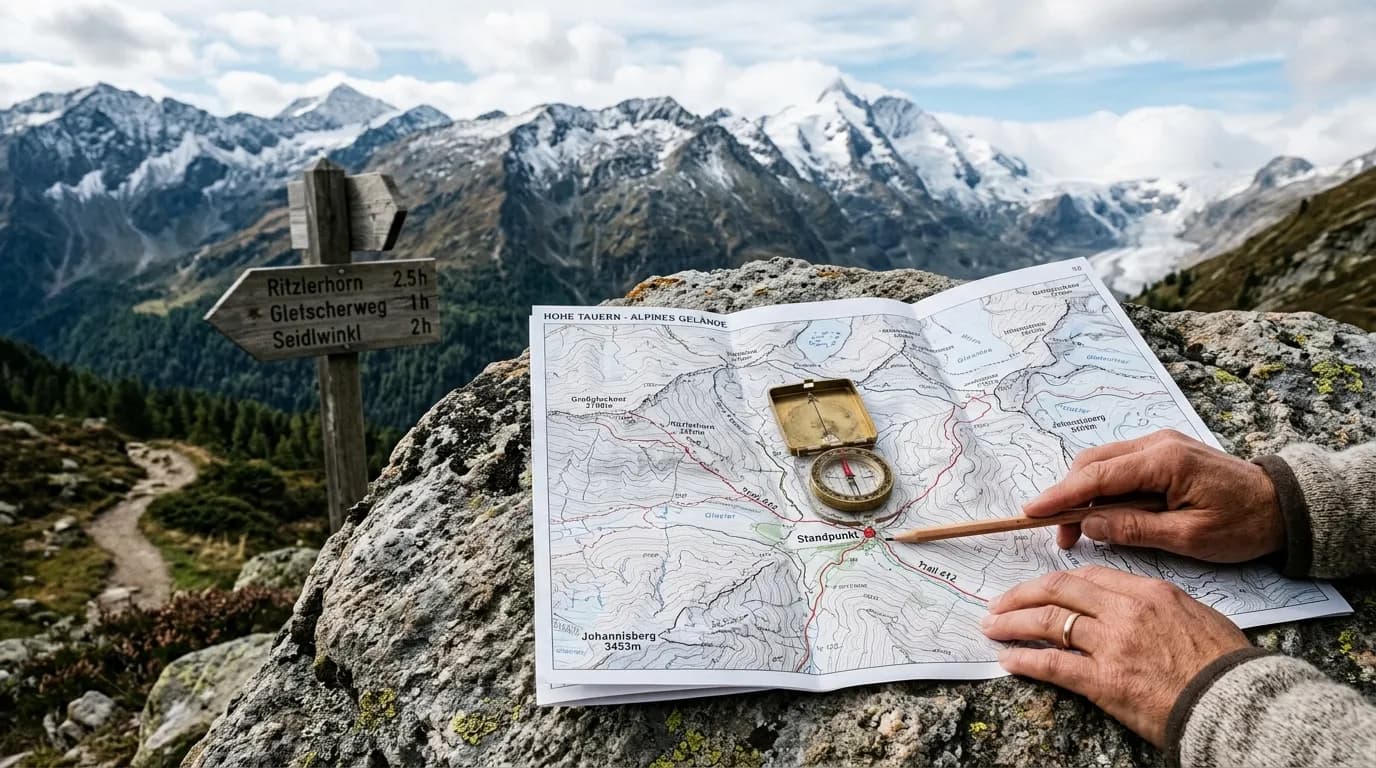
Your first peak should live on a well-maintained trail with signs at major junctions. Avoid routes that depend on faint social paths, unmarked shortcuts, or “follow the cairns” intuition until you have more map reading practice.
Popular first peaks have a downside: crowds on weekends. They also have an upside: other hikers to ask at junctions, clearer tread, and less chance you are alone on a confusing spur. For hike one, clarity wins.
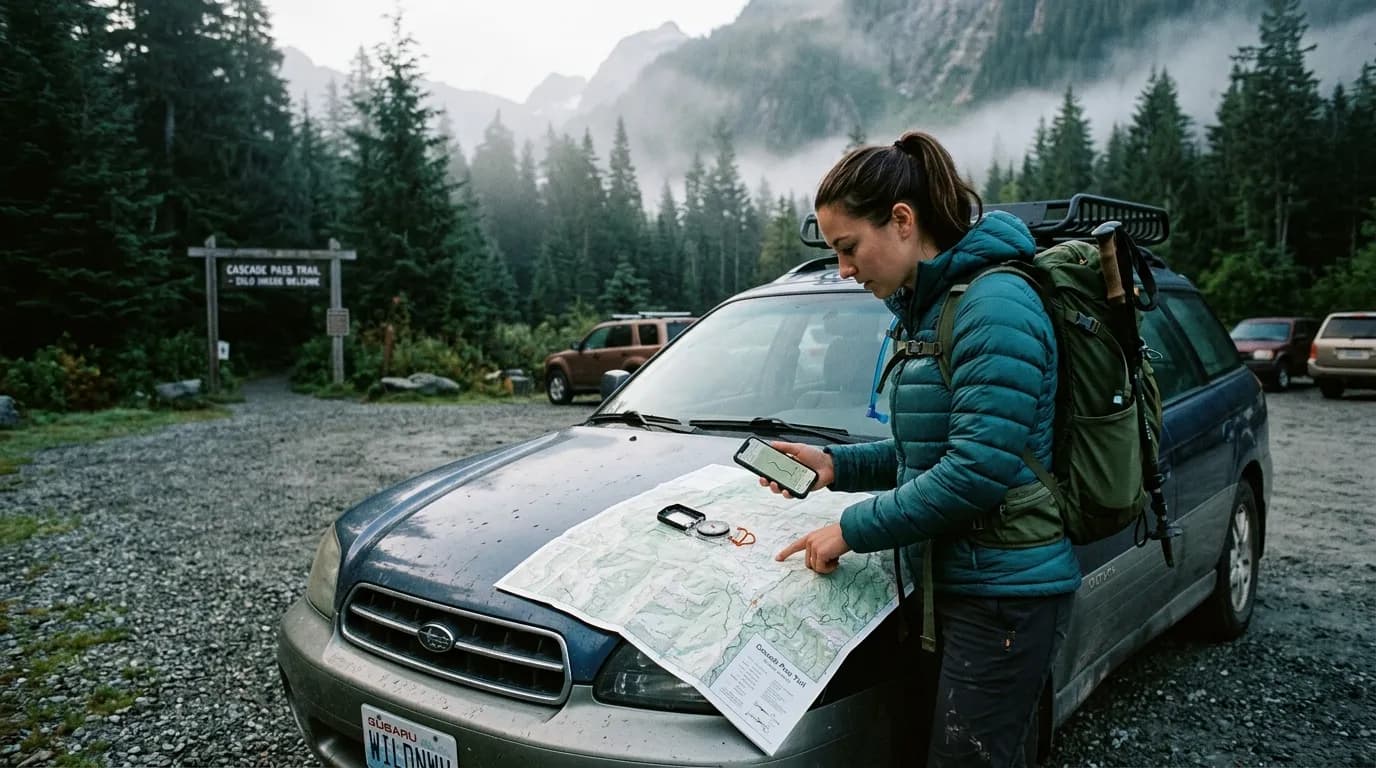
Download or screenshot the map. Identify three landmarks: trailhead, midpoint, and objective. If you cannot name them, the route is still too fuzzy.
Bailouts: the feature beginners skip
A bailout is a dignified exit. Good first peak routes include at least one:
- Mid-trail overlook where turning around still feels like a win
- Loop option that skips the steepest spur
- Parallel lower trail you can use if weather drops
- Early turnaround time that does not require reaching the top
Write the bailout before you start. “If I am not at the junction by 11:00, I eat at the lower bench and go back.” Bailouts protect first peaks from becoming last peaks when ego argues at the saddle.
Judgment on when to use bailouts overlaps with When to Turn Around on a Hike. Read that next once you have a route candidate.
Timing: start early enough to enjoy the top
Beginners often start late because the drive felt long or breakfast took forever. Then the summit rush begins: skipping breaks, ignoring hot spots, and chasing sunset photos you did not plan for.
Work backward from a calm finish:
- When do you want to be back at the car?
- How long is the drive home in traffic?
- What is the conservative hiking time, not the record time?
- Add thirty to sixty minutes of buffer for photos, snacks, and slow descents
That math tells you when to leave home and when to hit the trail. First peaks are nicer when the top is not a deadline.
Footwear and comfort on uphill days
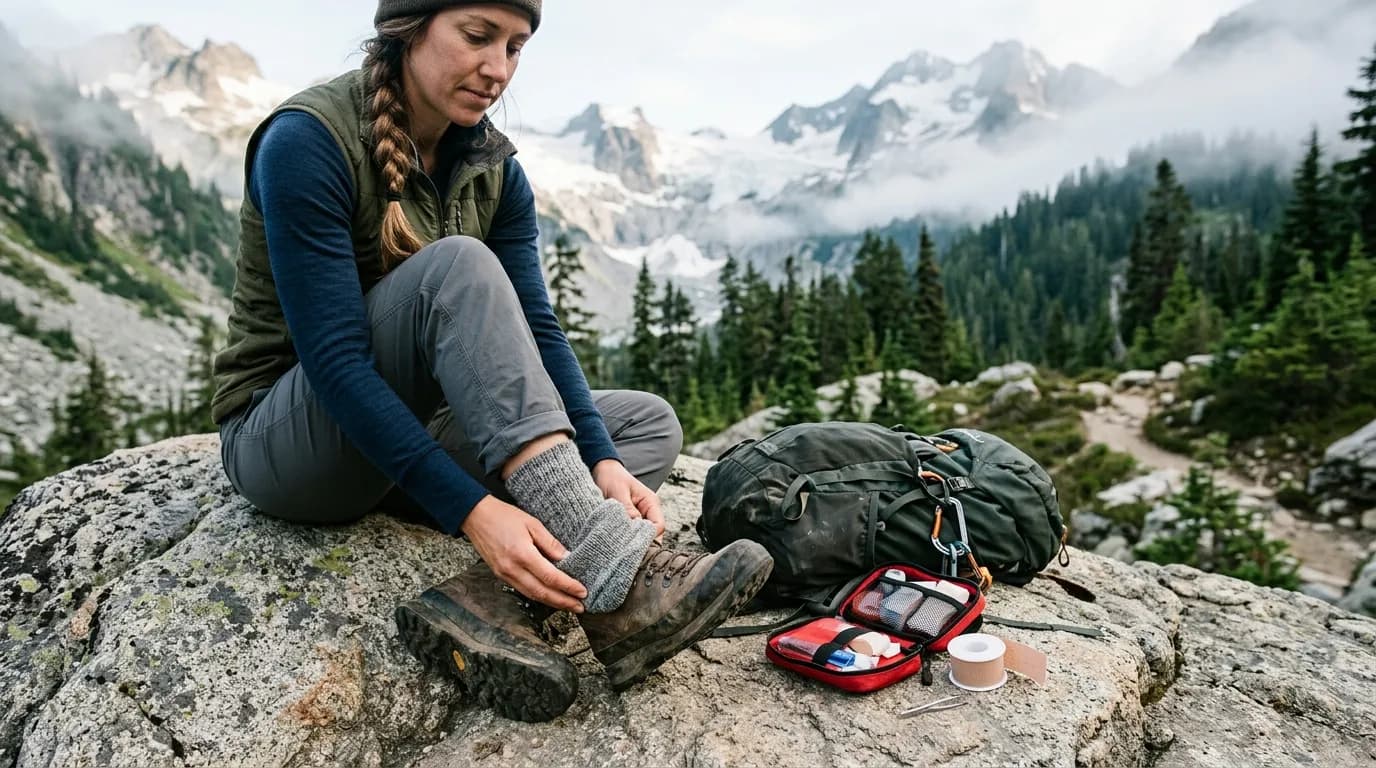
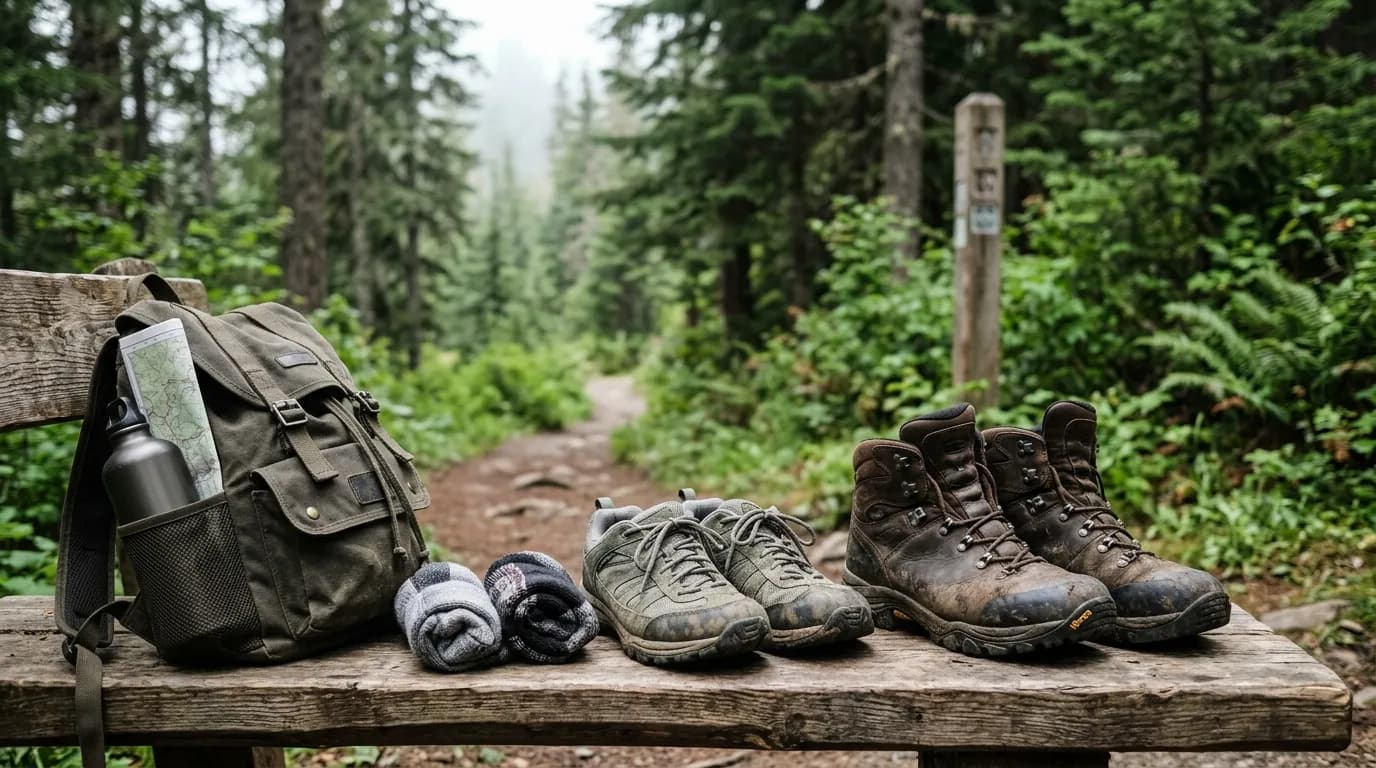
Peaks and viewpoints ask more from feet and knees than flat paths. Shoes that fit with room for downhill toe box, socks that already worked on a long walk, and a small blister kit matter more than a new pole set.
Break in footwear on easier trails before the first real gain day. A viewpoint hike with screaming heels teaches the wrong lesson about mountains.
How to compare three route options
When you narrow to three trails, score each honestly on a simple grid:
- Distance versus your recent longest walk
- Gain versus your recent hill experience
- Signage and map clarity
- Midpoint bailout quality
- Weekday crowd level if that affects your comfort
- Drive time and park access
Pick the route that wins on clarity and bailouts, not the one with the prettiest photo on a stranger’s feed. You can chase dramatic lines later with better legs and better kit habits.
First peak versus first viewpoint: which to choose
Choose a viewpoint first if you are new to uphill, nervous about navigation, or hiking in uncertain weather. Viewpoints teach pacing and turnaround without summit fever.
Choose a modest peak if you already walk hills weekly, have tested footwear, and can read a basic map. Keep the peak under your distance comfort zone and treat the register or sign as a bonus, not a contract.
Either way, the win condition is the same: return before dark, feet intact, water not empty, and a story that makes you want hike two.
Planning a weekend around your first objective
If the peak is part of a short trip, stack planning so the hike day is not squeezed. Read How to Plan a Weekend Trail Trip for drive timing, sleep, and food around the trail day. A first peak after a four-hour midnight drive is a different hike than the same trail after a quiet evening nearby.
Keep the weekend’s other activities light. Your legs will notice the descent stairs at the motel.
Starter plan: three hikes before your “real” first peak
Practice hike one. Flat or rolling trail at your comfortable distance. Test pack, water, and lunch rhythm. Goal: finish without rushing.
Practice hike two. Shorter distance with deliberate uphill—stairs in a park, a local hill loop, or a canyon with steady climb. Goal: learn your uphill pace and when to sip water.
Practice hike three. A modest viewpoint under four miles round trip with a clear map. Goal: execute bailout timing and a calm turnaround even if the top looks close.
After those three, pick your first named peak or larger viewpoint with the filters in this guide.
Common mistakes when choosing a first peak
- Picking the highest peak in the region because it is famous
- Ignoring elevation gain because the mileage looks small
- Assuming summer valley heat equals cool ridge air
- Starting after 10 a.m. on a five-hour route
- No bailout plan because “we’ll see how we feel”
- New boots on the biggest climb of the year
- Trusting a single photo for trail difficulty
- Choosing an exposed ridge in high wind because the calendar is free
- Skipping water because the trail “is popular”
- Measuring success only by the summit, not by a safe return
What a good first peak day feels like
Your breathing is working but controlled on the climb. You stop for water before you are empty. The view opens and you actually sit down. You eat without checking the clock every minute. The descent is slower than you expected, and you still reach the car with light left. That evening your legs are pleasantly tired, not wrecked. That is the target.
If the day feels like a scramble against darkness, the route was too ambitious or the start was too late. Downgrade next time without shame. Peaks are patient if you are.
FAQ
How do I know if a peak is too hard for me?If the distance or gain is well beyond your recent longest hikes, if there is no bailout, or if the forecast adds heat, cold, or exposure you have not practiced, downgrade. First peaks should feel challenging but reversible.
Is a viewpoint hike “cheating” compared to a summit?No. Viewpoints are excellent first objectives. Many experienced hikers choose them on tired weeks or bad weather days. The skill is choosing finishable goals, not collecting elevation for strangers.
How much water should I carry for a first peak day?Plan for the full round trip plus margin. Hot or steep days need more. If you are unsure, read water guidance in our day hike packing content and carry extra rather than trusting a single source at the top.
Should my first peak be solo or with friends?Company helps navigation, pacing, and morale. Solo first peaks can work on very clear, popular trails if you also use a solo safety checklist. Match the choice to your experience and comfort.
What if clouds cover the view?Enjoy the walk if conditions are safe, or turn at tree line if exposure and weather argue against continuing. Views are not owed. A safe descent in mist still builds trail fitness.
Do I need trekking poles for my first peak?Not required. Poles help some knees on long descents. Try an easier hill day first. If your quads scream on the way down, borrow or buy poles for the next outing.
How soon can I try a harder peak after the first?After one or two successful conservative days with calm finishes, increase only one variable: distance, gain, or remoteness. Stack improvements slowly so your body and judgment keep pace.
Related reading
Pack correctly for the day with Day Hike Packing List for Beginners. If the peak sits inside a short trip, align drive and sleep with How to Plan a Weekend Trail Trip.
Choosing your first peak or viewpoint hike is an exercise in honesty: match the route to today’s legs, keep a bailout, start with time to spare, and call the day a success when you return calm. The best first summit photo is the one taken when you still have energy to enjoy it—and daylight left to walk down.